Achtung
This article was published on November 14th, 2010. A lot has changed since then in the digital camera field. Nevertheless, the fundamental statements about digital photography are still valid.
Shooting With Your DSLR
This article is going to give some tips regarding shooting video with your DSLR and editing it in Kdenlive afterwards.
Camera Hardware
Lens
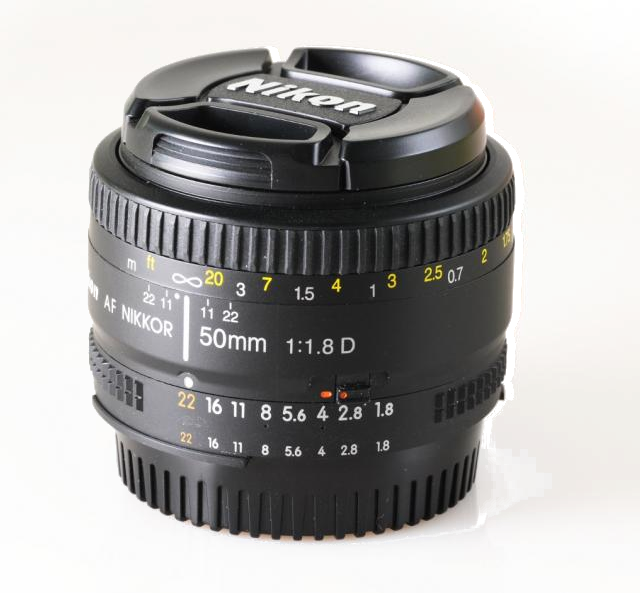
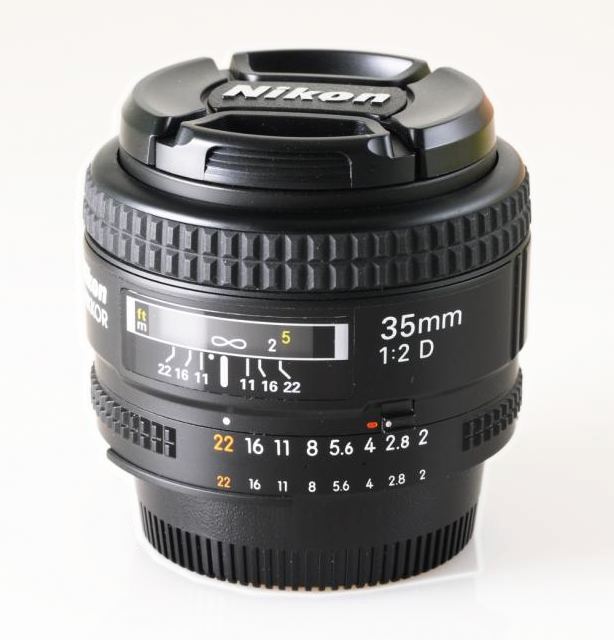
Generally Primes are preferred over zooms in video. (Some people, prefer it over zooms as well for photography — but this is a matter of taste and of how you work.) Why is that? A psychological reason is that eyes cannot zoom either, so zooming is hardly ever used in video. The technical reason is that Primes are cheaper to build whilst offering better quality: Better sharpness, bigger aperture (for limiting the DOF). Opening the aperture gives you a very nice look.
Examples for very popular primes are the Nikon 50mm f/1.8D and the Canon 50mm f/1.8 II.
If you own such a lens, just do not forget that you should not always shoot at f/1.8. ;)
Filter
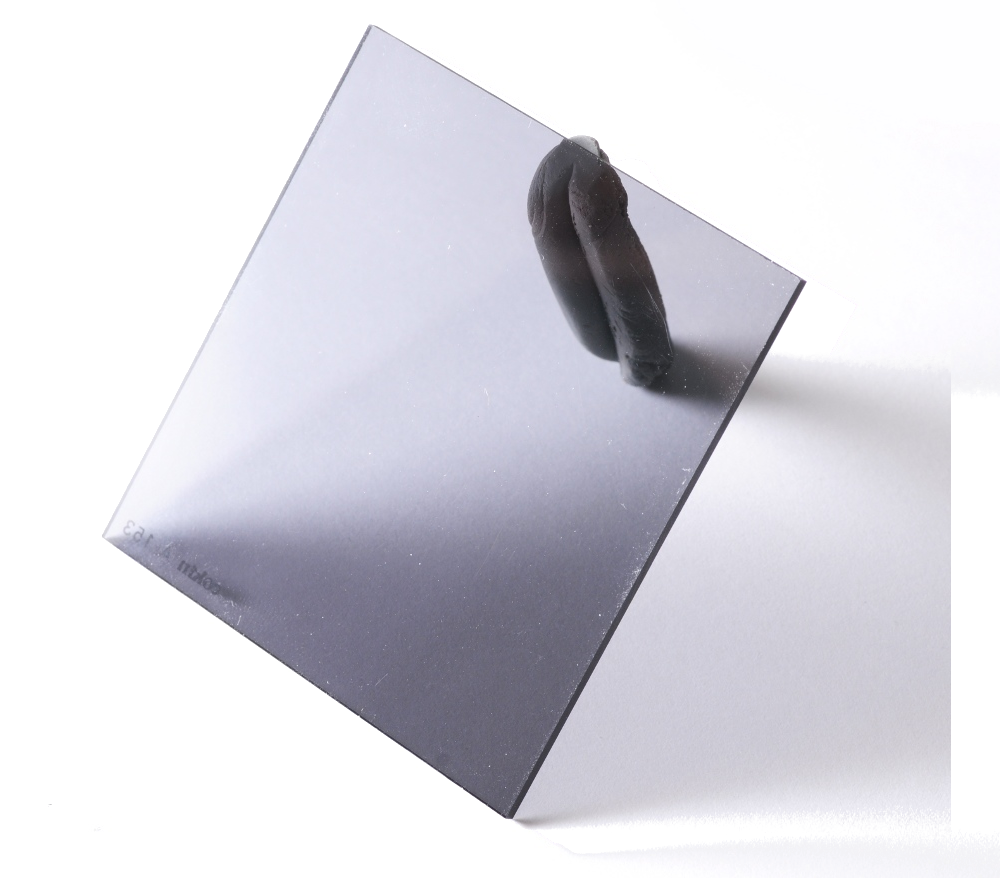
NDF (the piece of kneaded eraser is not part of the filter)
Directly related to the previous point about lenses. Shooting with an open aperture works well as long as it is dark. In bright sunlight it will fail because there is too much light falling on the sensor. Furthermore you are forced to use a high shutter speed which makes movements look jerky; Most of the time you will want to have some kind of motion blur because it looks more natural to our eyes.
If you ever tried to follow a bird or another animal with your eyes in dawn, you will know that our eyes do support motion blur.
So the trick is to remove some light with a filter called Neutral Density Filter.
Shooting
Aperture, Shutter, and ISO

The same as for shooting stills. Really? Not quite. As written above you will usually want to have the shutter speed lower than for photography in order to get motion blur — around 1/50 s. (This is just a rule of thumb, as all rules in video are - made to be broken.)
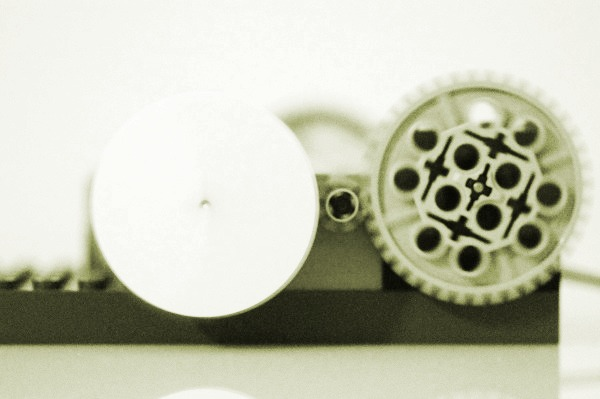
Also, some additional problems may arise due to the sensor being read out line-wise. One I would like to mention are Rolling Shutter effects. Longer exposure can, but need not, prevent such problems. It does if you are shooting with fluorescent lamps. Shooting at high shutter speed shows wave patterns from top to bottom of the screen, lowering it hides them if you hit the correct shutter speed.
On the right: Two images shot with the Nikon D90 of the author, the left one at lowest ISO possible, the right one at highest possible.
Exposure


The image should be exposed as bright as possible (without too much clipping!) if enough light is available. If you do not need to boost the brightness too much in post-production, you can avoid some noise in dark areas.
White Balance

The White Balance should be set as accurate as possible because DSLRs only support 8 bit per color channel (see also the chapter about the Waveform Monitor). If done wrong, much of the color information is lost.
DSLRs also offer different camera profiles with different contrast, saturation and other settings. Usually low saturation is preferred over high saturation — especially because raising the saturation can be done in post, and because high in-camera saturation settings can lead to color clipping.
In the example images on the right you can see the difference. The left one looked blueish due to wrong white balance and was corrected in post; much of the tonal range of the blue colors has been lost. The right one has been shot with proper white balance.
Autofocus
The in-camera autofocus may be fast enough to focus, but it will fail in the most important moment. It is useful for getting the initial focus point, but while shooting it should stay switched off.
Camera Specific Tips
Nikon D90
The Nikon D90 was the first DSLR offering video: 720/24p (AVI container).
D90 videos at 720p are scaled awfully. That is why you can see stair-stepping in sharp, skew lines. If this becomes perturbing for a clip, you can apply the Nikon D90 Stairstepping Fix filter. Written (but not invented) by the original author Granjow. See our Nikon D90 page for an example of how stairstepping looks like (before and after correction).
There is an extensive overview over the D90 video function at dvxuser.com: Understanding and Optimizing the Nikon D90 D-Movie Mode Image.
Canon EOS 550D/Ti2 (and Co.)
These cameras shoot 1080p (H.264 encoded, MOV container) — but record video with a height of 1088 pixels. Prior to MLT 0.5.6 you have/had to crop the additional 8 pixels with a crop effect from the top or the bottom of the video, newer versions of MLT do this automatically.