Clips
See also 剪辑菜单.
Clips (Video, Audio, Images and Animation)
The  button (or Add Clip or Folder… or double click into an empty place in the project bin) brings up the Add Clip Dialog where you can choose video, audio, animation (new in version 22.08) or still image clips to add to The Project Bin.
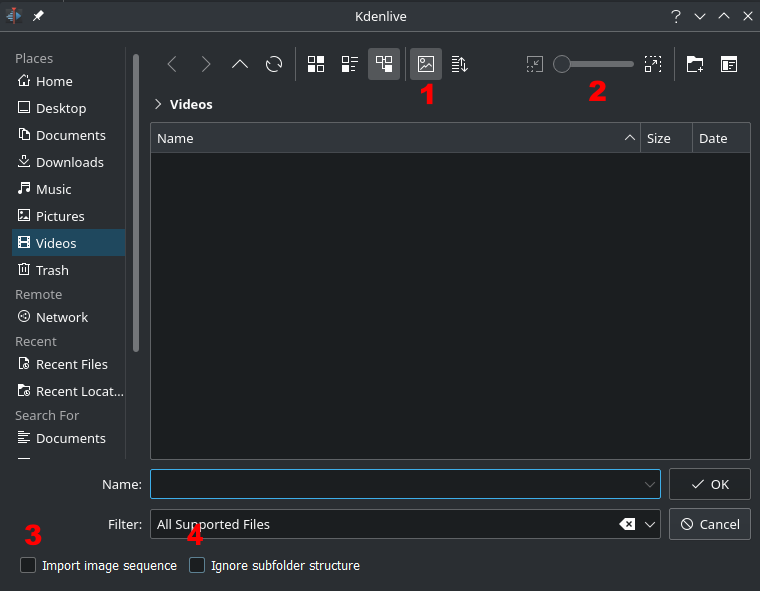
The button  labeled 1 toggles File Preview on and off (applies to image files only).
The slider labeled 2 adjusts the size of the preview icons.
Checkbox Import image sequence (3) enables the import of a series of images that can be used to make a stop motion animation.
Checkbox Ignore subfolder structure (4) enables import video footage or audio recording folders while automatically ignoring any sub-folder structures created by some devices, such as the Sony XDCam, Panasonic P2, Canon camcorders or Zoom audio recorders.
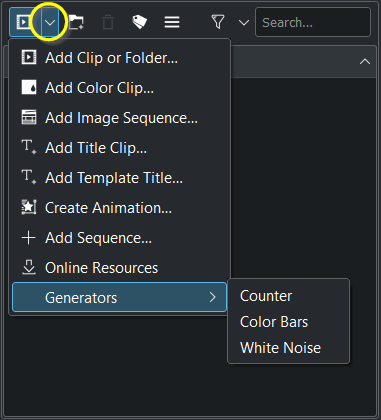
You can add other types of clips by choosing a clip type from the menu brought up from the drop down button next to the button.
Color clips
Add Color Clip: Color clips are images composed of a single color that can be added to the Project Bin. They can be useful to provide a background on which to place titles.
Add color clips by choosing from the drop down button next to the button.
This brings up the Color Clip dialog from which you can choose a color and a duration.
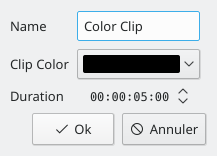
Clicking adds the clip to the project bin. The clip can then be dragged to the timeline. The duration of the color clip can be adjusted on the timeline.
Image Sequence clips
Add Image Sequence: Image sequence clips are clips created from a series of still images. The feature can be used to make an animation from a collection of still images or to create a slideshow of still images. To create the former, use a short frame duration; to create the latter, use a long frame duration.
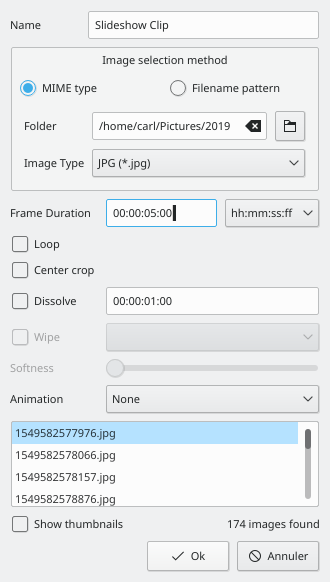
MIME Type: When enabled then the images get imported in ascending order. For example, if the first image is 100_1697.jpg then the next will be 100_1698.jpg, etc.
Filename pattern: When enabled you can point to the first image you like to import. The remaining images get imported in ascending order.
Folder: Browse to the location of the images which will make up your image sequence and select the first image. The subsequent images that are to be used in the slide show will be selected based on some sort of filename algorithm that predicts what the next image file name should be.
Frame Duration: Select an appropriate frame duration - this defines how long each image be displayed.
Loop: When enabled you can lengthen the image sequence clip in the timeline by dragging.
Center Crop: When enabled it automatically fills the output video frame with the images while maintaining their aspect ratio by zooming the image and cropping equal amounts from each edge until can fill the full frame. Without this option, the image will not be zoomed, but black bars will appear when the photo orientation or aspect does not match the video’s.
Dissolve: When enabled you can adjust the length of the dissolve and choose the type of Wipe and adjust it with the Softness slider.
Animation: When enabled it adds preset slow smooth pan and zoom effects also known as the Ken Burns Effect. You can choose no animation, pans only, zooms only, or a combination of pans and zooms. Each option also has a low pass filter to reduce the noise in the images that may occur during this operation. Low pass filtering is much slower, so you should preview without it, and then enable it to render.
Then hit OK. A video file made up of all the images in the folder from which you selected the first frame file from will be added to the project bin.
You can then drag this video to the timeline.
To edit the slideshow parameters: In the project bin either double-click the slideshow or right-click and choose Clip Properties.
Title clips
See Titles.
Create Animation
Create Animation…: Creates a new animation. Give a name for your new animation and it opens Glaxnimate and adds the newly created animation to the project bin. You can then edit the animation in Glaxnimate by right-click on the animation and choose Edit Clip and whenever you save it, it is automatically updated in Kdenlive.
For editing animation clip in the timeline see here.
Kdenlive supports Json (Lottie animations) and rawr (Glaxnimate animation) animation.
Json and rawr files contains an alpha channel so the imported animations have a background which is not visible.
If Glaxnimate is not installed on your computer following message pops-up:
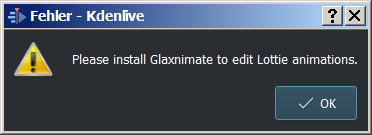
For Glaxnimate installation see here.
Add Sequence
Add Sequence…: Adds a new sequence to the timeline. A sequence behaves like a clip. Working with sequences see here.
Online Resources
See Online Resources.
Proxy clips
Proxy clips create a lower-quality transcode of the original footage for use in real-time rendering in the project monitor. This allows for a smoother editing experience even on slower computers with High Definition footage. When rendering, by default, the original quality footage is used and not the proxy footage. For example, Video decoding of H.264 or H.265 clips, requires a lot of computing power to decode and could cause playback stutter when rendering effects in real time.
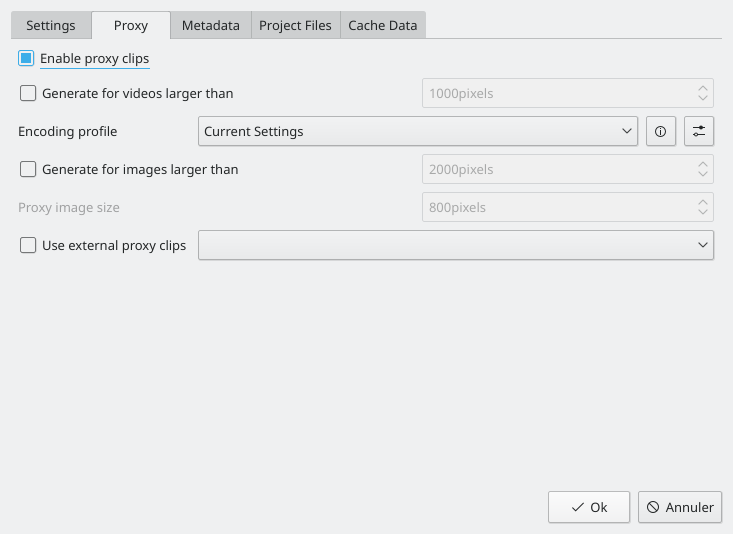
Proxy clips can be enabled/disabled for the current project in the Project Settings ().
To enable proxy clips by default for new projects, go to . See also the Project Settings Dialog page.
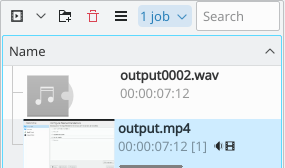
As soon as proxy clips are enabled, they can be generated for specific project clips in the Project Bin widget via the context menu . After you select for a clip, a job will start to create the clip. You can view the progress of this job by looking at the little gray progress bar that appears at the bottom of the clip in the Project Bin - see picture. Clicking again disables the proxy for this clip.
You can multi-select clips in the Project Bin and select to start a batch proxy clip generation job which will queue up multiple proxy clip generation jobs.

Once the proxy clip creation has completed, the proxy clip will appear with a P icon in the Project Bin.
External proxy clips When enabled it reads the proxy clips generated by your video camera. More details see: Using Camera Proxy Clips.
When rendering to the final output file, you can choose whether to use the proxy clips as well. It is disabled by default , but for a quick rendering preview it is useful.
Clip Properties
You can display and edit clip properties by selecting a clip in the The Project Bin and choosing from the menu or from the right-click menu. Or by turning on the display of clip properties the and enable Clip Properties.
File Info
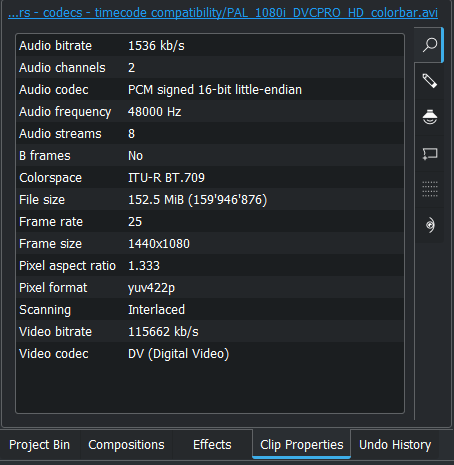
The File Info tab displays information about the file.
Properties

The tab displays advanced properties of the clip where you can select a check box and then force the clip to take the property you specify. For example, you can use to tell a clip that seems to have forgotten it was 16:9 ratio that it really is 16:9 ratio.
Advanced Clip property options are:
Duration: Change the clip duration. If the duration is shorter than the clip duration, then the clip is cropped. If the duration is bigger than the clip duration, then the last image is repeated until the new duration is over.
Aspect ratio: Change the clip aspect.
Proxy clips: Enable a proxy clip for this clip. See Clips.
Frame rate: Change the clip frame rate. See Wikipedia Frame rate.
Scanning
Field order
Disable auto-rotate
Threads
Video stream
Audio stream
Color space
Audio properties
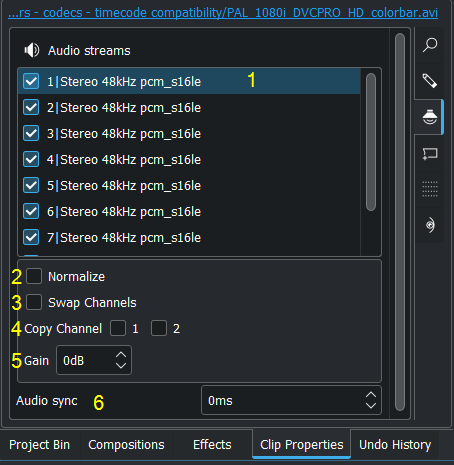
For each channel[1] you can adjust:
Choose which audio channel[1] should be enabled or disabled. Rename with double click.
Normalize the channel
Swap the channels
Copy a channel on the other one
Adjust the volume
for all channels:
Adjust the synchronization time related to the video of the clip.
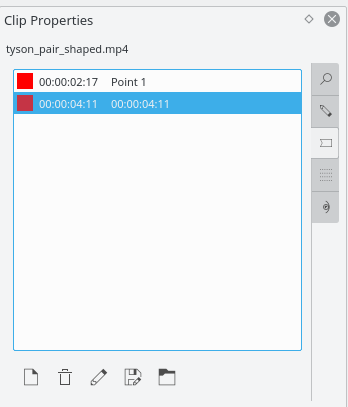
Markers
Marker tab removed. Clip markers are shown in . More details see Markers
Metadata
You expect this to show any meta data that is contained in the clip. Does not appear to work.
Analysis
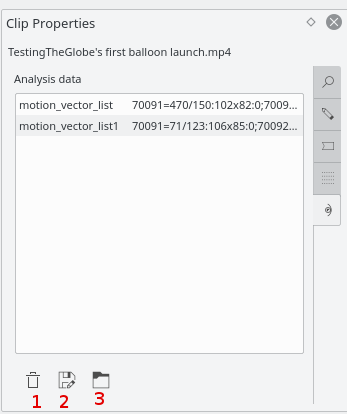
You can view and delete motion vector data that is associated with the clip from here. This is data created by Motion Tracker - 运动跟踪器
Button 1 Will delete the selected analysis data, Button 2 will allow you to export the data (semi colon delimited text file), Button 3 will allow you to import analysis data.
Generators
Counter
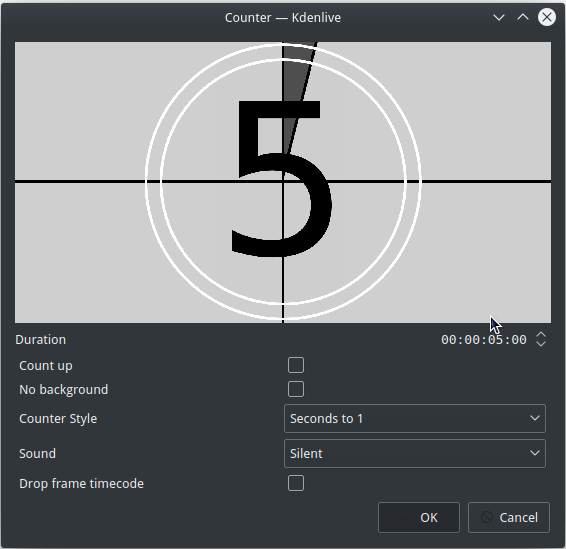
This generates a counter timer clip in various formats which you can put onto the timeline.
You can choose to have the clip count up by checking that option, otherwise it will count down by default. The No Background option will remove the background from the counter leaving only the grey background without the lines.
To change the size and position of the clip, you can add an effect to the clip on the timeline such as the Position and Zoom or the Transform.
White Noise
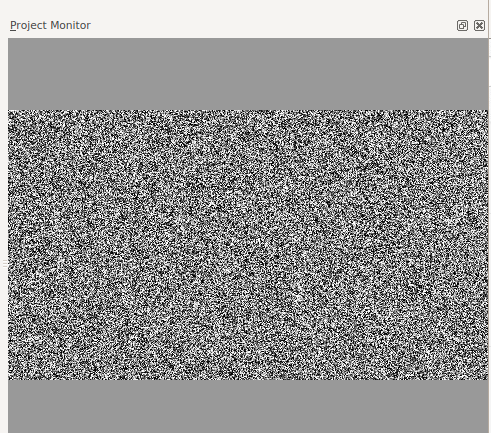
This generates a video noise clip - like the “snow” on an out-of-tune analogue TV. In ver 17.04 it generates audio white noise as well as video snow.
Color Bars
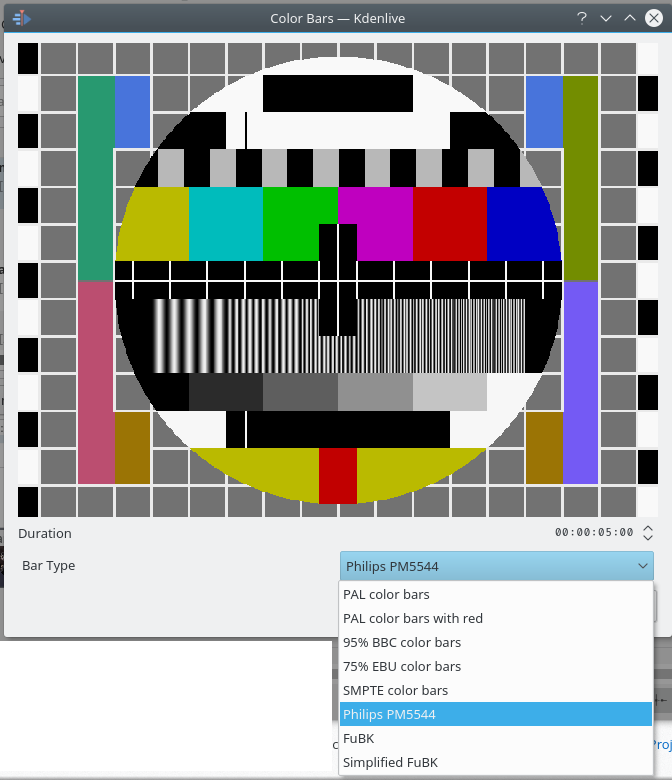
This generator came in to Kdenlive around ver 17.04. Generates a color test pattern of various types. Including PAL color bars, BBC color bars, EBU color bars, SMPTE color bars, Philips PM5544, FuBK