Sequence
A sequence is basically a timeline. Sequences can be rendered independently, but they cannot be saved separately from a project, since they are part of it. All sequences have the same settings as ones defined in the project settings.
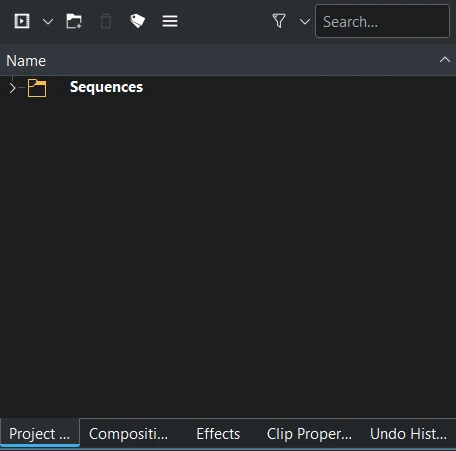
When you open a new project, Kdenlive automatically generates one (1) sequence called Sequence 1 and store it in the Sequence folder located in the project bin.
A sequence behaves like a clip: you can open a sequence and play it in the Clip Monitor, mark In and Out points, drag it into another sequence, just as if it is a clip (insert in the same sequence is not possible).
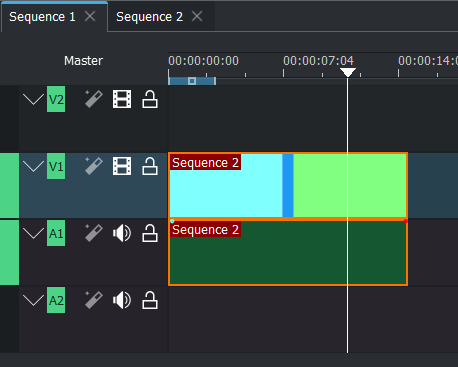
Inserting a sequence into another sequence creates what’s known as a nested sequence. Like clips, nested sequences are actually pointers or references to the original sequence, not copies. You can nest a sequence into another one; then, if you change the original sequence, all the locations in which that sequence is nested will be updated.
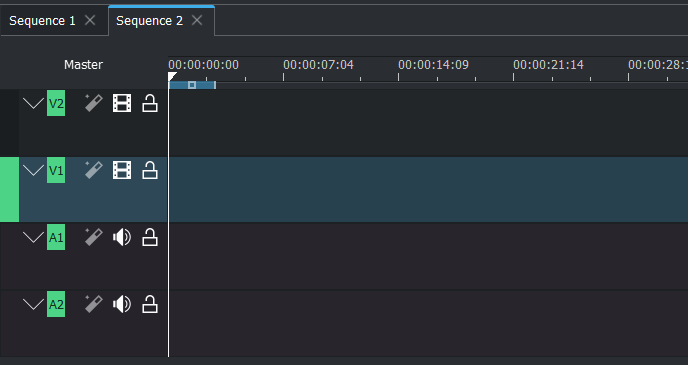
The timeline view consists in minimum of one (1) or more sequences. By adding a second sequence to the timeline, each sequence appears with a tab above the timeline in the timeline tab bar.
Add sequence
Following procedures add a sequence:
Menü
Project bin: Either from the drop down menu or right click in the bin and choose
Timeline: From the timeline tab bar click on the plus icon Add Timeline Sequence, Create new sequence in timeline’s tab bar
Timeline: Select clips and choose , Create a nested sequence
Keyboard
Possible with custom shortcut
Mouse
not possible
Create new sequence in timeline’s tab bar
After adding a 2nd sequence, the timeline tab bar shows up and sequence tabs appear. You can add sequences from the Add Timeline Sequence on the right site (plus sign).

Create a nested sequence
Adds the clips which are currently selected in the timeline to a new sequence clip. The selected clips get exchanged in place by the new created sequence and the new created sequence is stored in the default sequence folder.
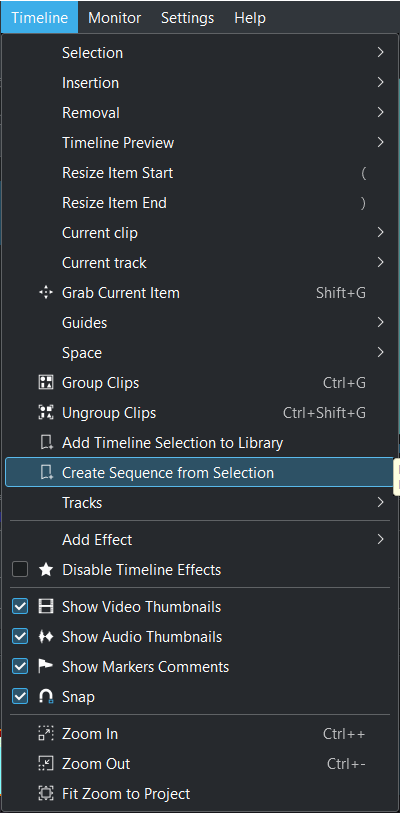
Select clips in the timeline. Choose
Sequence timecode offset
For each sequence you can set a timecode offset using the clip properties.
The timecode offset allows tailoring the timeline to specific project needs for non-standard starting points, such as trailers or sequences. This aligns with professional video editing requirements where specific starting timecodes (e.g., 10:00:00;00) are an industry standard. It also simplifies team collaboration by allowing all editors and content creators to work with identical timecode references.
It improves interoperability with other editing software and tools that rely on specific timecode standards, enhancing seamless project transfers and collaborative workflows.

Sequence timecode offset is shown in the project monitor

Sequence timecode offset is shown in the timeline guides

Sequence timecode offset is shown in the timeline ruler

Sequence timecode offset is shown in the render dialog
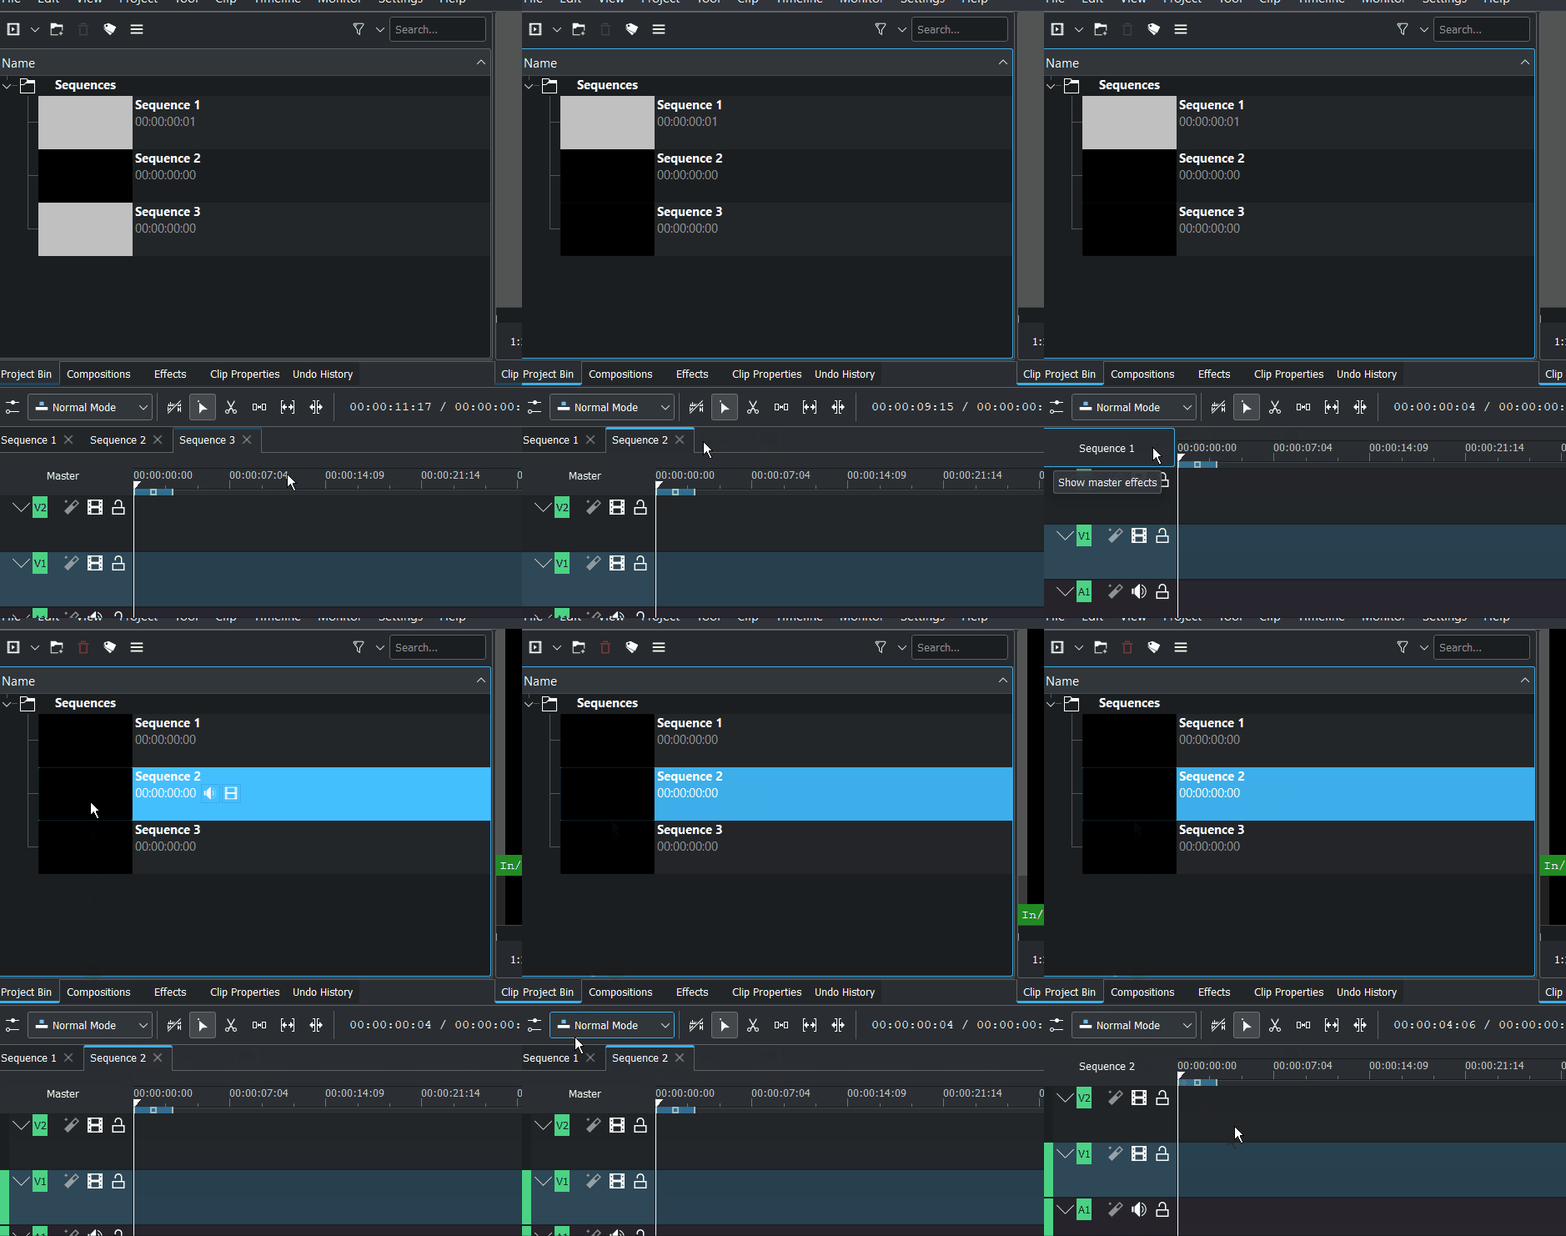
Delete all sequence tabs
When deleting all sequence tabs, then the current sequence name gets shown in the Master Effect space.
Define default sequences folder
In the Project Bin you can define any folder as target folder where new created sequences are stored. When no folder is enabled as Default Target Folder for Sequences then the new created sequence is stored directly in the Project Bin top level.
Project Bin: right click on a folder and enable/disable Default Target Folder for Sequences.
The default sequences folder gets a colored icon and is always displayed on top in the project bin.
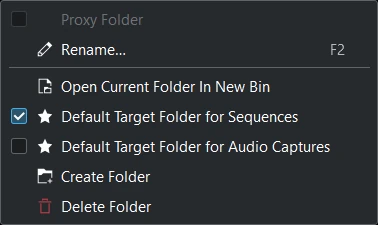
On new created project the default folder is Sequences.
Working with sequences
Change order of sequence tab
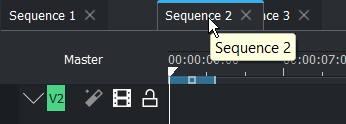
Click and hold the mouse button until the sequence tab gets a blue line on top. Drag it to the new position you want, and then release the mouse.
Open a sequence for editing
There are 3 ways to open a sequence for editing:
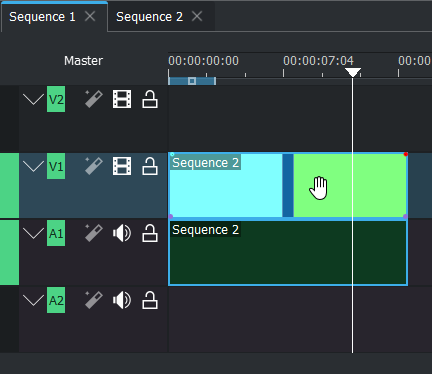
Double click a nested sequence for editing
Double click a nested sequence in the timeline will open its tab and seek to the current playhead position.
Double-click the sequence in the Project Bin.
Click on the sequence tab in the timeline
Duplicate a sequence
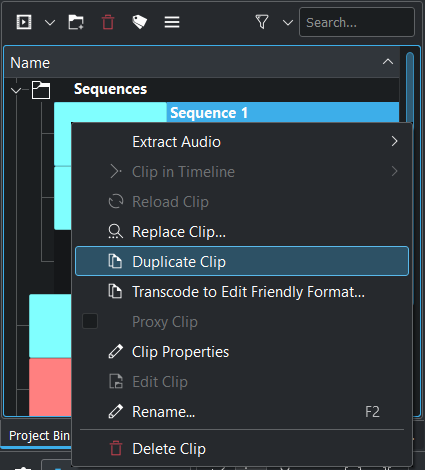
Right-click a sequence in the Project Bin choose Duplicate Clip
Copy a sequence from one project to another
This is not possible. If you add a Kdenlive project with multiple sequences to another Kdenlive project: which sequence will be used?
Change the settings for an individual sequence
This is not possible. All sequences in a project always use the same project profile.
Advantage of sequence
Pancake Timeline
The Pancake Timeline is a way of stacking your timelines on top of each other. The top timeline being your selects or raw material and the bottom timeline usually being your master edit or your final video (undocking a sequence in the timeline is not possible yet).
This allows you to go through your selects, set In and Out point, change to the master sequence and hit “V” to insert it to the master sequence.
Tipp
Go through your selects and put different clips on different video tracks.
On the first track are the clips which are usable.
Track 2 contains good clips, and on track 3 is “the best take” that should be in the cut.
And if anything’s going to track 4 or track 5, it’s like “this is God’s gift” of footage and definitely should go in the film.
Individual videos in one project
A Kdenlive project can contain multiple videos within it. For example, if editing a series of YouTube tutorials on a similar subject, it makes sense to edit all of those videos in one project. You can use the same graphics, music, etc. without creating new projects for each video.
Then, if you need to create a series of short films based on one format you can copy the original sequence, edit it, and you can have one only project with all the episode of the series.
Breaking down a large video
Sequences can also be used to break up a long video such as a feature length documentary or narrative film into smaller scenes that can be edited more easily. You could make each scene its own sequence. Then, once you have edited each scene, you put them all together into one large sequence. This helps to stay more organized and make navigating in your sequences easier.
Versions of the same video
You can have different versions of an edit in the same project that you can modify without shifting from one project to another.
Using a new sequence for every „draft“ of your video is another common use of sequences. Start with one sequence as version 1 of the project. As you make changes, you make a copy of that sequence and rename it to version 2. This way, you always have your previous versions / sequences to look back onto if you want to undo something.
This is especially important when working with clients, so you can go back to how it was in the previous version if asked.
Reuse of sequence
Assembling multiple sequences into a master sequence. Reusing a previously edited and rendered segment such as a logo or credit sequence can be useful for a number of purposes, from assembling a final master sequence from shorter segments produced by multiple editors.
Apply an effect to more than one clip (nested sequence)
You can apply an effect to more than one clip at a time.
Nesting a group of clips allows you to apply and adjust a single copy of a filter to a series of clips, rather than having to apply and adjust filters for each individual clip.
Apply animation path (nested sequence)
You can create, for instance, an animation in one sequence and you can use it several times in different sequences (by keeping alpha channel, without exporting it and with the option to edit the original sequence all the time you want).
Converting a series of edited clips into a single nested sequence allows you to create a single motion path for the nested sequence rather than having to create a separate motion path for each clip.
Sometimes you can’t create an effect or an animation only in one stage. So, you can use each sequence like a clip, and you can reach the final stage without to export or to close the project and import it into another one.