Integration with Glaxnimate
Kdenlive is integrated with Glaxnimate for vector graphics and animations. It is an independently developed and maintained software, and needs to be downloaded and installed separately. Glaxnimate is available for Linux as an appimage and Deb package (both maintained by the developer), as well as a package for AUR, Snap, PyPl, FreeBSD, and FlatPak, for Windows as a ZIP file, and for MacOS as DMG. For more details refer to the Glaxnimate Download page.
Kdenlive needs to know where to find Glaxnimate. You set up the path to Glaxnimate in (default shortcut Ctrl+Shift+,) under the heading Animation editing.
- Linux:
Depending on your Glaxnimate installation method (appimage or package)
- Windows:
Locate the executable
.exefile where you unpacked the ZIP file (\Your\Path\To\glaxnimate\bin\glaxnimate.exe)
Creating an Animation
In the Project Bin, click in 
 Add Clip or folder and select Create animation, or right-click empty space in the Project Bin and select Create animation.

Create animation dialog window
In the dialog window, enter a name for the animation. If you want to save it in a different folder, click on the  Open file button to open a Save As dialog window. Make sure you specify the
 .rawr file type.
By default, the animation duration is set to be 5 seconds long. If you need a different duration, you can enter a new Animation duration in the format hh:mm:ss:ff.
참고
You can always change the duration later by dragging the right-hand edge of the animation clip in the timeline, or by right-clicking the clip in the timeline and selecting Edit duration. However, this is not passed on to Glaxnimate, and you have to adjust the duration there as well via Glaxnimate .
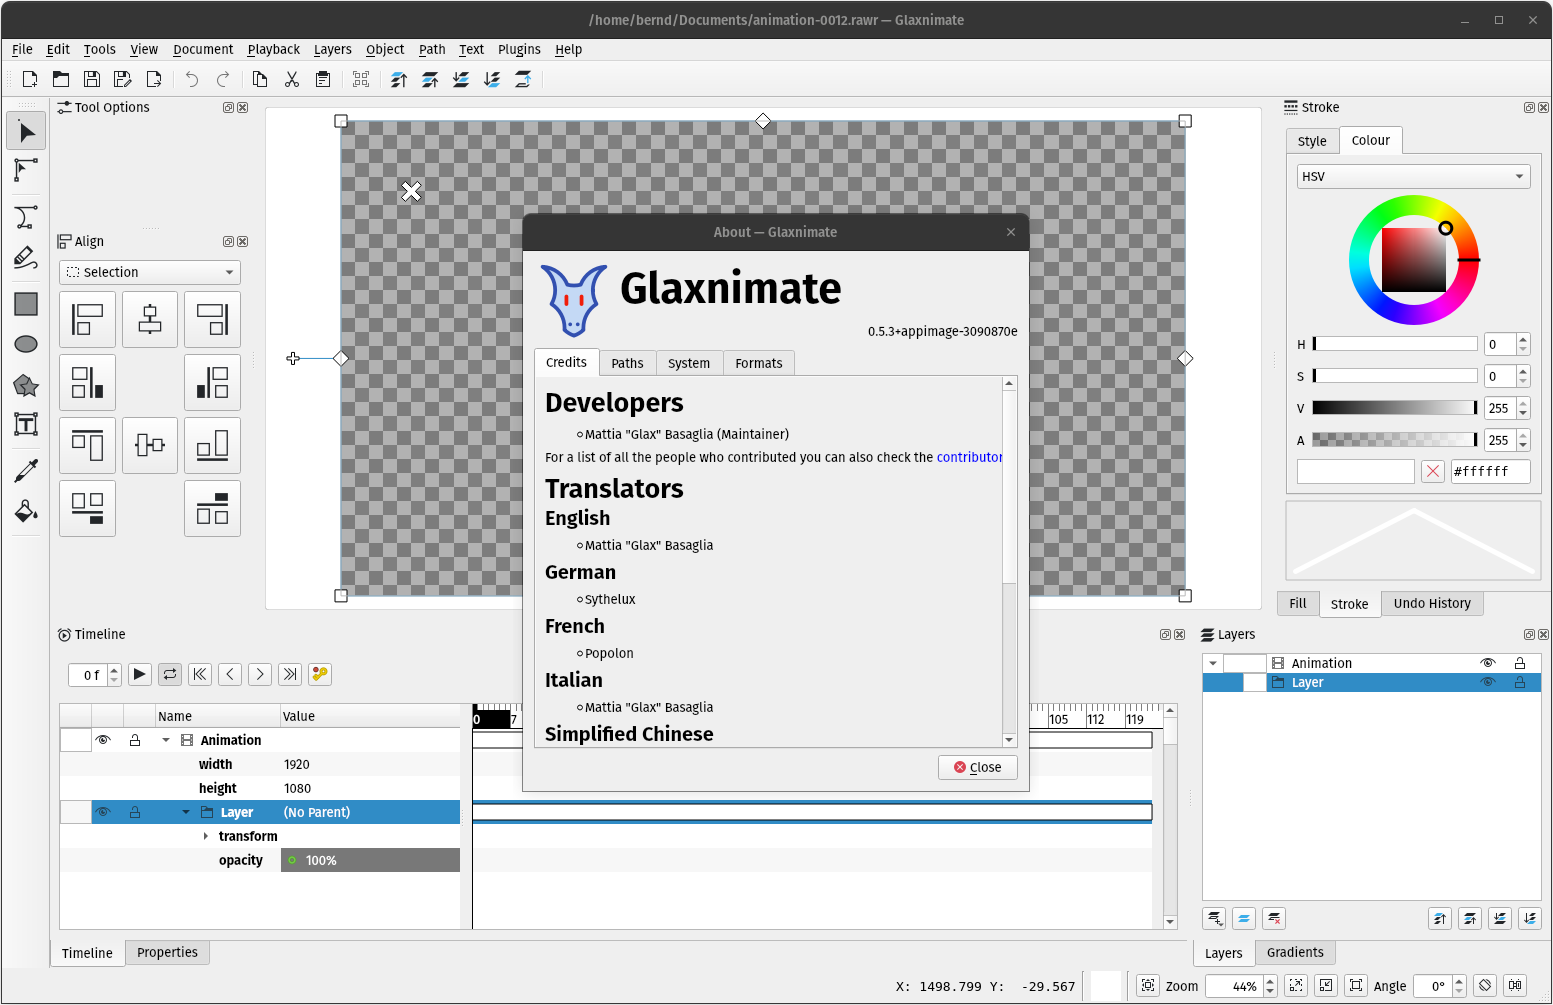
The Glaxnimate application
Kdenlive opens the Glaxnimate application. Please refer to the official Glaxnimate Manual for its features, layout, tools, the keyframe system, and the layer concept.
After the animation is done, drag the animation clip from the Project Bin to the Timeline. Once it is placed in the timeline, you can take advantage of the feature of the Kdenlive-Glaxnimate integration: your clip(s) as the background in Glaxnimate!
This makes it so much easier to create moving call-outs, travel routes on a map, and so on. You can have several Glaxnimate instances open but the background will only be sent to the instance opened first. If you need to see the background in another animation clip, save the animation and close all instances of Glaxnimate before you double-click the animation clip in the timeline.
참고
This feature works only if the animation clip is opened for editing from the timeline. Otherwise Kdenlive does not know what clip to use for the background images, of course.
힌트
Glaxnimate may not display the background the first time even after the animation clip was opened from the timeline. In that case move the Glaxnimate playhead, and the background should be displayed.