The Library: Copy & Paste Between Projects
The Library is Kdenlive’s way to copy and paste sets of clips and transitions between different projects. It is not just a clipboard, but instead it is a library for all the things you use in more than a single project. The Library came to life around Kdenlive 15.04 or so. Let’s dive right into how to use the library in your daily Kdenlive workflow!
Step 1: Copy Stuff to Your Library
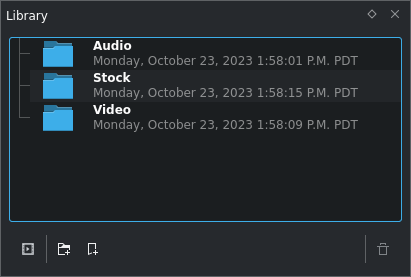
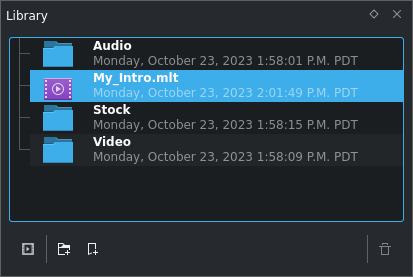
Library with example folders
The Library is Kdenlive’s central place for copying and pasting between projects.
If you do not see the library widget, enable it in .
By default, the library is empty. For illustration purposes folders for Audio, Video and Stock footage have been created.
Note
The library should look slightly familiar, as it works and behaves similar to the project bin. However, while the project bin changes with each project, the library is independent of your projects. It is always the same library, there is only one of it.
Tip
A quite useful workspace layout is to group the library together with the project bin, and optionally the project notes. This way, you do not need extra screen space for the library, yet it is no further away than just a single click.
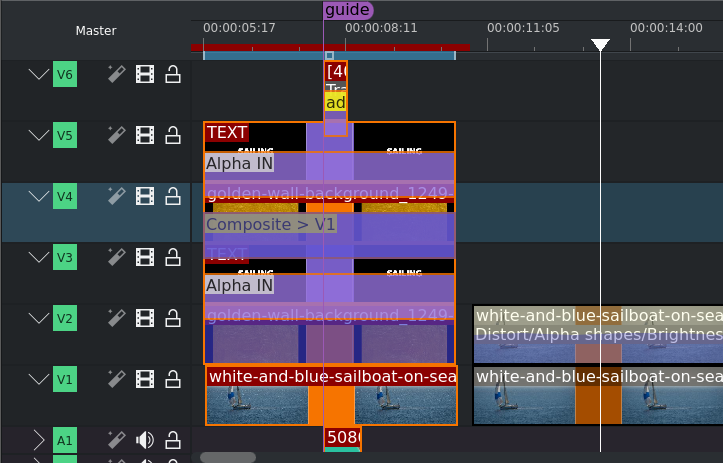
Timeline with clips selected for the library
Next, select some clips, as well as transitions/compositions, in the timeline. You can load an existing project and select some timeline clips and transitions at any time in order to copy it into your library. There is no separate import. Simply load a project or create a new one.
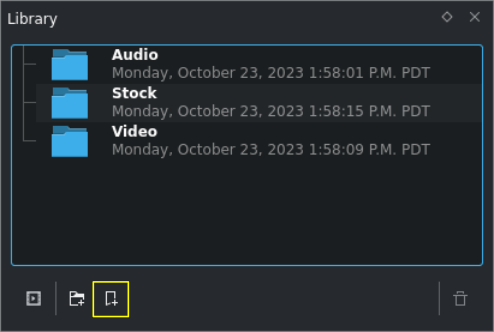
Library widget
Switch to the library widget, if you have not yet done so. Then press the Add Timeline Selection to Library  button.
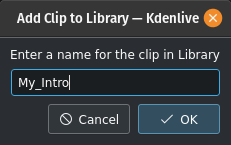
Enter name for new library item
Kdenlive now asks you to name your new library item. Give it some name, and click OK to copy the selected timeline clips (with effects) and transitions into your library.
Library with the newly created item
Of course, you can even neatly organize your library items into folders, and subfolders. This is similar to what you may have come to known from Kdenlive’s (project) bin, where you also can use folders to organize your project (source) clips.
Use the Add Folder  button at the bottom of the library to create a new folder. You can rearrange library items and folders at any time by simple dragging them into their new place.[1]
Step 2: Paste Library Item into (New) Project

Library with new item to be copied to project bin
Now switch to another Kdenlive project by loading it, or alternatively start with a fresh project from scratch. Next, go to the library pane and select the library item you want to paste into your project. Then, press the Add Clip to Project  button (up to Kdenlive 16.08.1 this is instead the + button, located in the same place).
Step 3: Drag Library Item into Timeline

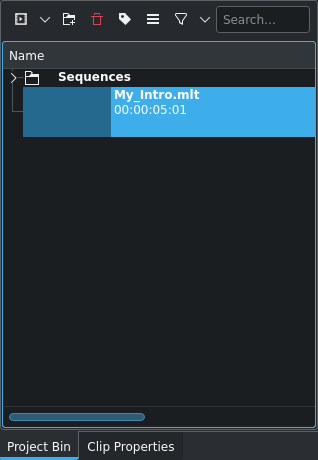
Timeline with the library clip as a single clip
The selected library item has now been added to your project bin. You will see this by switching to the project bin widget. You still have only a single (library) clip at this stage. You can now drag it into the timeline, wherever you want.
Note
You cannot directly drag a library item from the library into your timeline. You always need to add it to your project bin first.
Step 4: Expand Library Clip
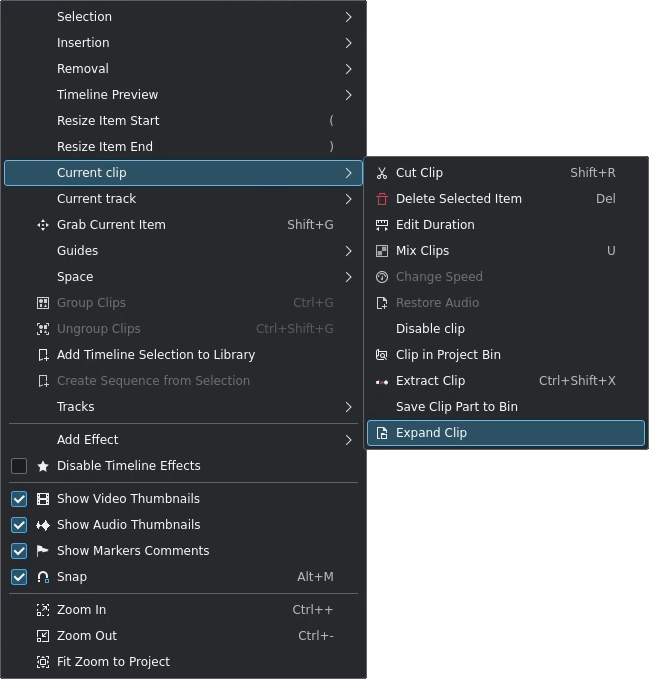
Often, you want to edit the contents of a library clip right after after you have placed it on the timeline. Expanding means that you want to break up a library clip into its contents for further editing. So, simply select the library clip in the timeline. Then choose . Alternatively, you can create a keyboard shortcut for that.
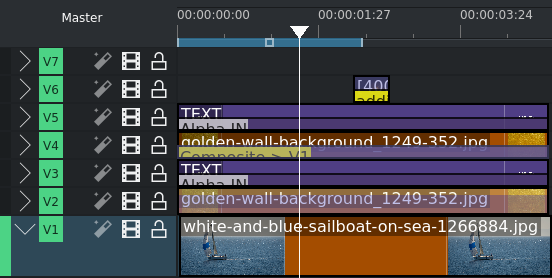
Timeline with the expanded library clip
You can now edit the expanded contents as you would edit any other timeline content.
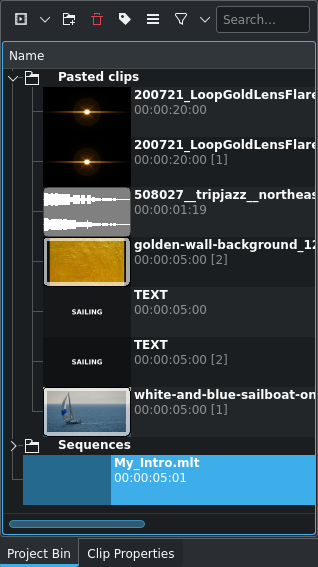
Project bin with expanded library Clip
Kdenlive has expanded all the clips inside the library item into the bin folder Pasted clips. You can rename the folder if you want. Another library clip will expand into a new Pasted clips folder. So you may want to keep those separate. Your choice.
After successful expansion, you may now remove the original library clip from your bin. It is not needed anymore (as you can also tell from the missing reference count).
Clip Expansion Details
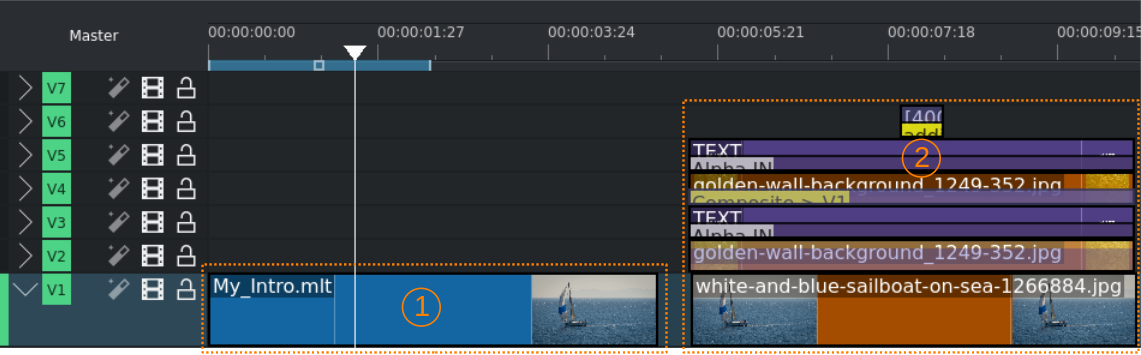
Timeline with library clip (1) and expanded (2)
Library clips will be expanded from the bottom up. This means that in case a library clip contains multiple tracks, then you need to place the library on a track with enough room (i.e. tracks) above for the clip to expand.
If there are not enough tracks above the library clip, yet there are enough tracks in the timeline, then Kdenlive will attempt to shuffle the library clip down a number of tracks before expanding it.
Attention
In any case, to expand a library clip into its contents, you will always need necessary free space in the timeline. This means that there cannot be any clips or transitions within the start and end of the library clip on as many adjacent tracks as are needed when expanding a multi-track library item. Simply put: just make sure that the library item has room to expand. There can be other clips and transitions above and below the library clip, they just need to be outside of the area of expansion.
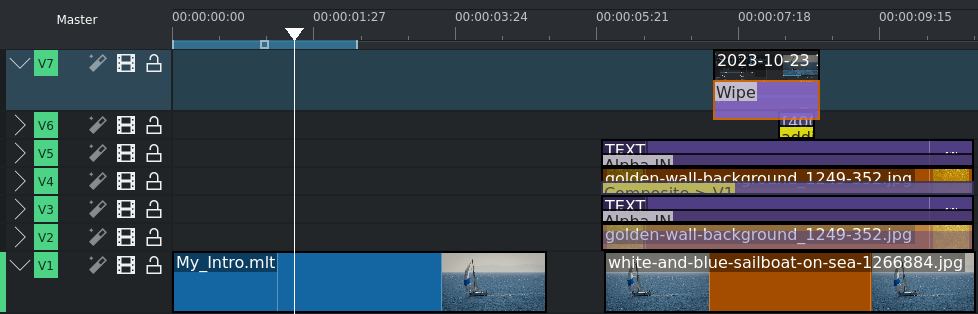
Timeline with expanded library clip abutting a clip with a transition in the top-most track
You can also expand a library immediately below a transition; that is, the library clip is on the next lower track in the timeline. This is useful for such cases where you, for instance, have a clip running the full length of your project on the topmost track and showing your company logo, channel logo, or something similar. If you then use an explicit transition added to this clip over compositing, you can still correctly expand the library clip on the second-topmost track.
Configuring Your Library Storage Location
All items in your Kdenlive library are stored in a user-configurable place inside your file system. The default location, unless configured otherwise, is where your other semi-temporary caching data is stored. Typically, this is $HOME/.local/share/kdenlive/library (Linux) and %APPDATA%\Roaming\kdenlive\library (Windows). Your library clips are then stored inside this directory, as well as in subdirectories in case you also use library folders.
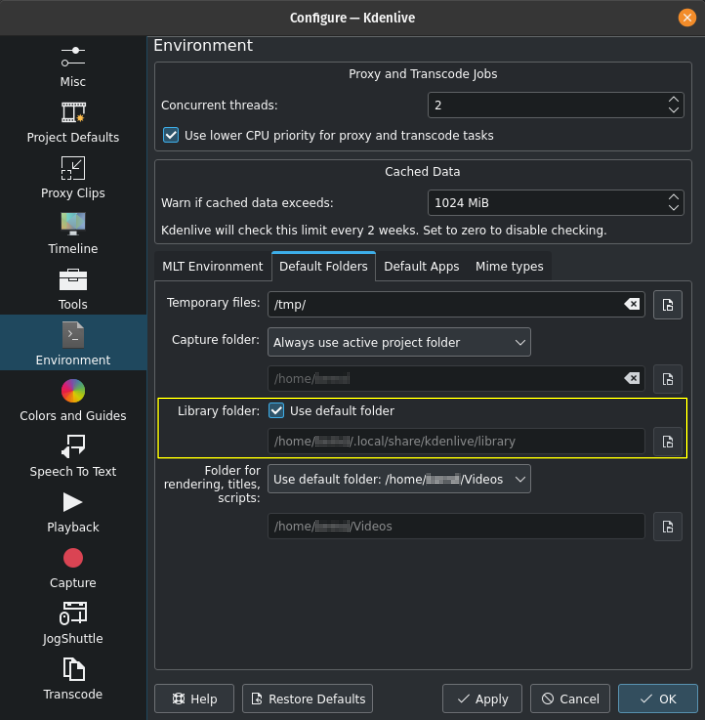
Setting the library folder location
To change the location of your library, go to . Next, select the section Environment. Switch to the Default folders tab. Locate the part titled Library folder, and deselect the option Use default folder. Select or enter another location for your Kdenlive library.
Attention
Kdenlive will not move existing library files to the new location you have set. You will need to do this manually using a file browser or from the command line.
Notes
- Sources
The original text was submitted by user TheDiveO to the now defunct kdenlive.org blog. For this documentation it has been lifted from kdenlive.org, updated and adapted to match the overall style.