Blending Modes
Blending modes (or blend modes or mixing modes) are also called Composition Type in Kdenlive. They determine how two images are blended together. The default blending mode is simply to cover whatever is in the lower track by whatever is in the upper track, while taking any alpha channel information into account.
In this section, we are using the Composition Type Cairo Blend to explain the different blend modes.
Compositing/blending needs at least two tracks: The top track or "layer", also called the blend layer or active layer; and the "bottom" track or layer, also called the base layer. In a blending composition, the blend layer is always the track where the composition originates, whereas the base layer can be specified with the Composition track. By default it is set to Automatic which uses the track immediately below.
Selecting the composition track and blend mode
If you want to blend with a different base layer, select the correct one from the Composition track.
Select the blend mode by clicking on the Blend mode drop-down list.
Blending can be controlled and keyframed by using the Opacity slider.
To better understand how blending modes work, read the Tips & Tricks How-Tos sections about Lift/Gamma/Gain (LGG), White Balance, and familiarize yourself with the Color Levels effect.
Blending Modes can be grouped by their result:
Normal
This is the standard blending mode. The blend layer simply covers everything in the base layer, except if there is an alpha channel in the blend layer.
Darker
The following blending modes all darken or amplify dark colors in the image:
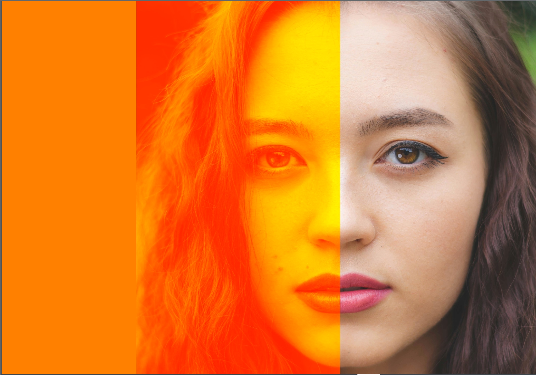
- Darken:
Keeps the darkest colors between the blend and base layers.
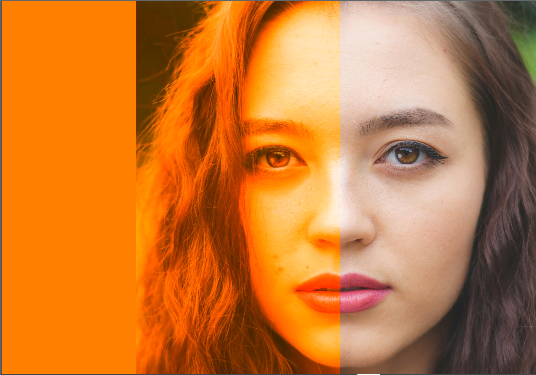
- Multiply:
Keeps the darker colors of the blend layer and makes light colors less opaque. This is done by taking the RGB channel values from 0 to 1 of the pixel in the blend layer and multiplying it with the values of the corresponding pixel in the base layer. The resulting color is always darker, except for where it is pure white, since each value is less than 1.
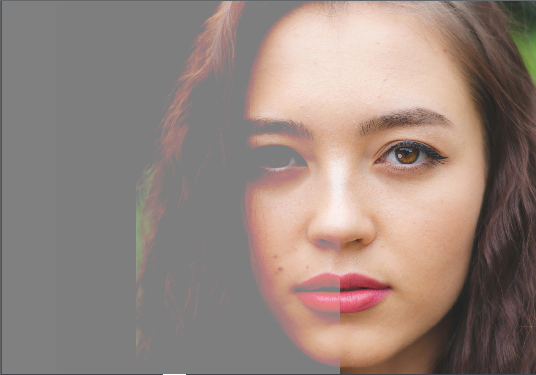
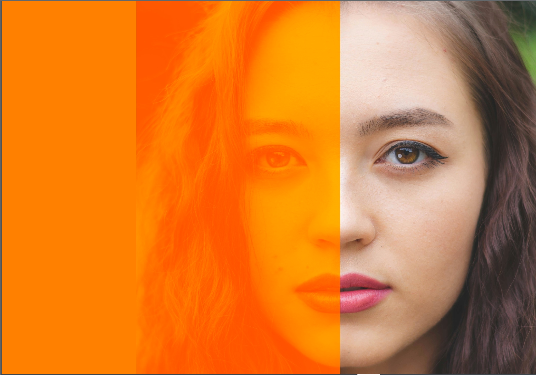
- Color Burn:
The color from the blend layer is used to darken the base layer, and increases the contrast between the two. This is done by dividing the inverted base layer by the blend layer, and then inverting the result. Blending with white produces no change. Note that when the blend layer is a homogenous color, this effect is equivalent to changing the black point to the inverted color.
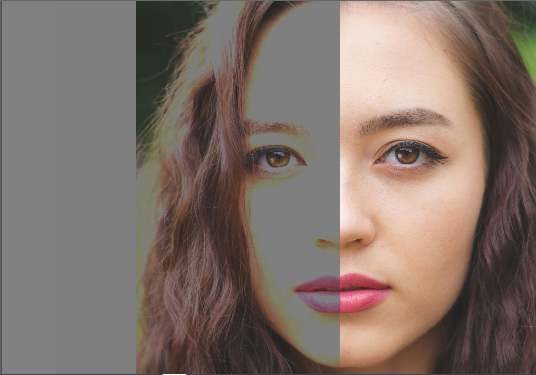
Darken¶ |
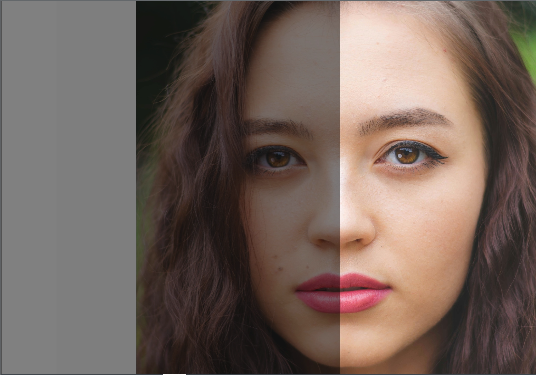
Multiply¶ |
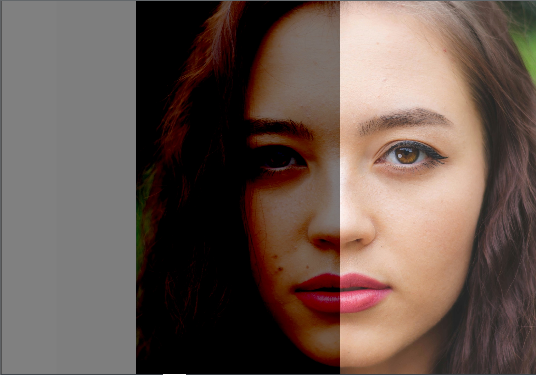
Color Burn¶ |
Lighter
The following blending modes lighten or amplify light colors in the image:
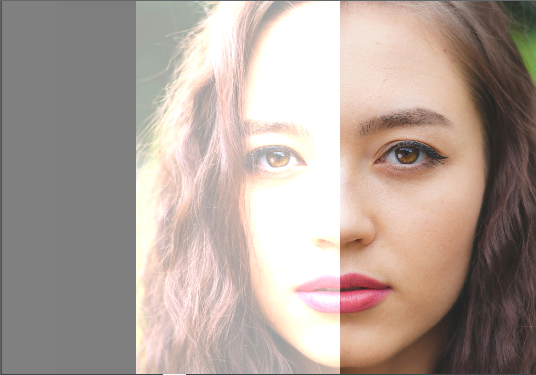
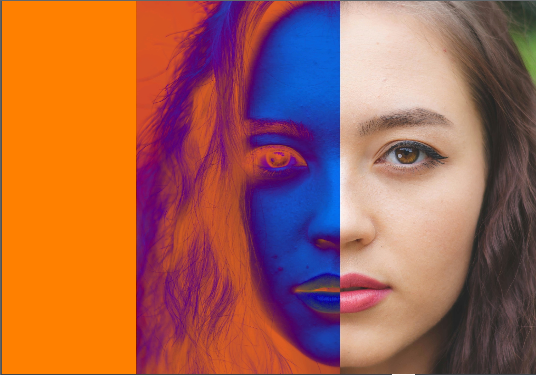
- Add / Addition:
The color values of both layers are simply added (hence the name). Since this always produces the same or lighter colors than the input (base layer) it is also known as Plus Lighter.
- Lighten:
Keeps the lightest colors between the blend and base layers. It will only lighten of the blend layer is lighter than the brightness (or luminance) of the base layer.
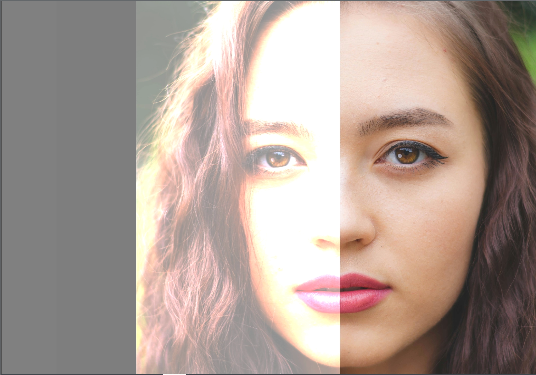
- Screen:
In this blending mode, the color values of the image of both layers are inverted, multiplied, and then inverted again. This is the opposite of Multiply: Wherever either layer was darker than white, the composite is brighter.
- Color Dodge:
This blending mode divides the base layer by the inverted blend layer. It lightens the base layer depending on the value of the blend layer: the brighter the blend layer, the more it affects the base layer. If you use white in the blend layer, the color in the base layer will become white; using black in the blend layer does not change the base layer. Note that when the blend layer is a homogenous color, this blending mode essentially changes the output black point to this color, and (input) white point to the inverted color.
Add¶ |
Lighten¶ |
Screen¶ |
Color Dodge¶ |
Contrast
The following blending modes are great for adding depth and dynamics to images by having the two layers play off of each other:
- Overlay:
This blending mode works like Multiply if the base layer is darker, or like Screen if it's lighter. In other words: where the base layer is light, the blend layer becomes lighter; where the base layer is dark, the blend layer becomes darker; mid-tones do not affect the blend layer.
- Hard Light:
This blending mode is a combination of Multiply and Screen. It works similar to Overlay but uses the brightness of the blend layer where Overlay uses the base layer.
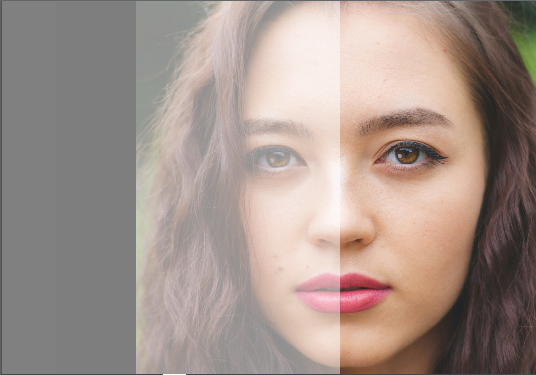
- Soft Light:
Similar to Overlay, it uses luminance values to either darken or lighten the image.
Overlay¶ |
Hard Light¶ |
Soft Light¶ |
Comparative
The following blending modes basically invert white or light colors:
- Difference:
This blending mode subtracts the base layer from the blend layer, or the other way around to avoid negative numbers. Blending with black (RGB value is 0,0,0) results in no change, whereas blending with white (RGB value is 255, 255, 255) inverts the picture. During the editing process this can be used to verify alignment of images with similar content: is the pixel values are the same, the result is black.
- Exclusion:
This blending mode is essentially the same as Difference but with less contrast as it does not invert mid-tones.
Difference¶ |
Exclusion¶ |
Color
The following blending modes play with hues, saturation, and brightness (aka luminance, hence the acronym HSL):
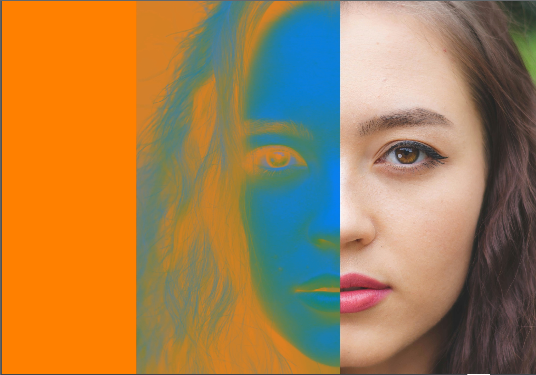
- HSL hue:
This blending mode preserves the luma and saturation (chroma) of the base layer, while taking the hue of the blend layer.
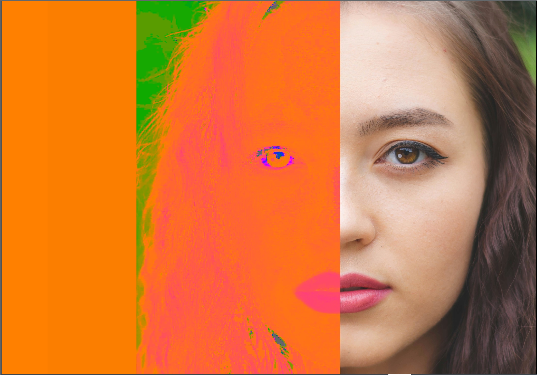
- HSL saturation:
This blending mode preserves the luma and hue from the base layer, while adopting the saturation from the blend layer.
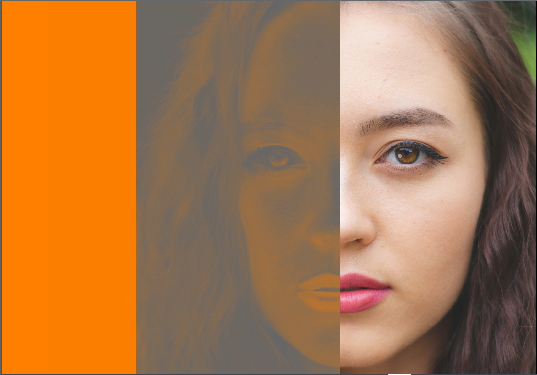
- HSL color:
This blending mode preserves the luma from the base layer, while taking the hue and saturation from the blend layer.
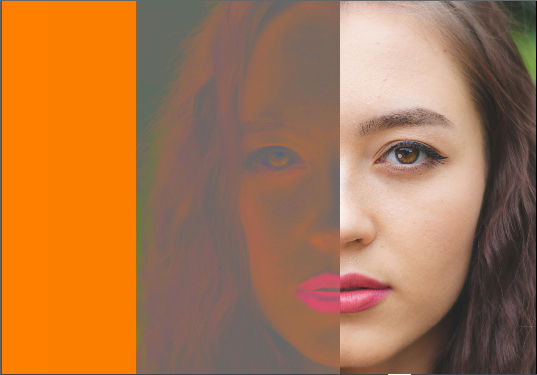
- HSL luminosity:
This blending mode preserves the hue and saturation from the base layer, while adopting the luma from the blend layer.
Hue¶ |
Saturation¶ |
Color¶ |
Luminosity¶ |