安裝
Kdenlive 大約每三個月會釋出新版本。最新資訊與發行註記請見 Kdenlive news page。也請查看關於最新加入的功能的資訊。
您可以用兩種方式安裝 Kdenlive:
使用安裝器
以單一檔案執行檔執行(Windows:獨立;Linux:appimage)。
在 macOS 上您只能使用安裝器。
Visit the download page of the Kdenlive web site to get the latest release for your operating system.
您可以從 attic 找到所有舊的 Kdenlive 版本。
最低系統要求
作業系統:
64 位元 Windows 10 (1809 或更新)[2] 或更新
Apple macOS 13 (Ventura)[1] or newer and on Silicon M-Series
64 位元 Linux
詳細資訊請見以下說明
**CPU:**x86 Intel 或 AMD;標準畫質 (SD) 影片需要至少有一個 2 GHz 的核心,高畫質 (HD) 影片需要 4 核心,4K 影片需要 8 核心。詳細資訊請見以下說明。
GPU:任何 OpenGL 2.0 能正常運作的 GPU。在 Windows 上也可以使用正確支援 DirectX 9 或 DirectX 11 的 GPU 與驅動程式。
記憶體:標準畫質 (SD) 影片需要至少 4 GB,高畫質 (HD) 影片需要至少 8 GB,4K 影片需要至少 16 GB。
小訣竅
If your computer is at the lower end of CPU and RAM requirements, you should use the Preview Resolution, Proxy and 時間軸預覽算繪 features to help reduce preview lag.
備註
Kdenlive 的影片編輯基本上強烈依賴 CPU 運算。雖然 Kdenlive 有支援利用 GPU 的算繪方案,但時間軸播放還是使用 CPU 運算。因此 Kdenlive 的播放效能仰賴於 CPU 的運算能力。更好的 GPU 支援已在 Kdenlive 中期的計劃當中。
Linux 上的 Kdenlive
Kdenlive 可以安裝在非 KDE 的桌面,不會有任何問題。
Packages: AppImage or Flatpak are the official packages Kdenlive maintains.
備註
As of Kdenlive release 24.02, PPA is no longer supported. Only AppImage and Flatpak releases are officially supported.
If you use the Flatpak version, it installs properly in your desktop environment. No further action required.
If you want to use the AppImage, download the AppImage and move it to a directory of your choice and make it executable. Normally you can do this using the file manager of your desktop environment (like Dolphin in KDE Plasma). Right-click the AppImage and select Properties and then Make executable. Alternatively, you can use the Linux shell command chmod 777 <appimage_name> in a terminal. Now you can simply double-click the AppImage file to start Kdenlive or type the AppImage name in a terminal.
Windows 上的 Kdenlive
Kdenlive 只支援 64 位元版的 Windows。Kdenlive 支援 Windows 10 (1809 或更新) 以上的版本。我們不保證 Kdenlive 能在伺服器版或是嵌入式版 Windows 上執行。
Last version for Windows 7 (Kdenlive 23.08.5) can be downloaded from the attic.
Kdenlive 提供安裝版或是獨立執行版。
安裝版:需要管理員權限才能安裝於裝置上。會在各選單列為已安裝的程式。
您的電腦上所有使用者皆能使用。
Kdenlive 的檔案總是會放置於同一個資料夾。
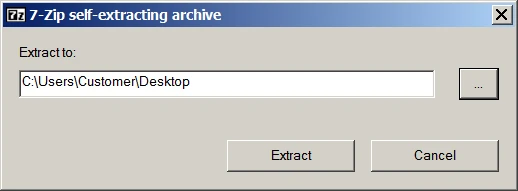
獨立執行版:**不需要**管理員權限,但不算是有安裝。**不會**列為已安裝的程式。只有下載執行檔的使用者能夠使用。
只要您是電腦上的普通使用者,您就能使用 Kdenlive。
可以將 Kdenlive 資料夾複製到任何外部磁碟上,並在另一台電腦上執行而不需要安裝它。然而,您的個人設定與 Kdenlive 中的下載會儲存在目前使用的電腦上。
Windows 網域中的 Kdenlive
如果您在使用 Windows Active Directory 或群組政策 (GPO) 時希望網域使用者能夠使用 Kdenlive,請確保所有使用者都有權限能夠讀取或寫入以下資料夾:
%AppData%\kdenlive
%LocalAppData%\kdenlive
%LocalAppData%\kdenliverc
%LocalAppData%\kdenlive-layoutsrc
%LocalAppData%\kxmlgui5\kdenlivekdenliveui.rc
%AppData%\kdenlive\.backup
%LocalAppData%\knewstuff3
也請確保沒有群組政策阻擋對這些資料夾的存取。
macOS 上的 Kdenlive
Kdenlive 支援使用 macOS 12 (Monterey)[1] 或更新版本的 Intel Mac 機型,以及所有 Apple Silicon M-系列機型(可從|download_page_zhtw|取得)。
Last version for macOS 10.13 (High Sierra) (Kdenlive 23.08.5) can be downloaded from the attic.
Last version for macOS 11 (Big Sur) (Kdenlive 24.08.1) can be downloaded from the attic.
安裝步驟
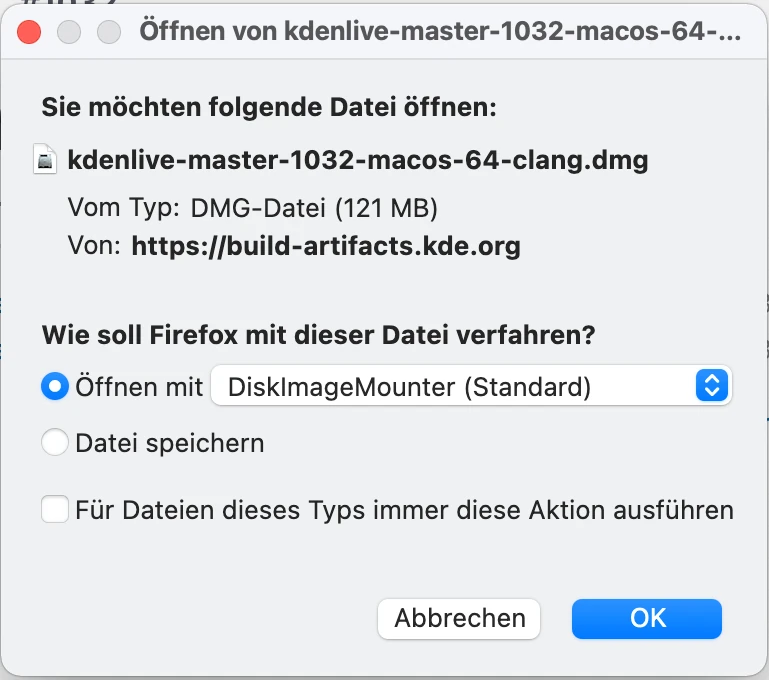
macOS 下載選項
選擇「用 DiskImageMounter 開啟(預設)」。
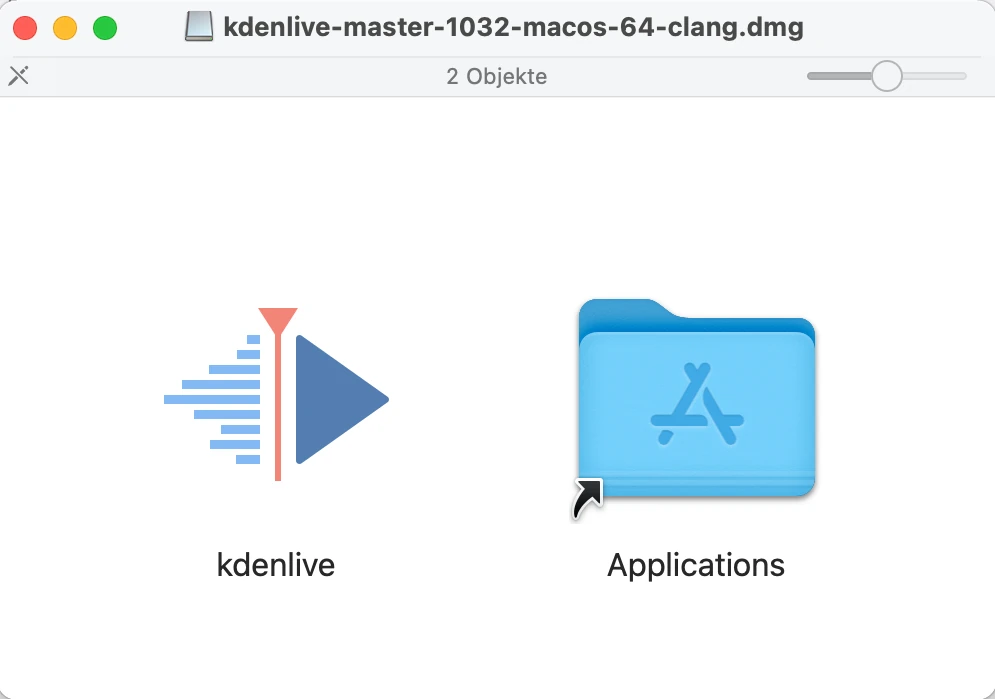
macOS DiskImageMounter
dmg 檔案下載完成之後 DiskImageMounter 會開啟。請把 Kdenlive 的圖示拖曳到「應用程式」資料夾裡。

macOS 複製
檔案會被複製。

macOS 檢查
macOS 會試著檢查檔案當中有沒有惡意軟體。
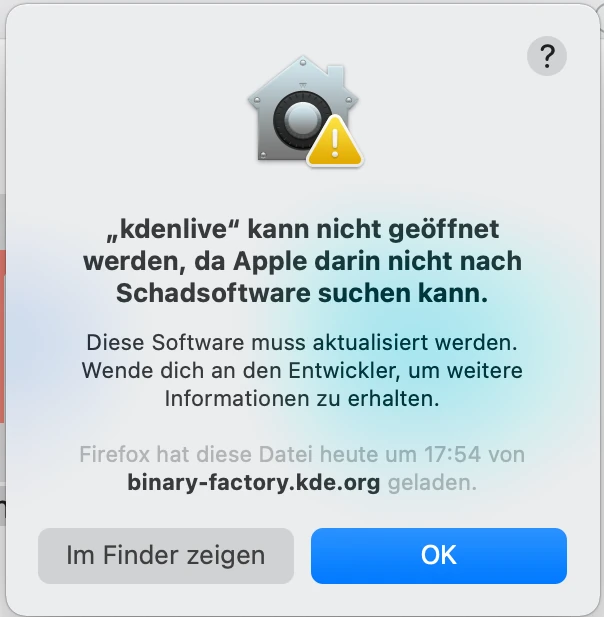
macOS 警告
會出現「無法打開「Kdenlive」,因為 Apple 無法檢查是否包含惡意軟體」這個訊息。這裡您會需要點擊 顯示於 Finder。
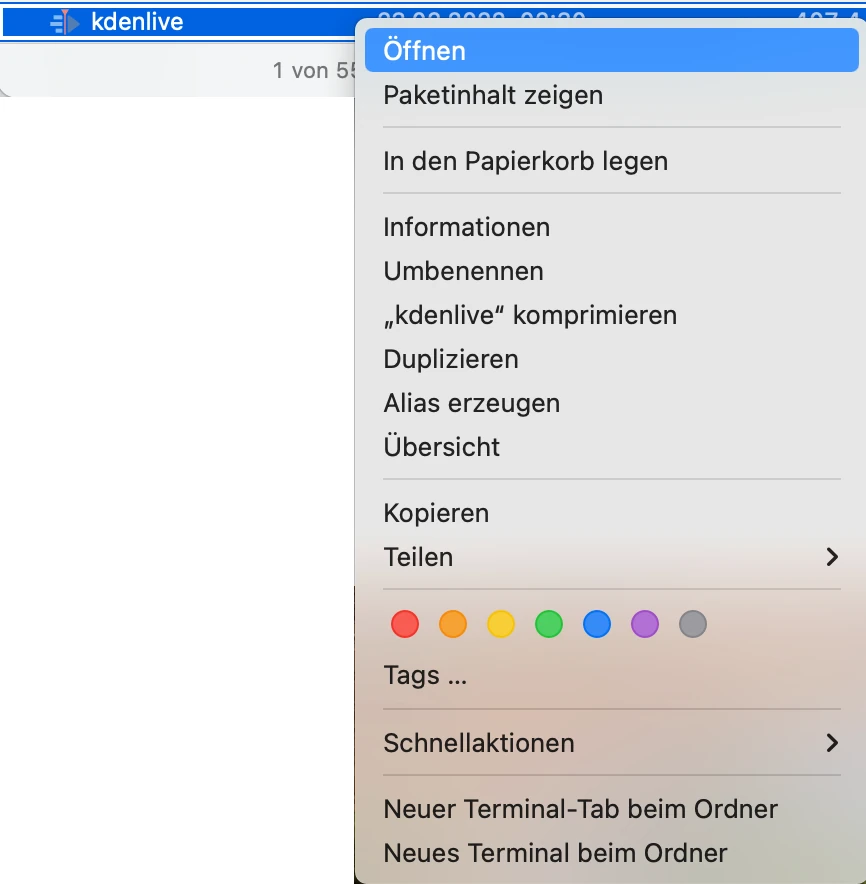
macOS 右鍵點擊
Finder 會開啟。然後請右鍵點擊 Kdenlive 之後選擇 打開。
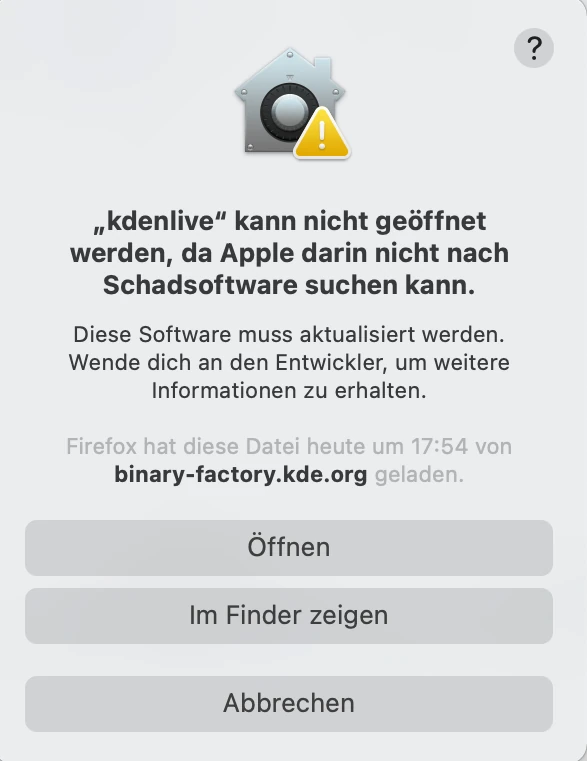
macOS 開啟
Apple 無法檢查是否包含惡意軟體的訊息會再次出現,但在此只要點擊 打開 即可,Kdenlive 便會開啟。
自動檢查更新
Kdenlive 啟動時會自動依應用程式版本檢查更新(不需要網路連線)

You can disable this function in Environment by un-checking Check for updates.