Monitor projektu
Project Monitor elements
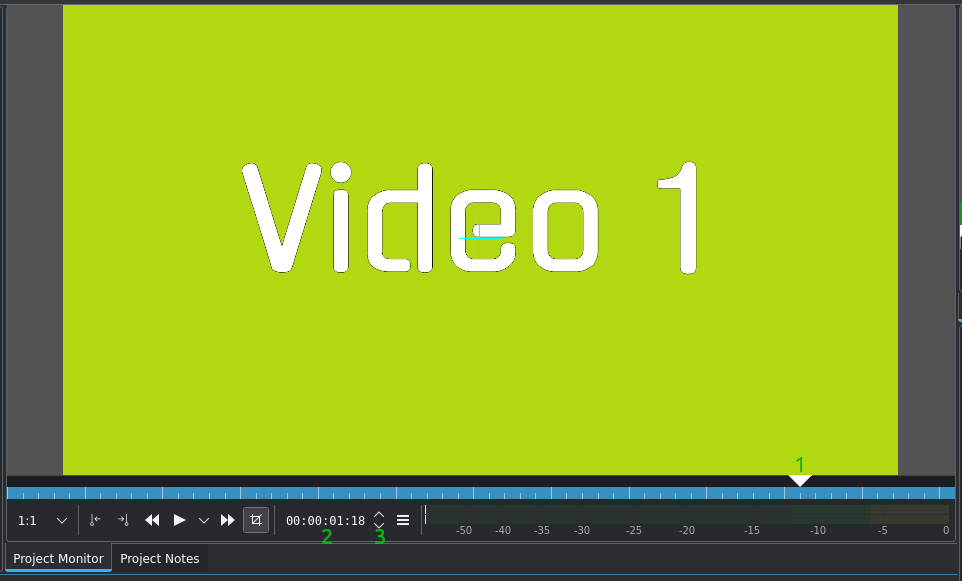
The Project Monitor displays your project’s timeline - i.e. the edited version of your video. It has the same functions and options as the Monitor klipu except for the  icon which switches Edit Mode on or off.
For more details about the icons in the monitor toolbar refer to this section of the manual.
Project Monitor Controls
The position caret. Shows the current location in the project relative to the whole project. You can click and drag this to move the position in the project.
The timecode control. You can type a timecode here and press Enter to bring the playhead to an exact location.
Timecode control arrows. You can move the Project Monitor one frame at a time with these. Alternatively, you can use left and right (keyboard arrow keys).
Hamburgerová nabídka

Project Monitor options
Volume - Set the Project Monitor playback volume. This does not affect the master volume setting.
Go to Timeine Marker - If timeline markers are defined the list of timeline markers is displayed and selecting one positions the playhead at the guide’s timecode.
Force Monitor Size - You can force the Project Monitor to display the video at 100% (original size), 50% or adjust it to the Project Monitor widget’s size.
Set current image as thumbnail - Takes the a snapshot of the current frame and uses that as the thumbnail for the clip.
Audio Scrubbing - If enabled plays the audio track while scrubbing through the timeline. You may want to turn this off to improve scrubbing performance or if the noise is distracting.
Show Audio Levels - If enabled shows the frequency curve of the master audio in the Project Monitor.
Creating Zones
Project Monitor zone
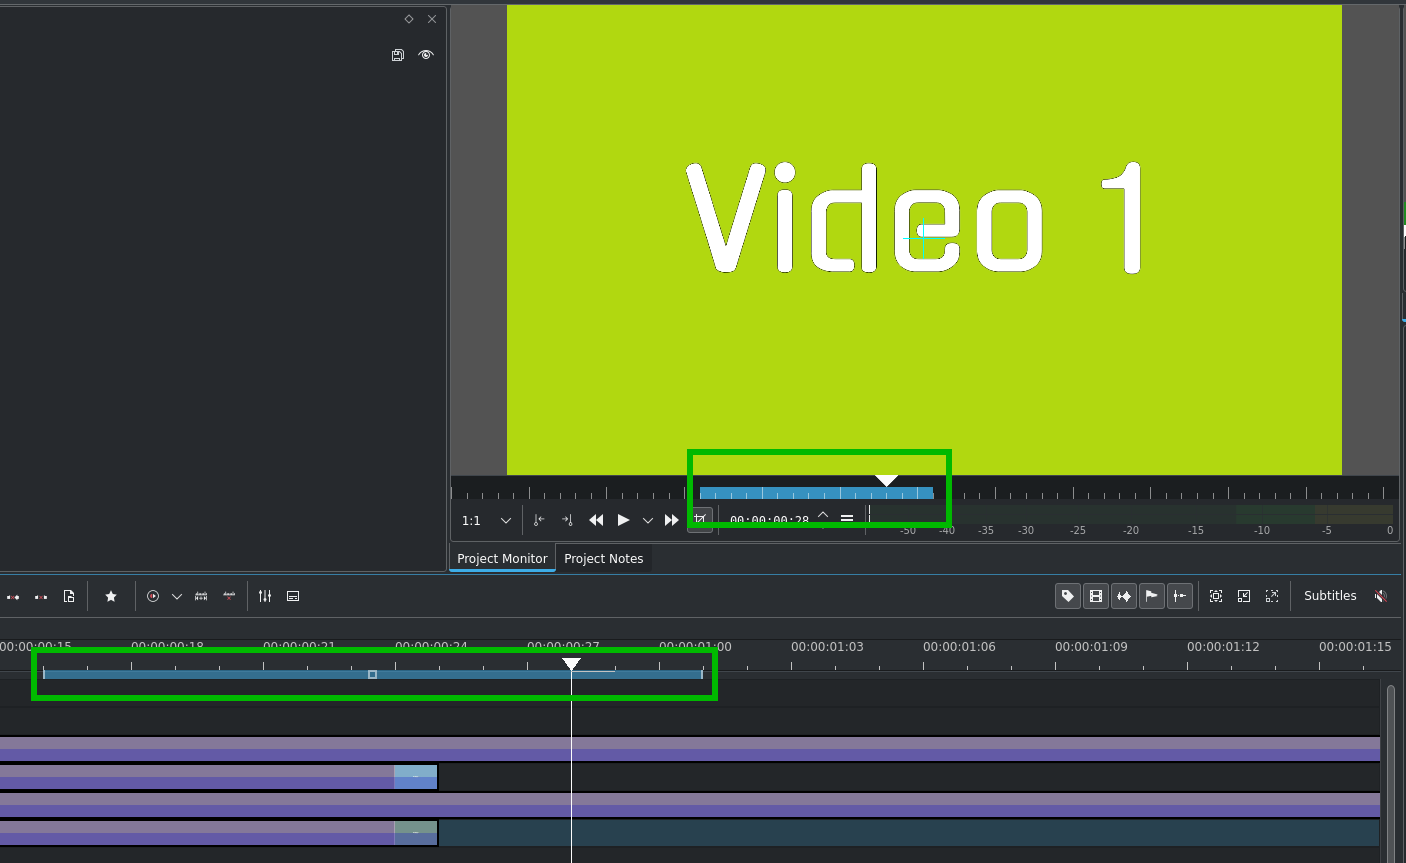
You can use the I and O keys or the  and
and  icons to create a zone in the Project Monitor the same way you make zones in the Clip Monitor with the notable exception that the zone defined in the Project Monitor also sets the zone in the Timeline. The zone will be indicated by a colored bar both on the timeline and underneath the Project Monitor.
You can have Kdenlive only render the selected zone - see Selected Zone.
Nabídka pravého tlačítka
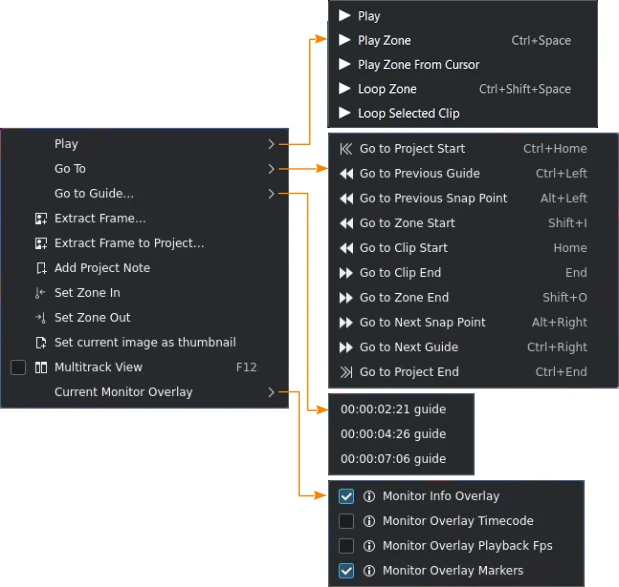
Project Monitor right-click menu options
These are the menu items that are available when you right-click in the Project Monitor. These actions affect the clip that is currently selected in the Časová osa. Similar menu items are available from a right-click menu in the Monitor klipu. However, the clip monitor menu items affect the currently selected clip in the project bin.
Položka |
Zkratka |
Popis |
|---|---|---|
Přehrát |
Space or click into the monitor |
Plays the clip currently selected in the project bin. (Disable play on click in the settings) |
Přehrát výběr |
Ctrl+Space |
Plays the current zone and stops |
Smyčka |
Ctrl+Shift+Space |
Plays the current zone in a continuous loop |
Play Zone From Cursor |
||
Zacyklit vybraný klip |
Plays the currently selected clip in a continuous loop |
|
Jít na začátek projektu |
Ctrl+Home |
Goes to the beginning of the clip |
Go to Previous Guide |
Ctrl+Doleva |
Goes to the previous Timeline Marker (former Guide) |
Jít na předchozí bod přichycení |
Alt+Doleva |
Moves the playhead to the previous snap point |
Jít na začátek výběru |
Shift+I |
Goes to the start of the zone |
Jít na začátek klipu |
Home |
Moves the clip playhead to the beginning of the clip |
Jít na konec klipu |
End |
Moves the clip playhead to the end of the clip |
Jít na konec výběru |
Shift+O |
Goes to the end of the zone |
Jít na následující bod přichycení |
Alt+Doprava |
Moves the playhead to the next snap point |
Go to Next Guide |
Ctrl+Pravá |
Goes to the next Timeline Marker (former Guide) |
Jít na konec projektu |
Ctrl+End |
Goes the end of the clip |
Přejít na průvodce… |
The menu item pops out a list of existing Timeline Marker to select from. When one is selected the playhead moves to that guide. |
|
Uložit aktuální snímek |
Opens the Save Image dialog window to save the current frame as an image file (default is |
|
Rozbalit snímek do projektu |
Same as Extract Frame but in addition the image file is brought into the project bin |
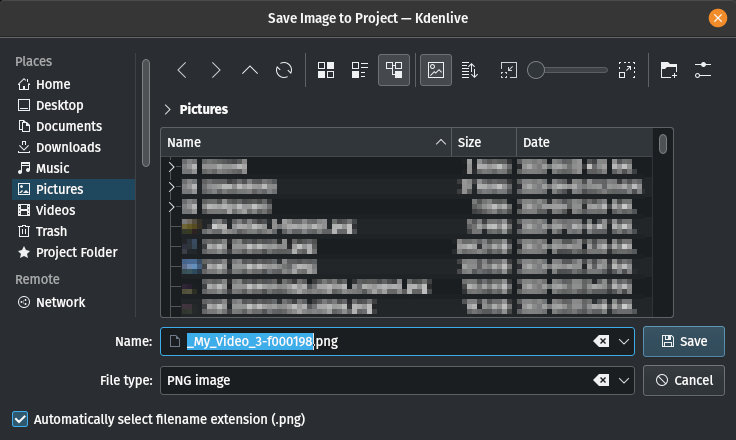
Save Image dialog for extracting frames
Add Project Note |
Opens the Project Notes widget and adds a hyperlink to the current frame in the clip. You can enter more text to describe the scene. |
|
Nastavit začátek výběru |
I |
|
Nastavit konec výběru |
O |
|
Nastavit aktuální obrázek jako miniaturu |
Uses the current frame as the thumbnail for the clip in the project bin |
|
Vícepohledové zobrazení |
F12 |
Switches the project monitor area to the Vícepohledové zobrazení. All active tracks will be displayed. For more details about how to use this in Editing refer to the Nástroj Multicam chapter. |
Aktuální zobrazení monitoru |
Opens a fly-out for the various available monitor overlays |
|
Vrstva monitoru Informací |
Switches all monitor overlays on or off |
|
Vrstva monitoru Časových kódů |
Switches the display of the timecode on or off |
|
Vrstva monitoru Přehrávání FPS |
Switches the display of the frame-per-seconds (fps) on or off |
|
Vrstva monitoru Značek |
Switches the display of the marker lines and thumbnails on or off |
Vícepohledové zobrazení
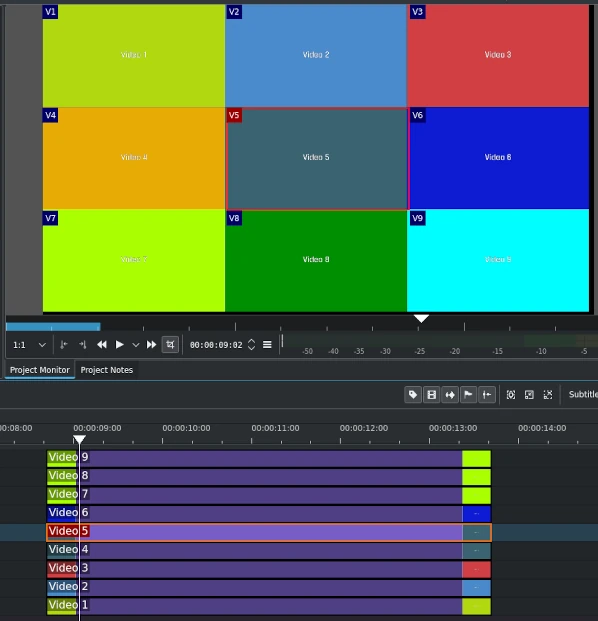
Selecting this allows you to view all the video tracks at once in a split screen in the project monitor. Kdenlive starts with video track #1 in the top left corner and displays the other tracks sequentially. Hidden tracks are not displayed.
For more details about how to use this in Editing refer to the Nástroj Multicam chapter.