Right-Click Menus
Clip in Timeline
This is the context menu that appears when you right-click on a clip in the timeline. A different menu appears if you click in empty space in the timeline.
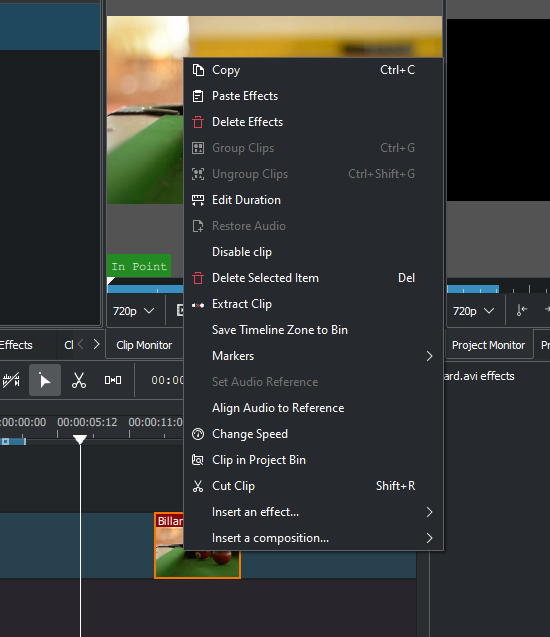
Copy will copy the clip and selected clips to the clipboard.
Paste Effects will paste only the effects of the last copied clip to the selected clip. See Paste Effects.
Delete Effects will remove all effects from the selected clip.
Group Clips - see Grouping
Ungroup Clips - see Grouping
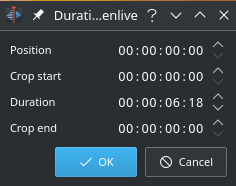
Edit Duration - will open the Duration Dialog and will allow you to adjust the position of the clip in the timeline, what time point of the source clip to start on the timeline, the duration of the clip, and what time point of the source clip to end on the timeline. Note that Kdenlive will automatically adjust co-related values.
Restore audio will add any audio track that is part of the original clip to the timeline
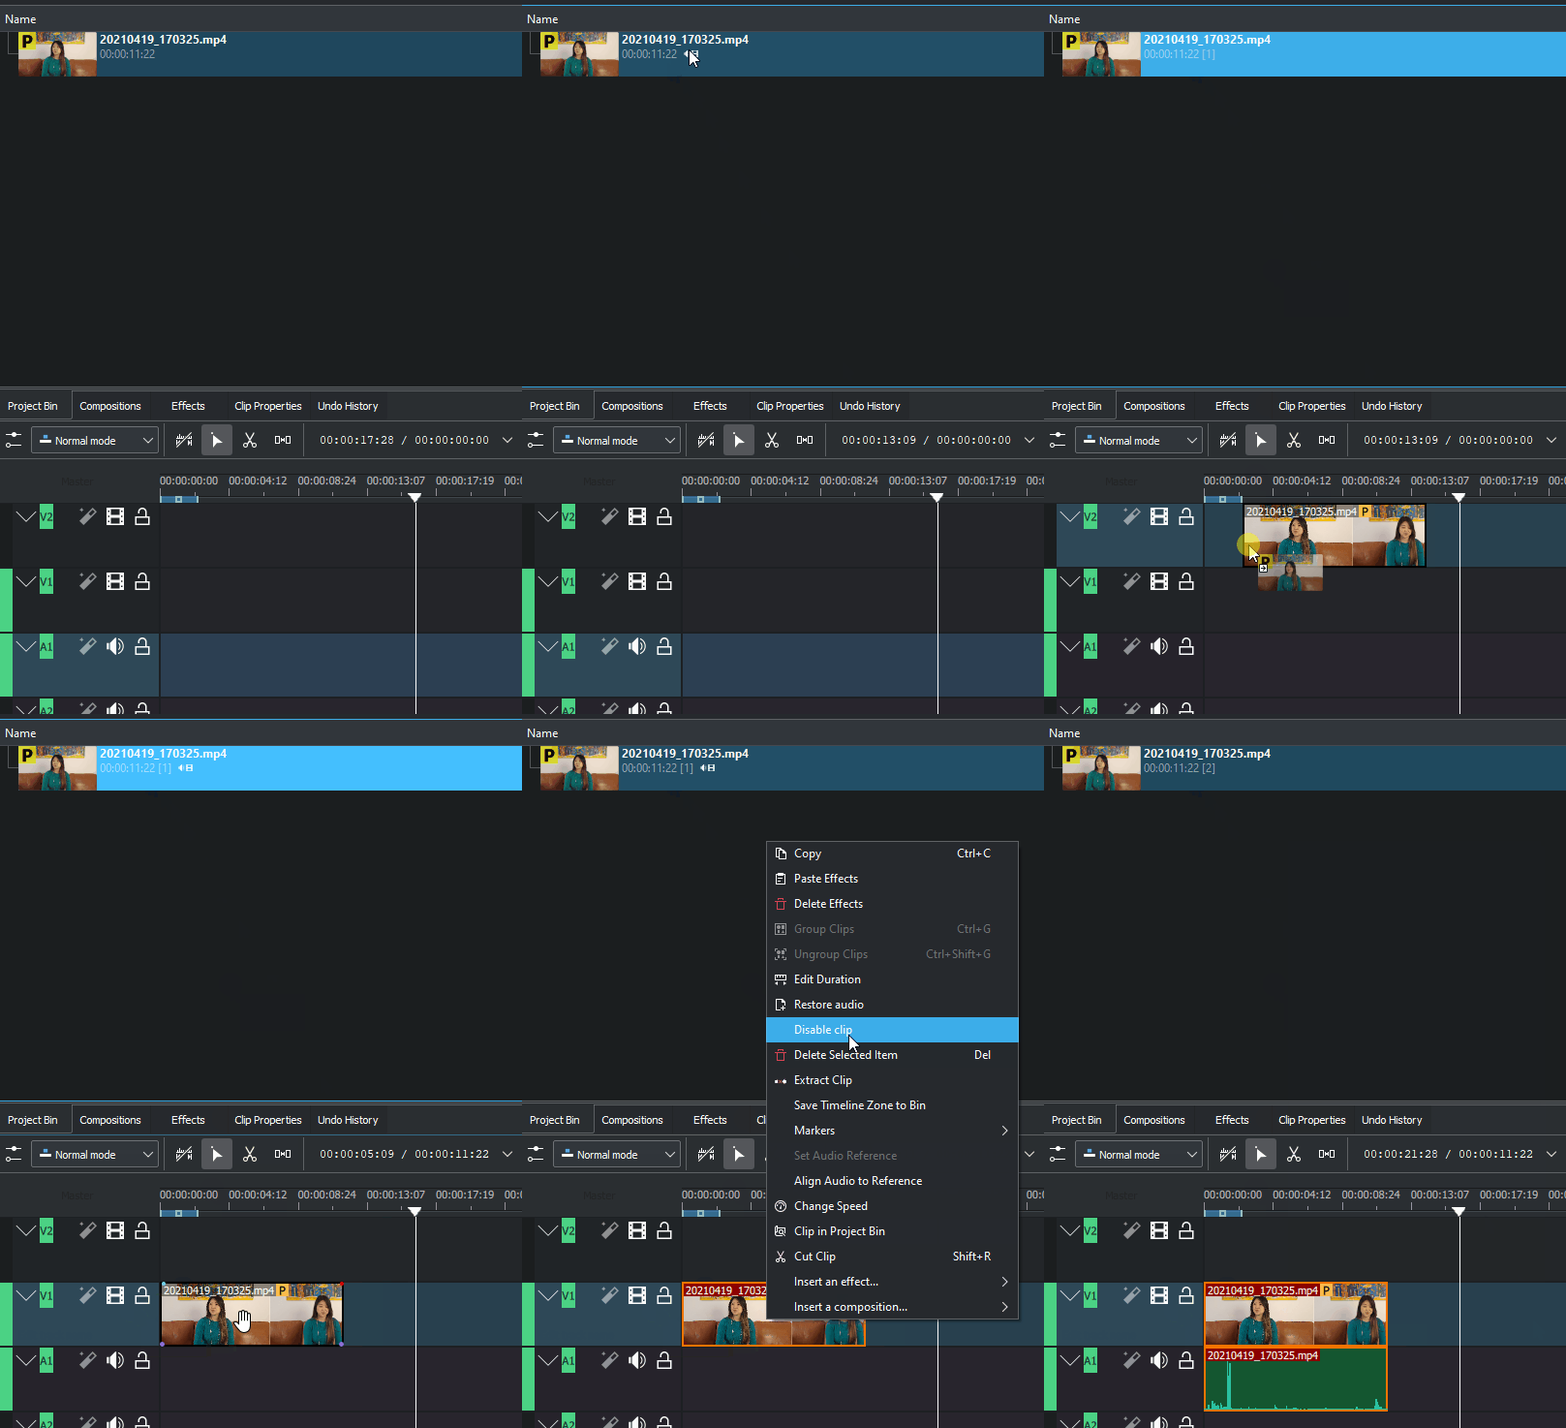
Disable clip will disable the clip so it will not render in the project monitor or in a final video render. To disable the video or audio part of an A/V clip you have to un-group the A/V clip, disable the video or audio part and group the A/V clip again.
Delete Selected Item will delete the item you have selected. Add to the selection: Holding down Shift and click on additional items. Timeline ‣ Current track ‣ Remove All Clips After Cursor handles AV clips as 1 element, doesn’t matter on which track they are. This function is only in the Timeline menu available this to avoid clutter.
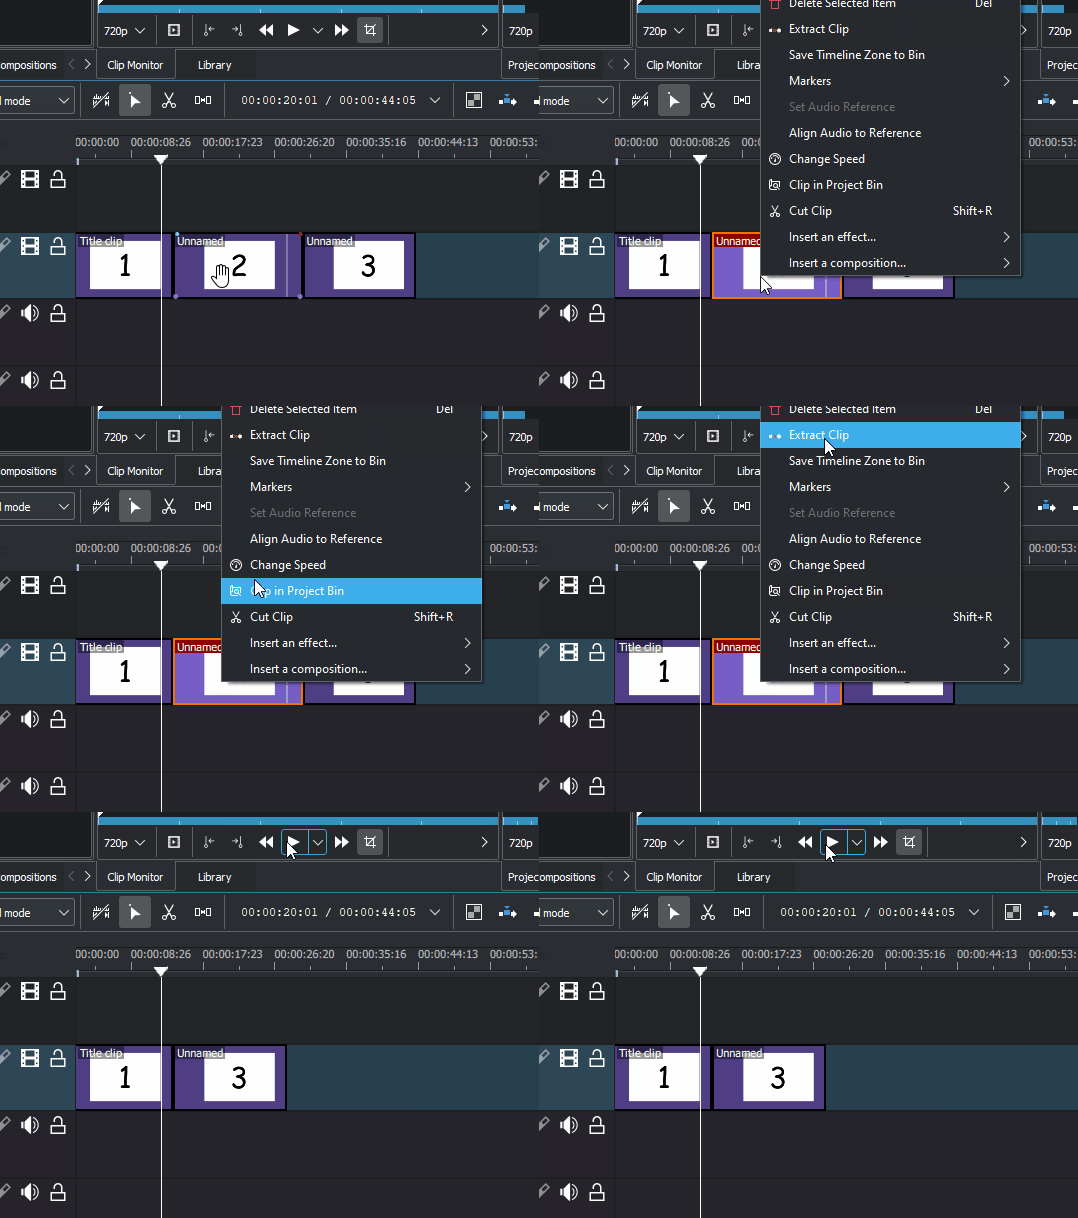
Extract clip will remove the clip from the timeline and the space it occupied.
Save timeline zone to bin will take the selected timeline zone and add markers to your clips in the project bin.
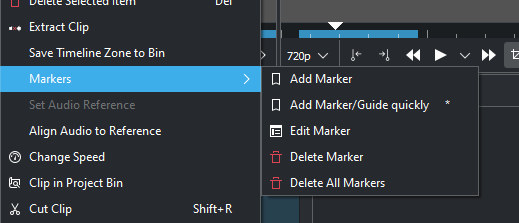
The markers sub-menu allows you to add, edit and remove markers from your clips that are displayed on the timeline. These markers will move with the clips. See Markers.

The Align to Reference sub-menu allows you to set either audio or SMPTE-esque timecode to a reference. This is useful if two or more cameras recorded the same scene simultaneously.
Set Audio Reference and Align Audio to Reference are used to align clips on different tracks in the timeline based on the audio in the tracks. Kdenlive can use the almost identical audio track to align the two clips.
Set Timecode Reference and Align Timecode to Reference are used to align clips on different tracks in the timeline based on the SMPTE-esque timecode in the tracks.
To use these features:
Select the clip that you would like to align to.
Right click, select Set Audio Reference or Set Timecode Reference.
Select all the clips that you would like to get aligned.
Right-click and select Align Audio to Reference or Align Timecode to Reference.
Change speed
Change speed will open the change speed dialog that will allow you to increase or decrease the playback speed of a clip, allow you to play the clip in reverse, and will enable / disable pitch compensation for the audio on a speed-adjusted clip.
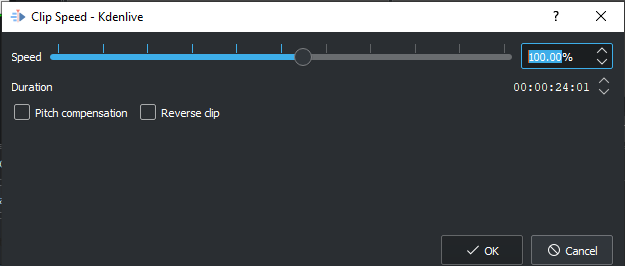
Doing speed change of a clip with the mouse see: Change Speed of Clips
Clip in project bin will highlight the selected clip in the project bin.
Cut Clip Selecting this will cause the selected clip to be cut at the location of the Timeline. See also Editing.
Insert Effect will open a sub-menu to allow you to quickly add the Transform or the Lift/Gamma/Gain effects.
Insert composition will open a sub-menu to allow you to quickly add the Composite and Transform or the Wipe composition.
Empty Space in Timeline
A different menu appears if you click in empty space in the timeline.
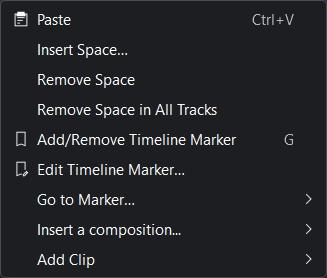
Paste will paste a clip from the clipboard into the timeline
Insert Space will open the Insert Space dialog and will allow you to insert blank space in the timeline in a single track.
Remove Space will remove all space between clips on the track.
Remove Space in All Tracks will remove space between clips on all the tracks.
Add/Remove Timeline Marker will add a timeline marker to the timeline or remove an existing one at the playhead’s position.
Edit Guide will allow you to edit the timeline marker label.
Go to TimeLine Marker will pop up a sub-menu with a list of your timeline markers and will move the timeline position marker to that guide.
Insert composition will open a sub-menu to allow you to quickly add the Composite and Transform or the Wipe composition.
Add Clip (works in video tracks only) will open a sub-menu to allow you to quickly add clips to the timeline.