Kdenlive lanza nuevas versiones cada tres meses. Ver la página Noticias (news page) del sitio de Kdenlive para obtener la última información y noticias sobre cada lanzamiento. También revisar la sección Novedades para acceder a una lista con las nuevas características recientemente incorporadas.
Es posible instalar Kdenlive de dos formas:
Usando un instalador
Como un ejecutable autocontenido (Windows: versión portable; Linux: appimage).
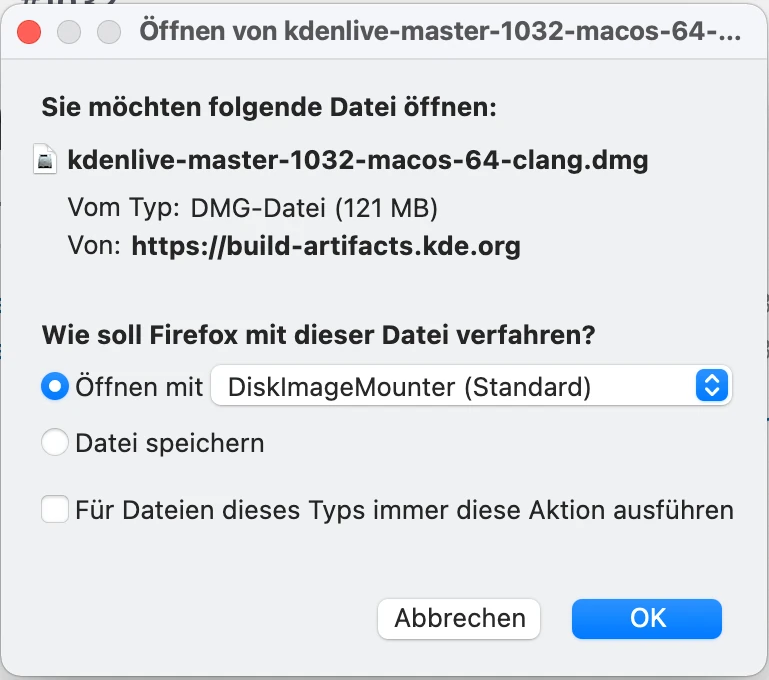
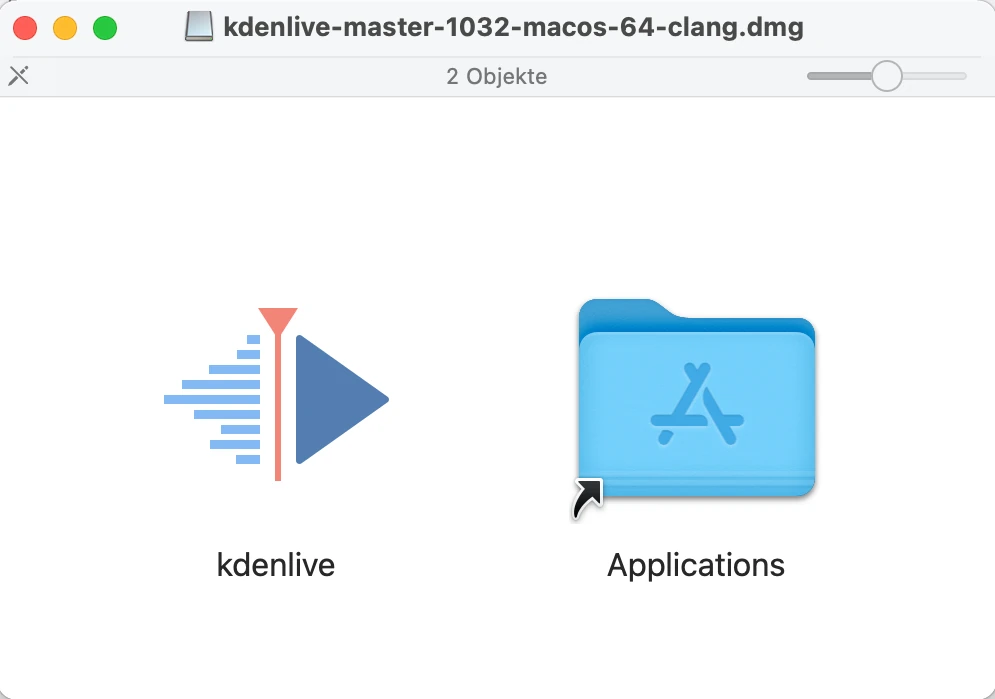
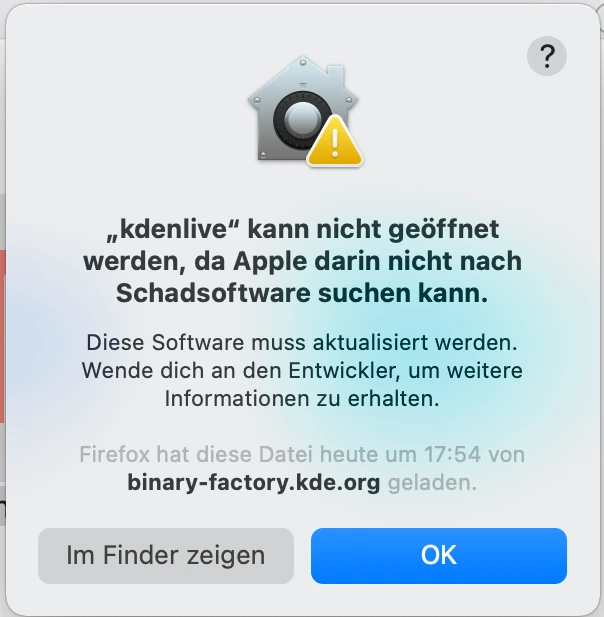
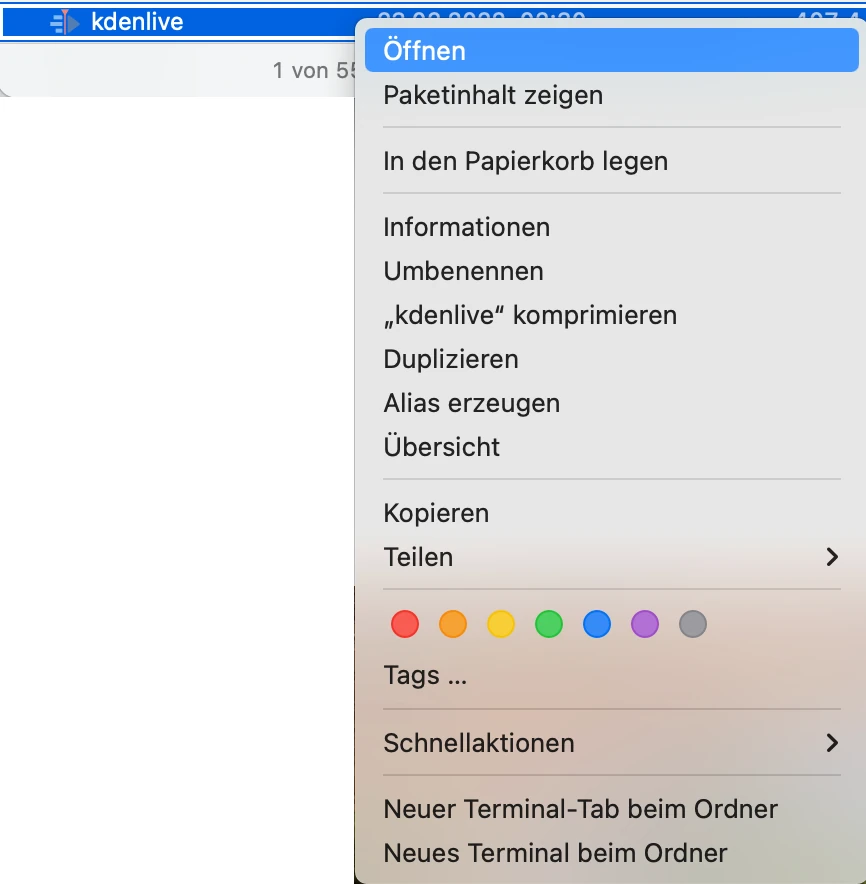
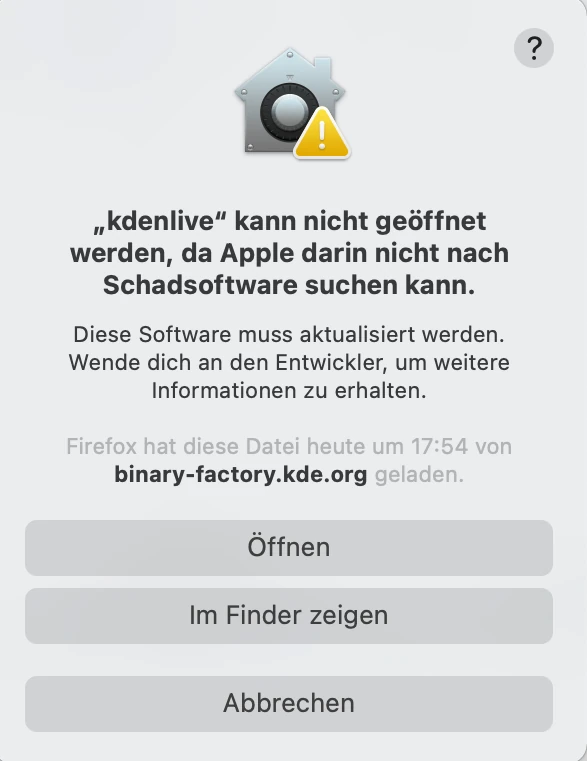
En macOS solo será posible usar la versión con instalador.
Visitar la página Descargar (download page) del sitio web de Kdenlive para obtener la versión más reciente para el sistema operativo en uso.
Será posible encontrar todas las versiones anteriores de Kdenlive en el Desvan (attic) de KDE.
Windows de 64 bits (a partir de Windows 10 versión 1809)[2]
Apple macOS 13 (Ventura)[1] or newer and on Silicon M-Series
Linux de 64 bits
Ver los detalles más abajo
CPU: Intel o AMD x86; al menos un núcleo a 2 GHz para editar video SD, 4 núcleos para video HD y 8 núcleos para video 4K. Ver detalles más abajo.
GPU: OpenGL 2.0 que funcione correctamente y sea compatible. En Windows, también será posible usar una placa con controladores DirectX 9 u 11 buenos y compatibles.
RAM: Al menos 4 GB para editar video SD, 8 GB para video HD y 16 GB para video 4K.
La edición de video se basa mayormente en la potencia de la CPU. Si bien Kdenlive tiene perfiles de procesamiento con soporte para GPU, la reproducción en la línea de tiempo utiliza la CPU. Por lo tanto, cuanto más potente sea la CPU mejor será el rendimiento de Kdenlive durante la reproducción. De todos modos, un mayor y mejor soporte para GPU está en el horizonte de desarrollo de corto plazo.
Kdenlive podrá ser instalado en escritorios distintos a KDE sin ningún problema.
Paquetes: AppImage o Flatpak son los únicos paquetes oficiales mantenidos por el equipo de Kdenlive.
Nota
A partir de la versión 24.02 de Kdenlive, PPA ya no se encuentra soportado. Sólo los paquetes AppImage y Flatpak están soportadas de forma oficial.
En caso de usar la versión Flatpak, se instalará de manera apropiada en el entorno de escritorio. No será necesaria ninguna otra acción adicional.
Si se deseara utilizar la versión en formato AppImage, descargar el paquete AppImage, moverlo a la carpeta deseada y hacerlo ejecutable. Normalmente será posible hacer esto desde el administrador de archivos del entorno de escritorio (p.ej: Dolphin en Plasma de KDE). Hacer clic derecho en el AppImage y seleccionar Propiedades y luego Hacer ejecutable. Alternativamente, será posible usar el comando chmod777<appimage_name> de la consola de Linux, en una terminal. Una vez hecho esto, ya será posible simplemente hacer doble clic sobre el archivo AppImage (o escribir su nombre en una terminal) para iniciar Kdenlive.
Kdenlive funcionará únicamente en las versiones de 64 bits de Windows (a partir de Windows 10 versión 1809). No se garantiza el funcionamiento de Kdenlive en las versiones de Windows para servidores o sistemas embebidos.
La última versión de Kdenlive compatible con Windows 7 (la versión 23.08.5) puede ser descargada desde el ático.
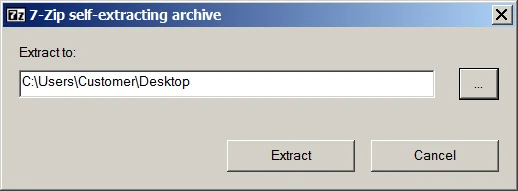
Kdenlive se encuentra disponible en versiones con instalador o portable.
Versión con instalador: Se necesitan permisos de administrador y se instalará en una máquina local. También aparecerá listado como un programa.
Quedará disponible para todos los usuarios del sistema.
Los archivos de Kdenlive se encontrarán ubicados siempre en la misma carpeta.
Versión portable: No necesitará permisos de administrador y no será necesario instalar el programa para usarlo. Solo será accesible para el usuario que haya descargado el archivo.
Si se trabaja en el sistema con un usuario normal, será posible usar Kdenlive.
Será posible copiar la carpeta de Kdenlive en cualquier disco externo y ejecutarlo en otro sistema sin tener que instalarlo allí. Sin embargo, las opciones personales y descargas realizadas dentro de Kdenlive serán almacenadas en cada sistema.
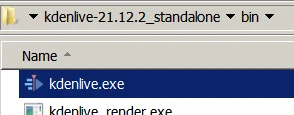
Para iniciar Kdenlive navegar hasta la carpeta bin y allí hacer doble clic en el archivo Kdenlive.exe. También será posible crear un acceso directo en el Escritorio para un acceso más sencillo. Hacer clic derecho sobre el archivo kdenlive.exe y seleccionar Enviar a… y luego Escritorio (crear acceso directo).
Si se deseara usar Kdenlive con usuarios de dominio que usen Windows Active Directory y/o Group Policies (GPOs) asegurarse de que todos los usuarios tengan permisos de lectura/escritura para las siguientes carpetas:
%AppData%\kdenlive
%LocalAppData%\kdenlive
%LocalAppData%\kdenliverc
%LocalAppData%\kdenlive-layoutsrc
%LocalAppData%\kxmlgui5\kdenlivekdenliveui.rc
%AppData%\kdenlive\.backup
%LocalAppData%\knewstuff3
Asegurarse también de que ninguna GPO esté bloqueando el acceso a estas carpetas.
Kdenlive funcionará en sistemas Mac basados en Intel con macOS 12 (Monterey)[1] o superiores y en sistemas basados en la serie Silicon M (disponible en la página de descargas download page).
La última versión de Kdenlive compatible con macOS 10.13 (High Sierra) (la 23.08.5) podrá ser descargada desde el ático.
La última versión de Kdenlive compatible con macOS 11 (Big Sur) (la 24.08.1) podrá ser descargada desde el ático.
Al iniciarse, Kdenlive comprobará automáticamente la existencia de actualizaciones disponibles, basándose en la versión instalada del programa (no se necesitará conexión a la red)
Será posible desactivar esta función en el menú Preferencias ‣ Configurar Kdenlive ‣Entorno desmarcando la opción Comprobar actualizaciones.