Attenzione
Questa pagina non è più mantenuta e contiene informazioni che fanno riferimento a funzionalità e funzioni presenti in versioni di Kdenlive che sono deprecate o che sono state superate da qualcos’altro.
Lo spettro audio e lo spettrogramma
This chapter is about audio scopes. It is also talking about audio in general (e.g. recording, perception, etc.).

The Scopes

Schermata dello spettrogramma
The audio scopes are documented in-depth in Audio Scopes for Kdenlive (PDF) by Simon «Granjow» Eugster[1]. You may skip the technical/mathematical part — it is not necessary for understanding the scope, and the maths behind it is not trivial. The rest might be interesting, though.
Una rapida panoramica sulle funzionalità attualmente disponibili.
Spettro audio
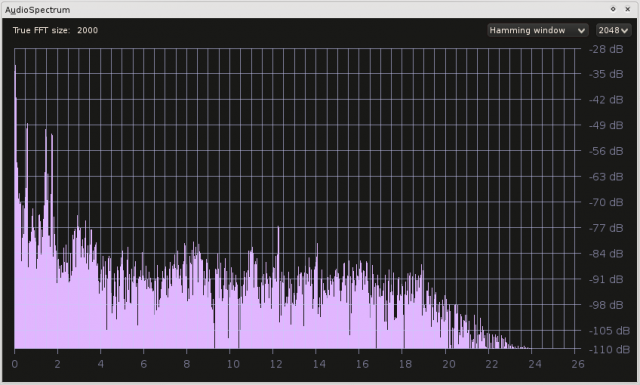
Questo ambito visualizza lo spettro delle frequenze per ciascun fotogramma. Le frequenze basse sono sulla sinistra, quelle alte sulla destra. Inoltre, più alta è la barra, più è forte questa frequenza.
Il volume audio viene misurato in decibel nello spettro[2]. Se tutte le frequenze hanno un volume uguale, puoi regolare l’intervallo di visualizzazione trascinando verticalmente. Un semplice trascinamento regola la soglia inferiore, mentre Maiusc + trascina cambia il massimo volume da visualizzare. Il trascinamento orizzontale regola invece la frequenza massima per cui visualizzare i campioni.
Ma per cosa è utile questo schermo? Ad esempio, come descritto nel PDF collegato qui sopra, puoi distinguere visivamente tra una qualità del suono buona e una cattiva: se non ci sono frequenze superiori a, diciamo, 3 kHz, molto probabilmente la qualità audio non è davvero buona.
Suggerimento
Se non hai idea di quanto siano acuti 3 kHz, cosa non insolita dato che le nostre orecchie non forniscono dei valori numerici al cervello, puoi usare dei programmi come SignalGen o Audacity per generare un’onda sinusoidale a 3 kHz, cioè a 3000 Hz.
Something else the frequency spectrum is useful for is to avoid clipping. The same effect that can be seen with colors, e.g. in the RGB parade, and actually with every signal that is digitalized. More about this below.
Spettrogramma
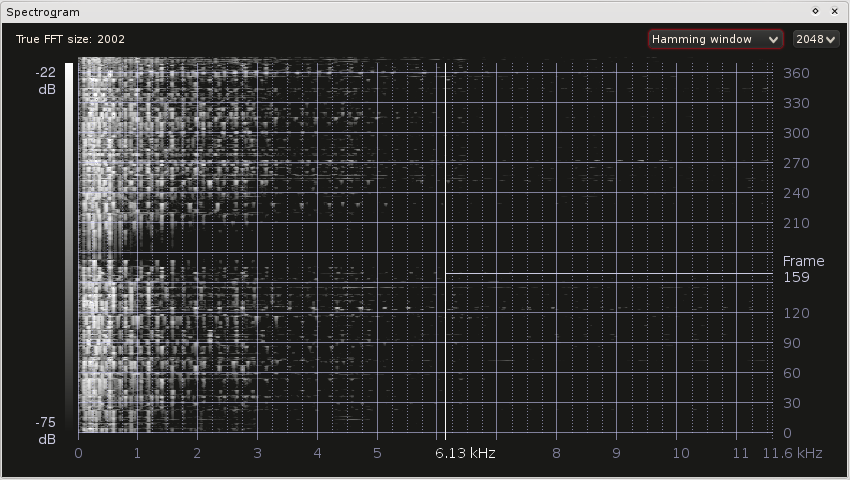
The Spectrogram does the same as the Audio Spectrum: It shows the frequency distribution with the difference, though, that the frequencies are not shown for one frame only. Similar to the RGB Parade for colors, stronger (louder) frequencies are represented by brighter pixels; this allows to put a whole frame’s spectrum in one line.
What the Scopes Might Help in as Well
Considera this review sulla Nikon D7000, e ascolta a 7:00 e a 11:00: all’inizio puoi sentire il recensore forte e chiaro, mentre alla fine devi alzare il volume solo per udire qualcosa. Questo non dovrebbe accadere. Il visore dell’audio ti aiuta a mantenere uguale il volume audio nelle varie riprese.
Suono
Ora alcuni dettagli interessanti sul suono.
Clipping

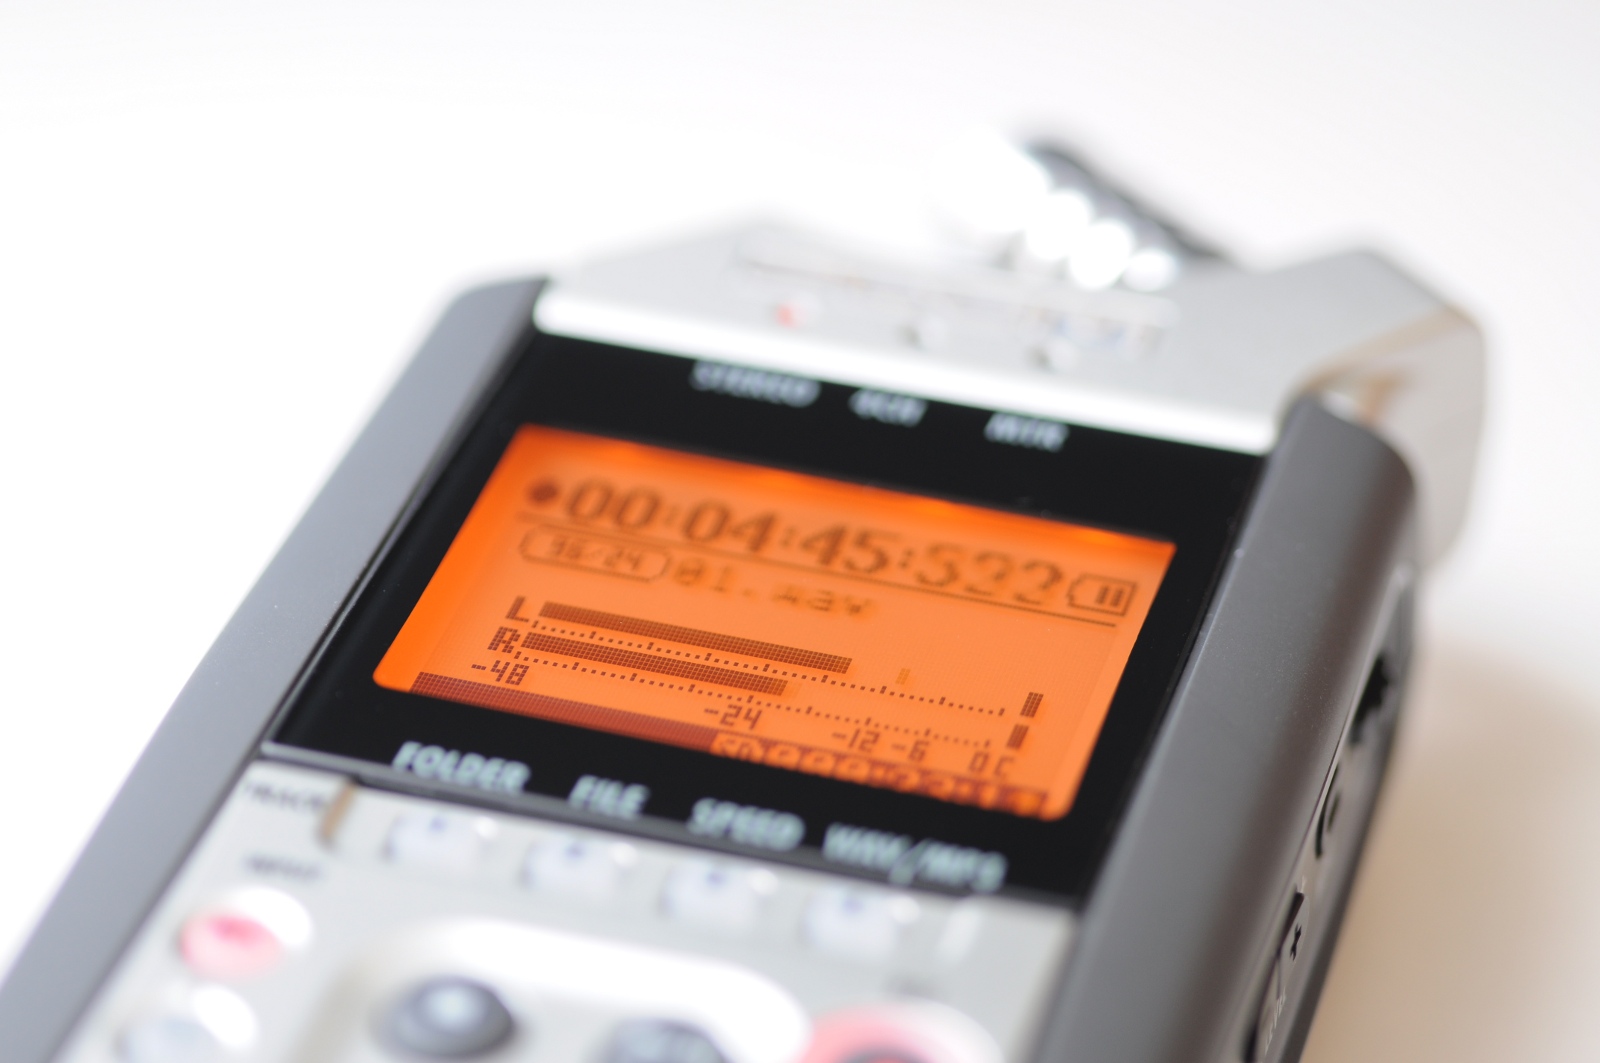
Livelli audio su Zoom H4n
Come accennato sopra, anche il suono si può tagliare (clipping). Ognuno di noi ne ha già sentito parlare. Funziona così (estratti da Greensleeves di James Edwards[3]):
Volume increased by 24 dB - massive clipping!
Volume afterwards decreased by 24 dB - the clipping effect is irreversible
Clipping is also very well visible in the audio wave itself, if you e.g. open the samples above with Audacity. (If you want to reproduce the above effect with Audacity, make sure to select «allow overdrive», otherwise it will prevent clipping. When decreasing the volume afterwards do not use the same project since Audacity actually stores values that are bigger than the maximum amplitude value (.aup files only). This is great for editing, and perhaps one day we will have that for color as well in Kdenlive …)
Quindi, quando si può verificare il clipping?
When recording audio. The input gain can be adjusted on the audio recorder. If the gain is too high, it might record for example low talking at a good volume, but clip as soon as someone rises their voice. Therefore input gain is usually adjusted such that the mean volume and peaks do not exceed a certain limit.
This limit depends on the expected dynamic audio range. A common choice is -12 dB for the mean volume and maximally -6 dB for peaks.
When editing. There are multiple volume effects in Kdenlive. If you raise the volume too much, you will experience clipping.
To prevent clipping in kdenlive, you actually do quite the same as when recording audio. Try to keep peak values below -6 dB. If you need one cut to be really much louder than the rest and you cannot raise it any further, then you need to lower everything else.
Smorzamento
The further away you are from the sound source, the quieter you hear it. Until finally it will be as loud as the noise floor of your microphone and audio recorder. To maintain a good SNR you will therefore usually try to keep your microphone as close as possible to the sound source. Such that the signal is much stronger than the noise (and with the input gain adjusted such that no clipping occurs).
But that is not everything yet. (Actually the above point was not about dampening at all but merely about wave propagation.) There is one interesting aspect, which is that higher frequencies are absorbed much stronger than low frequencies. Unlike the previous points this is not a problem but rather an interesting variable: If you record someone’s voice and want to put him far away in the video (next room for example), lower the higher frequencies (using Audacity’s Equalizer effect for example).
Our Ear
What is louder: A sine wave of 200 Hz or a sine wave of 4 kHz?
They have both been generated with the same amplitude (volume). But our ear is most sensible on the frequencies we talk in. To read more about our ear, the Wikipedia article about Hearing is a good starting point.
Note
- Ulteriori informazioni e letture suggerite
Acoustics I - Sound Propagation Outdoors, ETH Zurich
Capturing Good Sound at Vimeo, about microphones
Thread about audio and clipping nel forum dvxuser.com