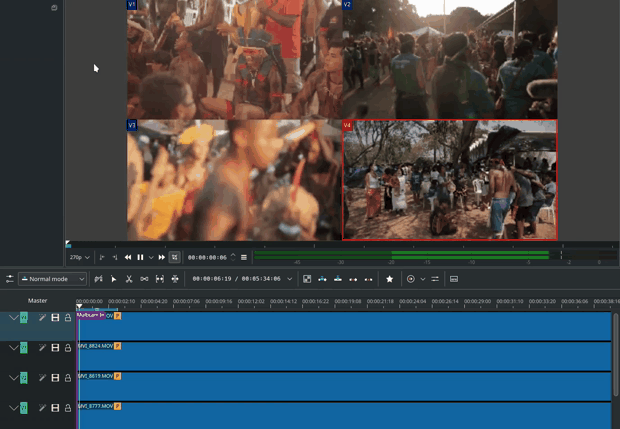
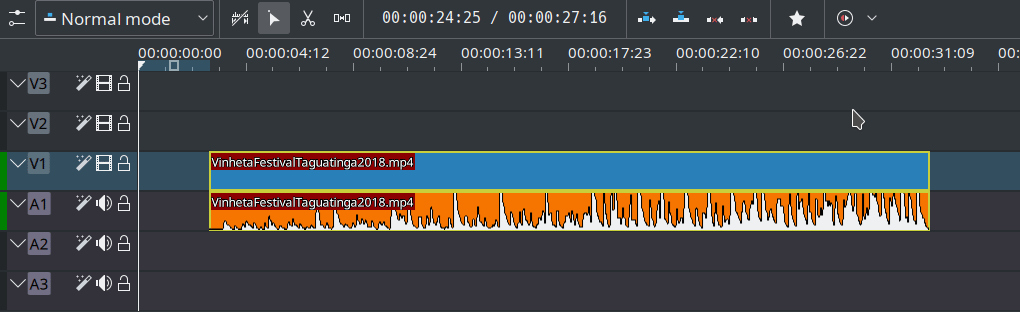
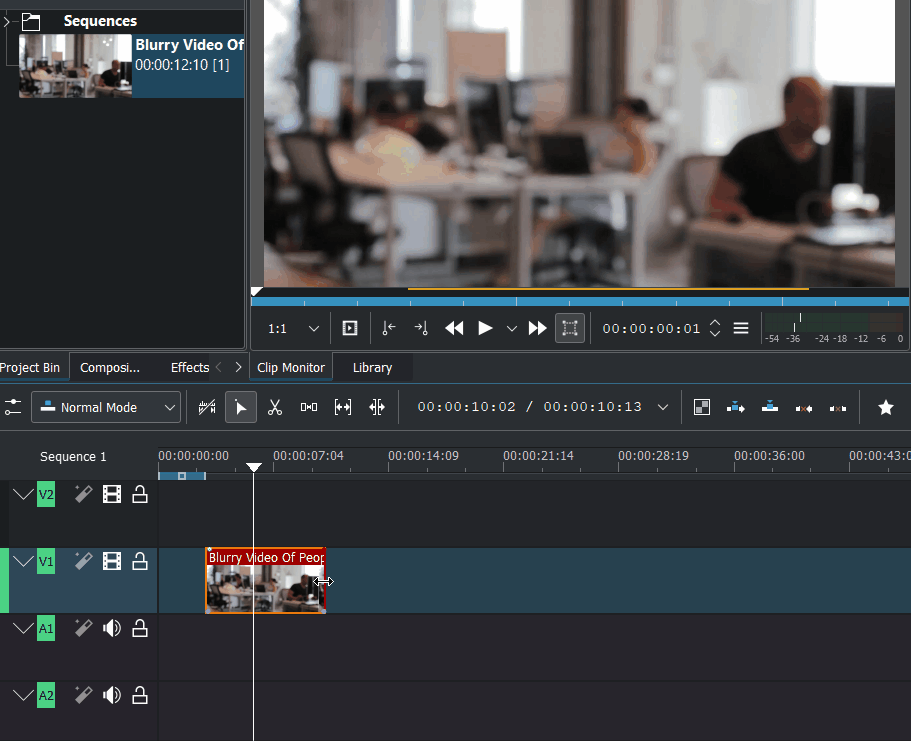
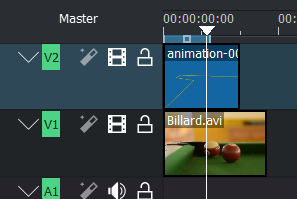
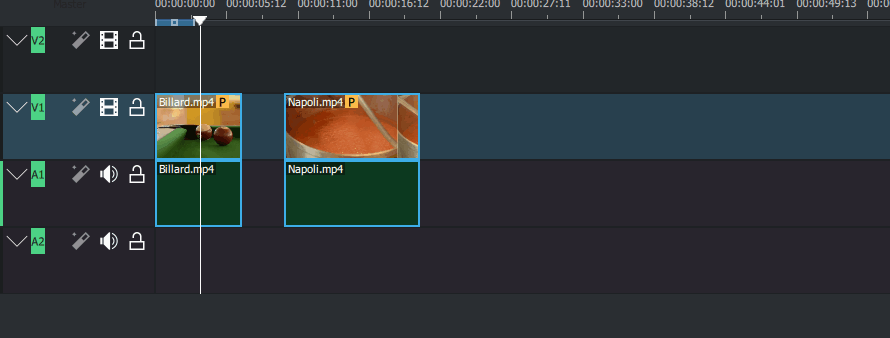
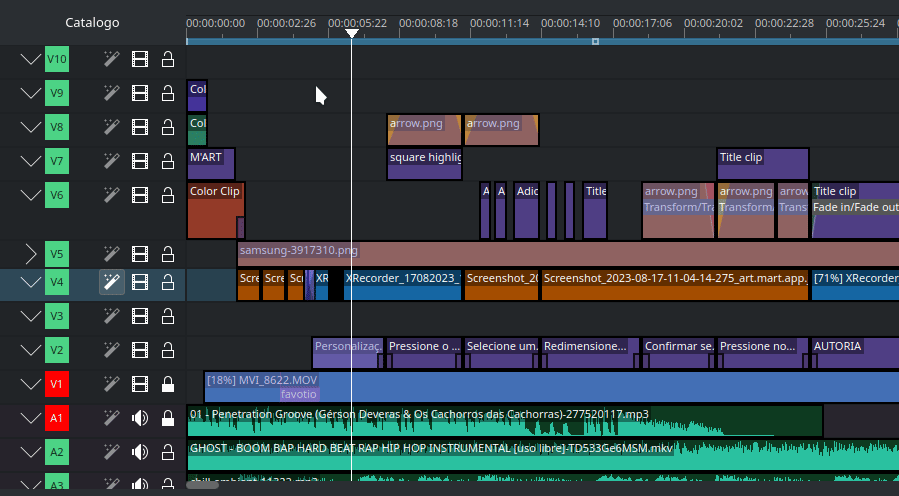
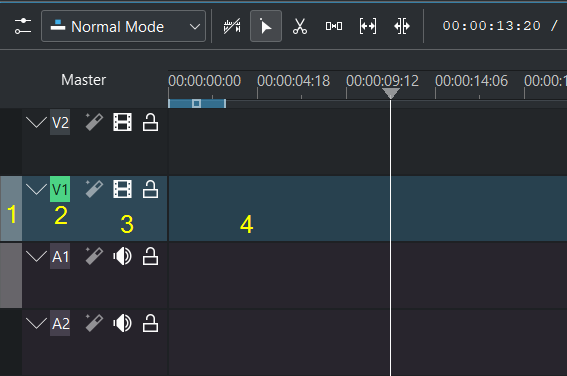
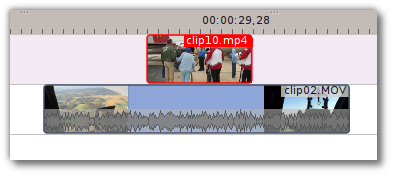
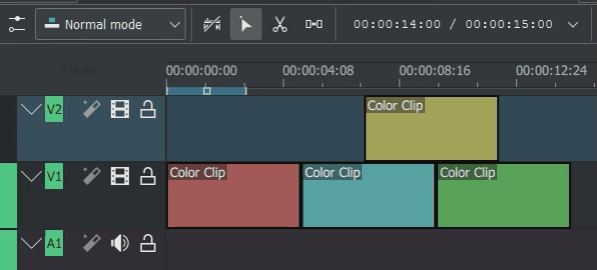
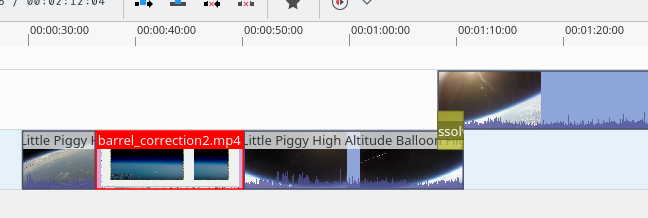
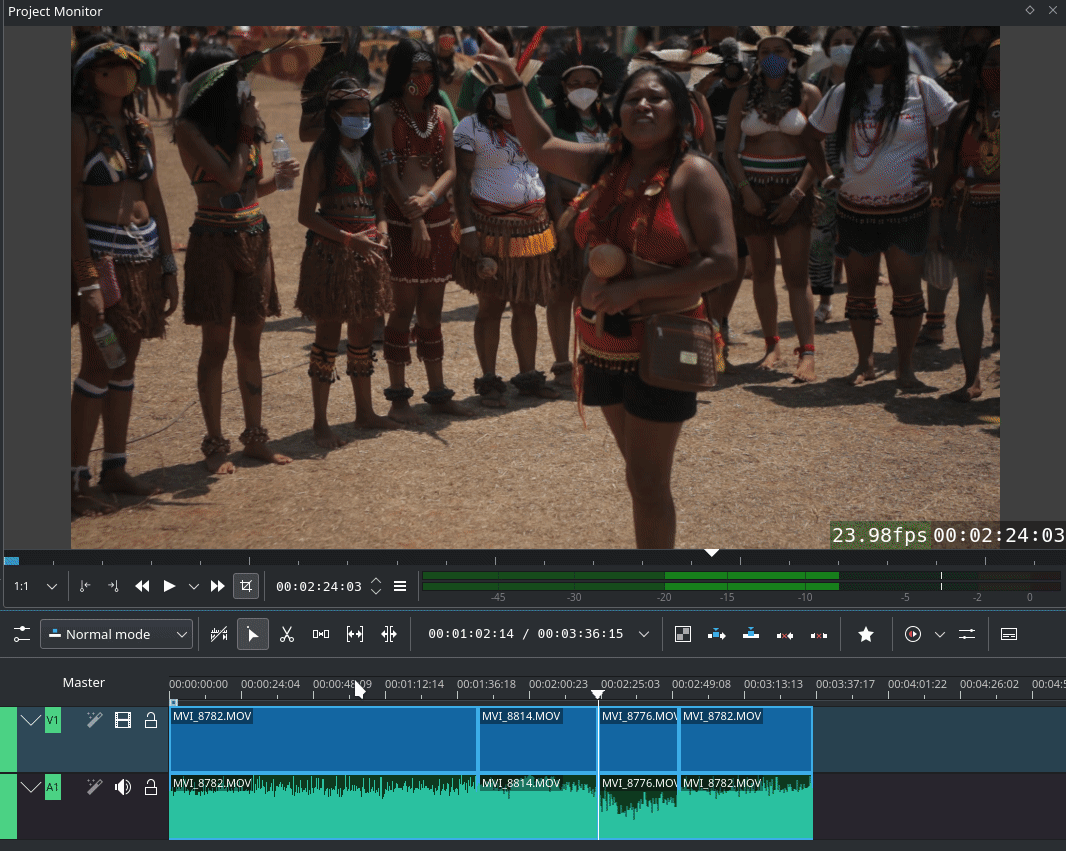
Editing is done in the 时间轴. Add a clip by dragging it from the project bin or the 监视器. Once a clip is dropped on a track, it can be moved (drag and drop it) to another place on the same track or onto another track.
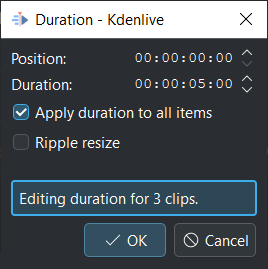
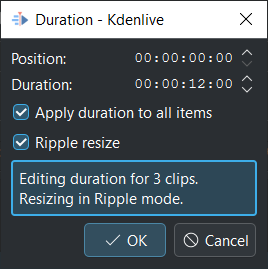
Select several clips in the timeline. Double click on one of the clips. The Duration dialog window pops up. Enable Apply duration to all items, otherwise nothing happens.
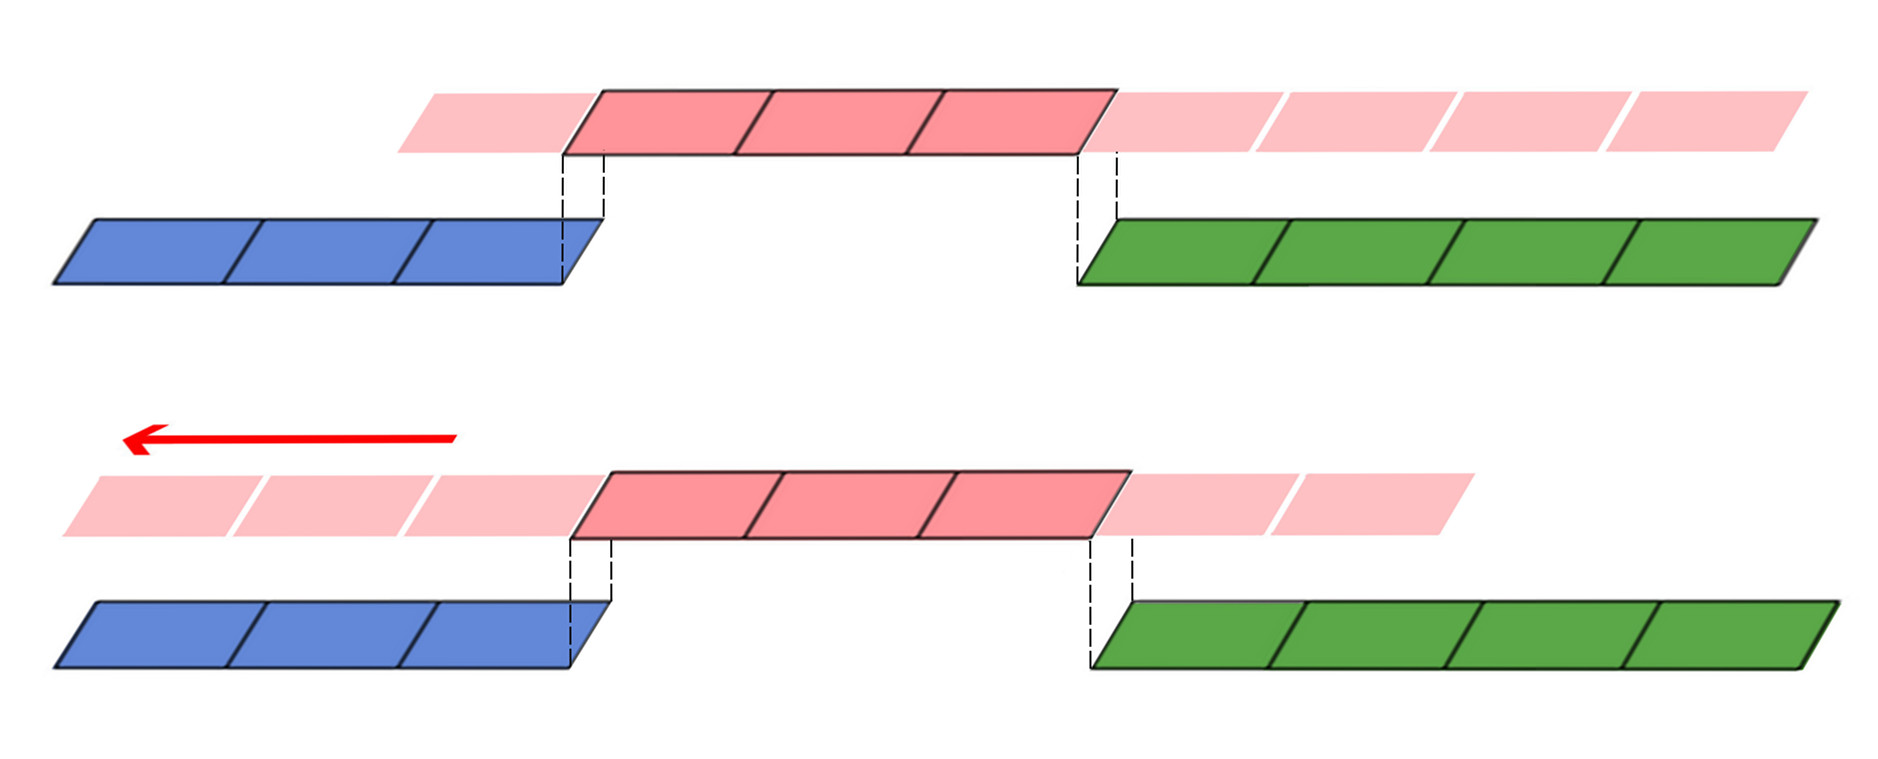
The duration/resize is linked to the start position of each clip. Meaning if you select three clips and reduce the duration you get gaps between each clip as the start position of each clip is fixed.
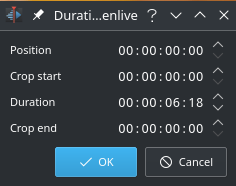
Position show the start position of the most left selected clip
Duration shows the length of the first selected clip done by Shift+LMB. When selected by Shift+drag it show the length of the most left clip.
Selection with Shift+drag shows the length of the most left clip
Shorten and lengthen duration: The clips get shortened/lengthened but keep their starting position
Clips attached to each other: You cannot lengthen the clips
Change duration with Ripple resize enabled
Selection with Shift+click shows the length of the first selected clip
Shorten and lengthen duration: The starting position of the left most selected clip on each track is fixed. Any gaps between clips are kept.
Clips attached to each other: All clips attached to the right will lengthen or shorten according to the left most clip, keeping their attachment.
In the timeline select the clip or multiple clips for which you want to change the speed.
Adjust the speed by pressing CTRL and dragging with the LMB on one of the selected clips. The clip on which you change the speed determines the change for all selected clips. Once the mouse is released the speed change is shown on all selected clips.
Doing with right click on one of the selected clips see 改变速度. If enabled, pitch compensation is preserved for all selected clips.
If there is not enough space on a track to expand the clips, an error message is shown in the status bar.
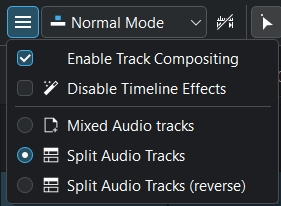
Changes the order in which tracks are displayed to mixed audio and video tracks. For example, from the bottom of the timeline to the top of the timeline: A1, V1, A2, V2, A3, V3
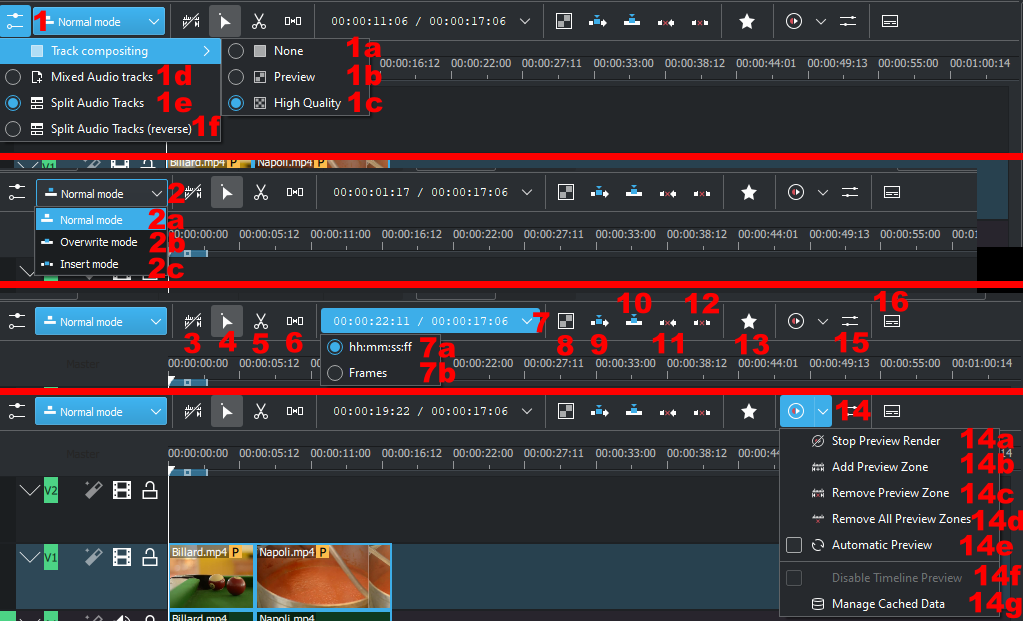
1e. Split Audio tracks
Changes the order in which tracks are displayed to separate audio and video tracks. For example, from the bottom of the timeline to the top of the timeline: A3, A2, A1, V1, V2, V3
1f. Split Audio tracks (reverse)
Changes the order in which tracks are displayed to separate audio and video tracks with the audio tracks in reverse order. For example, from the bottom of the timeline to the top of the timeline: A1, A2, A3, V1, V2, V3
Timeline Edit Mode drop down
These same settings can be found under the Tool menu.
2a. 时间轴 - 正常模式
2b. 时间轴 - 覆盖模式
2a. 时间轴 - 插入模式
Toggles for insert Use timeline zone, Do not use timeline zone .
Switch for Audio Thumbnails. Toggles zooming audio waveforms from 1 (default) 2, 4, 8. It affects all displayed waveforms and all audio tracks. See Show Audio Thumbnails
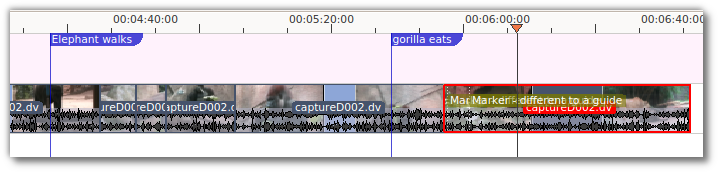
This toggles on and off the display of 标记 saved within clips (the text with the gold background in the example below) and within Timeline Markers (the text with the purple background).
This will zoom the project out so that it all fits in the timeline window. This is the same function that is triggered by Sequence Menu Menu item, Fit Zoom to Project.
There are 4 possibilities for ripple delete (point 1 and 2 are the classical Ripple Delete):
On the active track: Cut out the piece on the clip which you do not want with Shift+R. Right click on that piece and choose Extract Clip or press Shift+Del. This removes the clip and slides everything else to the left to fill the gap. The playhead stays where you made the last cut.
On the active track: Empty spaces between clips can only be removed by right click on empty space and choose Remove Space.
On all tracks together: Mark In and Out points in the Project Monitor or on the Timeline, then choose Timeline ‣ Removal ‣ Extract Timeline Zone (or Shift+X). Kdenlive deletes all footage between the In and Out points in unlocked tracks, slides everything else back to fill the gap, and puts the playhead on the In point.
On the active track with Insert Mode: Cut out the piece on the clip which you don’t want with Shift+R. Hit Delete. This removes the clip and slides everything else to the left to fill the gap. The playhead stays where you made the last cut.

Disable timeline Effects
Mixed Audio tracks
Split Audio tracks
 , Do not use timeline zone
  .
.

 )来临时分组分离的剪辑,然后将它们拖动到时间轴中以创建或删除剪辑之间的空间。非常实用。尝试使用此工具,看看它是如何工作的。
 )来修剪,在一个操作中,向前或向后修剪剪辑的 入 和 出 点,同时保持原始持续时间和不影响相邻剪辑。
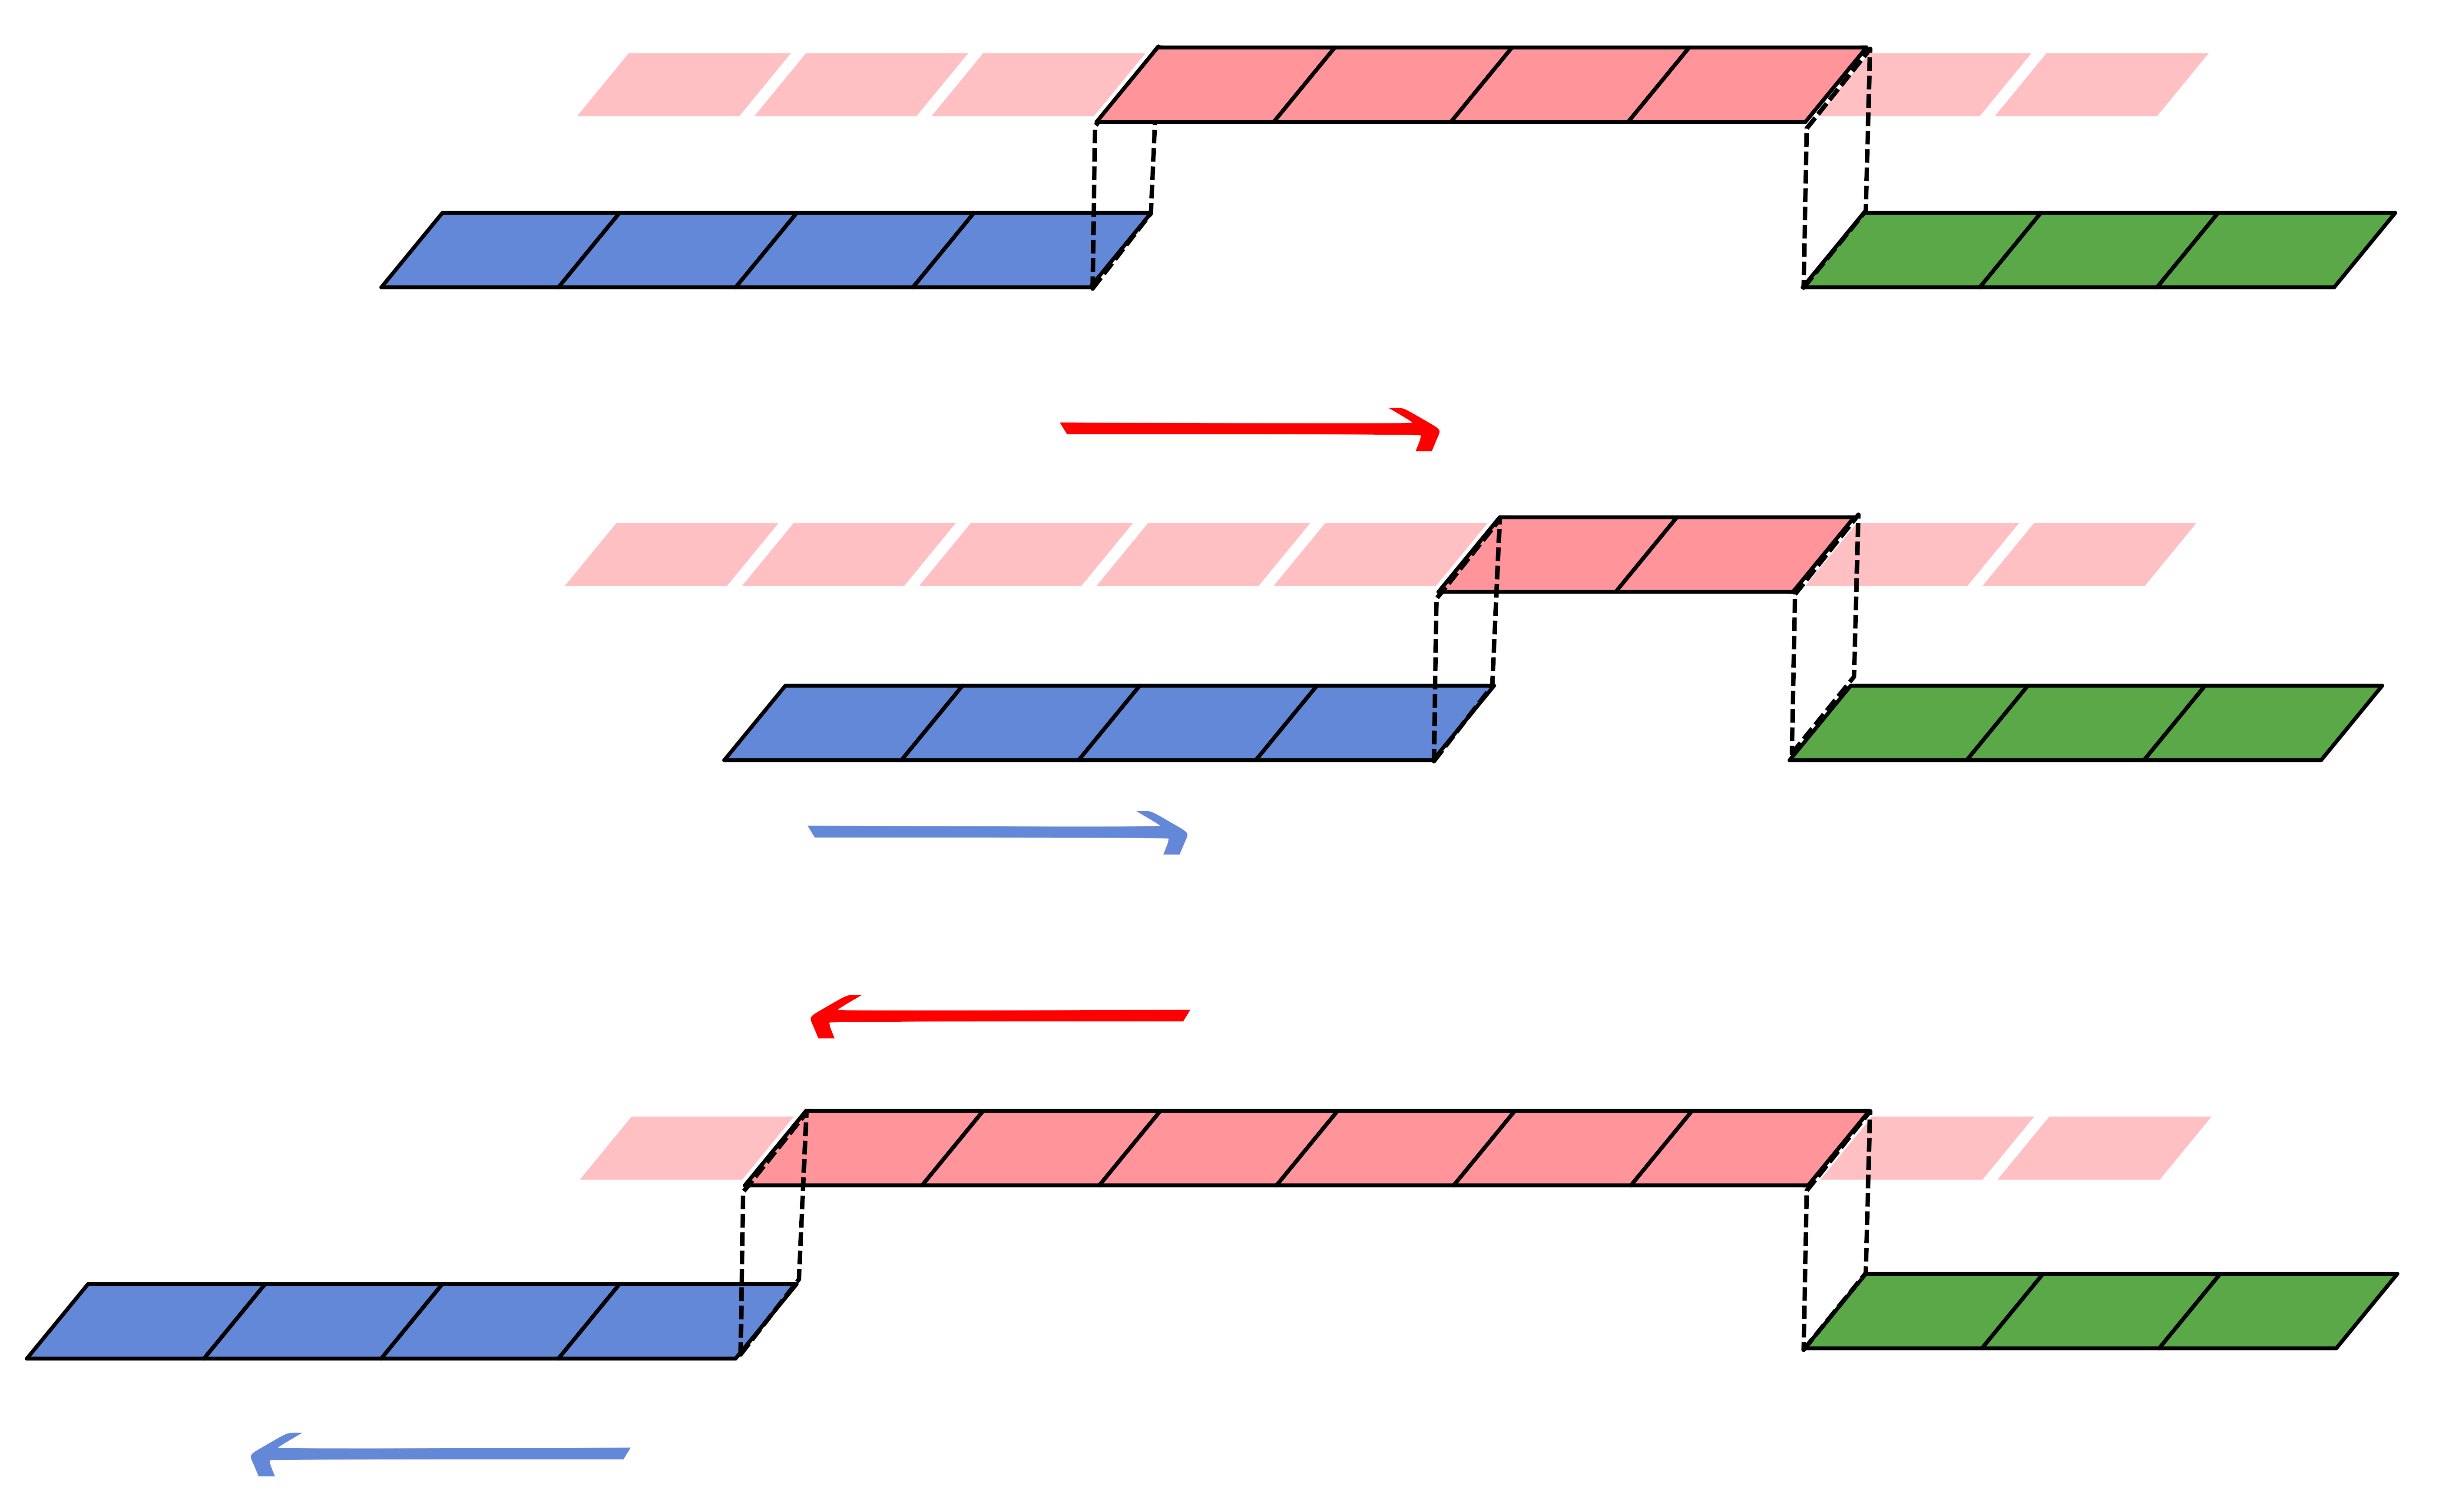
 )来修剪剪辑并调整轨道上跟随剪辑的时间。当您通过此操作缩短剪辑时,跟随剪辑的剪辑会向后移动,相反,当您扩展剪辑时,跟随剪辑的剪辑会向前移动。如果轨道上有一个空隙,它将像一个剪辑一样工作,并且它的时间会像一个标准剪辑一样移动。