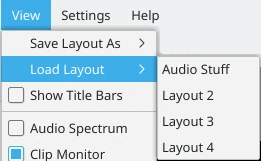
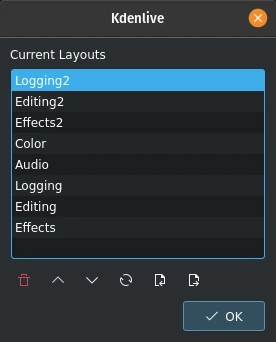
This function lets you switch to a previously saved custom workspace layout. More details are available in the Workspace Layouts section of this documentation.
Once you load a saved layout, that layout will remain the current one when starting Kdenlive until you switch to another saved layout or modify the current one. If you do make changes to a custom layout after loading it and then quit Kdenlive, you will not be prompted to save your changes to the named layout. The changes will be remembered and applied the next time you launch Kdenlive, but be aware that you are now working with an unnamed layout. If you like the layout and want to preserve it, save it back to the original name or save it as a new name.
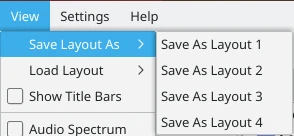
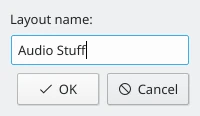
In the example shown, no custom layouts have been saved yet so they are just labeled 1 through 4. Click Save Layout As and then choose one of the four choices presented.
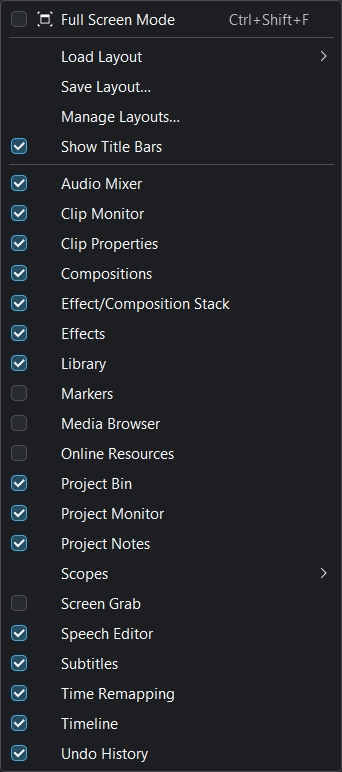
Show Title Bars toggles the display of the title bars of the various widgets on and off. Turn it off if you need more real estate on your screen. For some widgets you need titlebars to move them around.
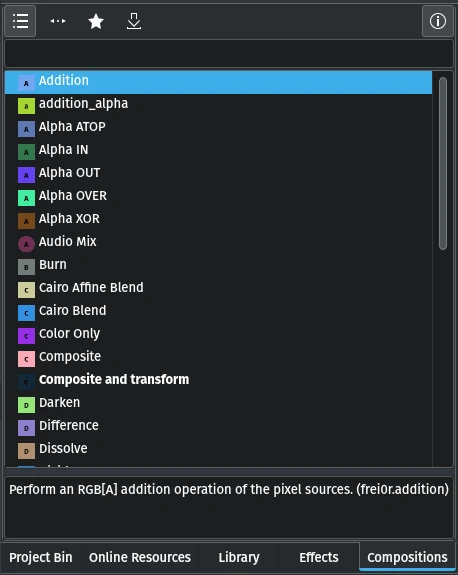
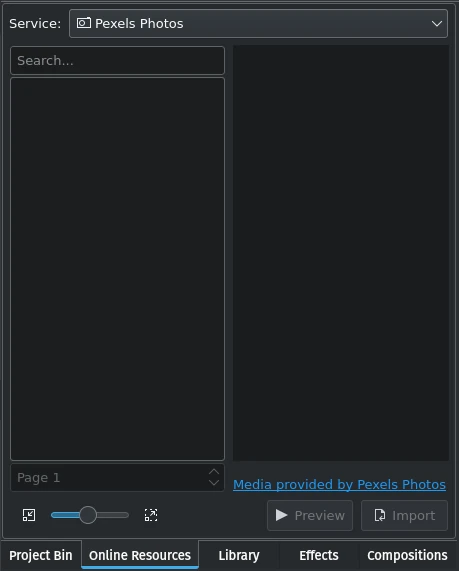
The Compositions widget lists all compositions available in Kdenlive. See the chapter about Compositions for more details and a list of available Compositions.
You can drag a composition from the list and drop it on a clip in the Timeline.
The Effects/Composition Stack shows all effects applied to a clip or a track. This is where you make changes to the effect settings. See the Effects and Filters section of this documentation for more details.
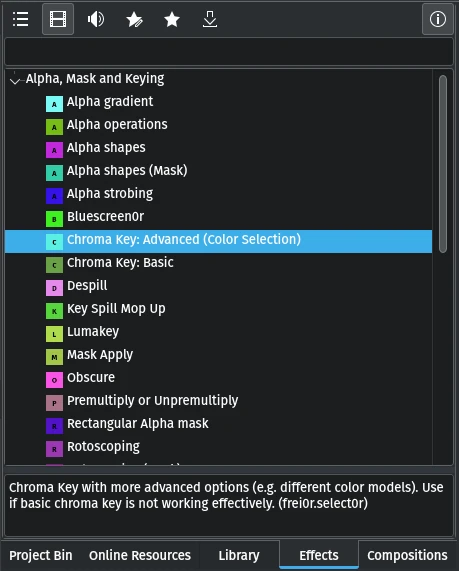
The Effects widget lists all the effects available in Kdenlive. It has groups for effect types (audio, video), custom effects, favorite effects and an option to download effects from KDE Store.
You can drag an effect from this list and drop it on a clip in the Timeline, the Project Bin or on the Effect Stack.
More details about effects are available in the Effects and Filters section of this documentation.
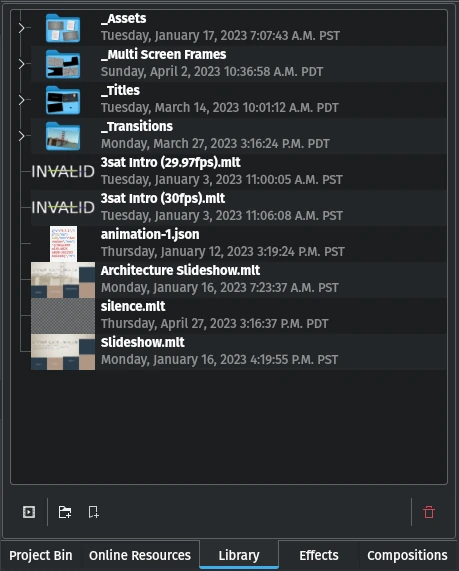
The Library holds items for generic use in projects. For example watermarks, logos, lower-thirds, intros, and so on. Please refer to the Library section of this documentation for more details.
Markers (Timeline Markers former Guides) are a powerful tool to speed up your workflow. More details about them in the Timeline Markers section of the documentation.
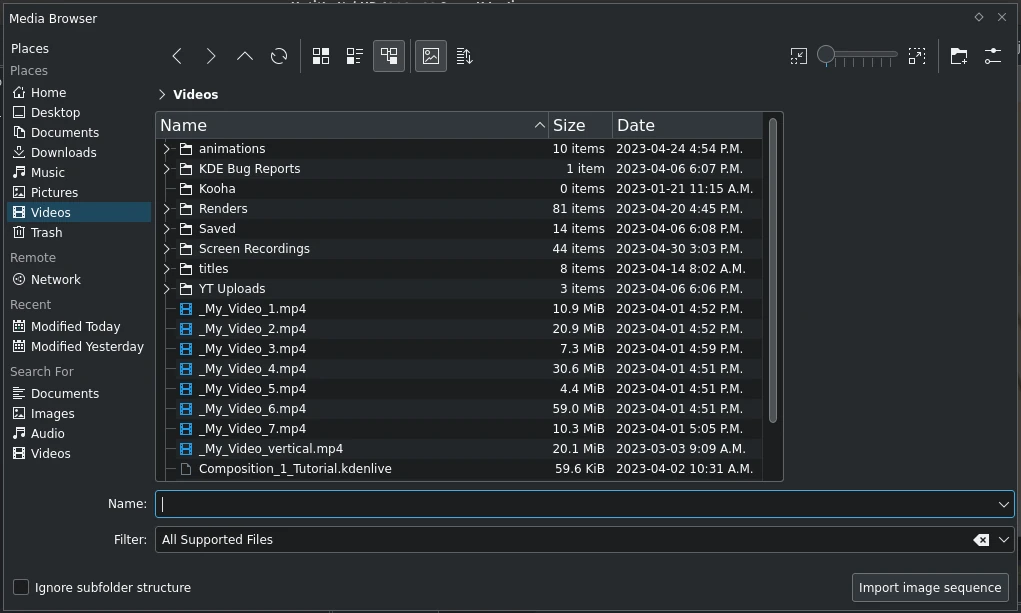
The Media Browser allows you to easily navigate your file system and add clips to your project. For more details refer to the Media Browser section of this documentation.
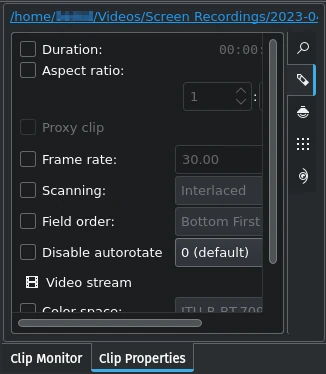
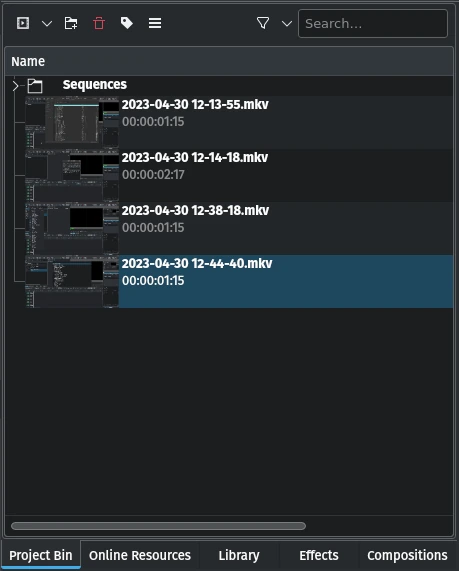
The Project Bin is the place where Kdenlive lists all the clips (video, audio, titles, images) or assets associated with the project. For more details refer to the Project Bin section of this documentation.
New in 23.04: Sequences (needed for nested timelines). For more details please see the Sequences section of the documentation.
The Project Monitor is used to display your project’s timeline, i.e. the edited version of your video. In Edit Mode you can directly manipulate certain effects from within the Project Monitor. Please refer to the Project Monitor section of this documentation for more details.
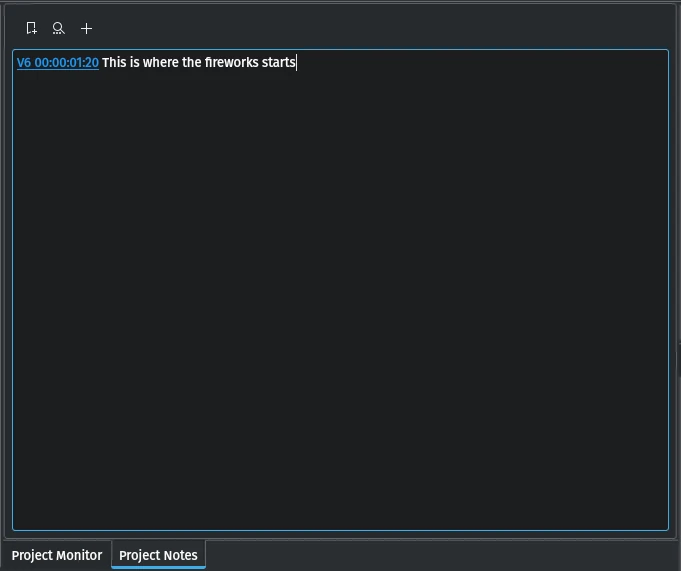
Project Notes can be used to keep notes about your project, like ideas or things to do. Please refer to the Project Notes section of this documentation for more details.
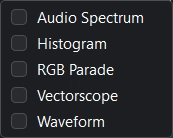
This allows you to monitor the audio properties of your clip in detail. The graph only displays data while the clip is playing in the clip or project monitor.
It graphs the loudness of the audio in decibels (vertical axis) for each audio frequency (horizontal axis) in the current frame.
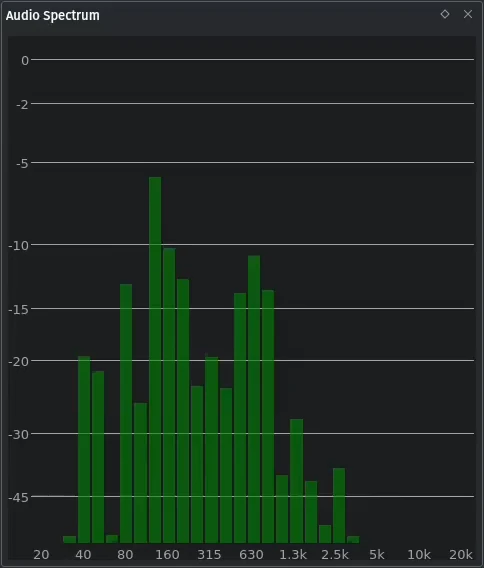
This scope displays a frequency histogram of the luminance of the color components of the video. This information is useful when used in combination with color correction effects to perform color correction on the video. Color correction includes increasing the brightness or adjusting the white balance to ensure that white remains white and not blue.
The histograms have the luminance on the horizontal axis going from 0 on the left to 255 on the right. The vertical axis represents the count of the total number of pixels in the current video frame with a given luminance.
Versions before 21.12.2 had an issue in Windows where scopes did not show anything. For more details and a workaround please refer to the Windows issues section.
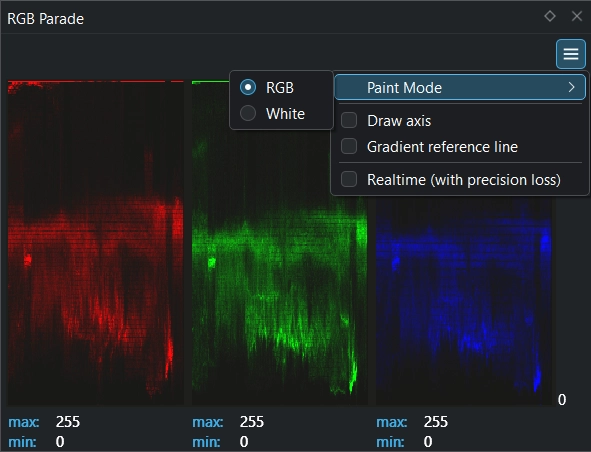
The RGB Parade widget displays a histogram of the RGB components of the video data.
The horizontal axis represents the timeline in the video frame. The vertical axis is the pixel luminance from 0 to 255. The brightness of the point on the graph represents the count of the number of pixels with this luminance in this column of pixels in the video frame.
More details including a more thorough explanation is available in the Tips & Tricks chapter about Waveform and RGB Parade in the section about Scopes.
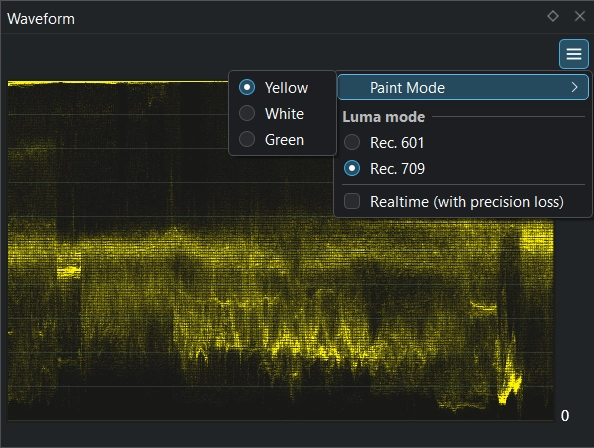
Contrary to what its name might suggest the Waveform widget is not for audio but represents the Luma component (whiteness) of the video. It is the same type of graph as for the RGB Parade. The horizontal axis represents the horizontal axis in the video frame. The vertical axis is the pixel luma from 0 to 255. The brightness of the point on the graph represents the count of the number of pixels with this luma in this column of pixels in the video frame.
This function has issues and should not be used. It has not been maintained for a while. There are other tools and applications for screen recording or grabbing available, hence this function will most likely be deprecated.
You can configure the ScreenGrab function in Menu ‣ Settings ‣ Configure Kdenlive ‣Capture.
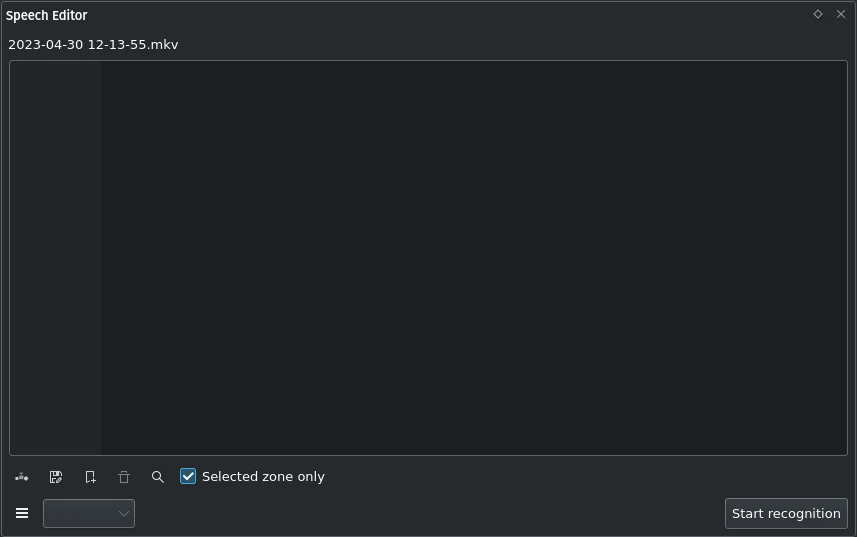
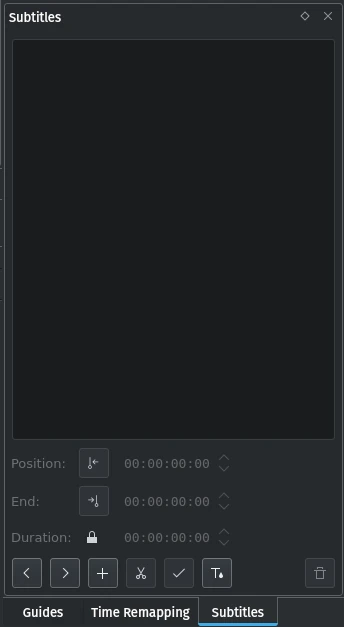
The Speech Editor widget allows you to use AI-based speech recognition to create subtitles for your video. You need to configure speech-to-text in Kdenlive in order to use this. More details about the configuration and potentially necessary installations as well as how to use speech recognition is available in the Speech-to-Text section of this documentation.
The Timeline is the central part of Kdenlive where you put together your video. A more detailed description is available in the Timeline section of this documentation.
There may be times when you want to quickly restore your project to the state it was in several changes ago. Instead of repeatedly executing single undo operations, it might be more efficient to jump right to the operation in question - if you could easily locate it.
Use RMB anywhere in the window to open a context menu to Clear Undo History complete. By default, Kdenlive keeps an unlimited number of undo operations in memory for the current project. Clicking that button will issue a warning that the undo history will be deleted irretrievably. Clearing the undo history will discard all undo history, so you cannot undo anymore, but it will free the memory and close file handles that are not necessarily needed anymore. This may be helpful to release memory in long edit sessions. The undo stack is cleared also when a timeline sequence gets deleted.
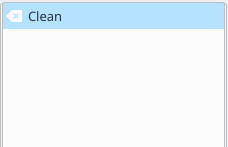
That is where Menu ‣ View ‣ Undo History comes in. It opens a dockable window which lists all the changes made to your project in the order they were made. When a project file is first opened the window looks like Figure 1.
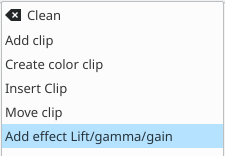
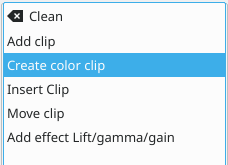
Each operation you perform from then on gets added to the list, as shown in Figure 2. Notice that the most recent operation you have performed is highlighted.
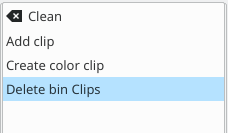
In this example, if you wanted to undo the last three operations with one click all you have to do is click on the Create color clip entry and those three changes will be reversed in one fell swoop. At this point if you are unhappy with undoing those changes you can easily redo them by clicking on any of the entries which are still in the list.
However, if you decided that reverting to that Create color clip entry looked good and you then made another change to the project the three remaining operations that were in the list in Figure 3 will be flushed from the buffer and be no longer available. They will be replaced by the new operation you just performed. See the result in Figure 4.
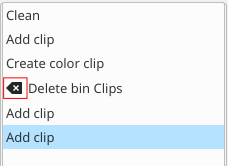
Whenever you save your project the icon that looks like the backspace icon is repositioned next to the most recent operation in the list. Figure 5 shows three additional operations which were performed after the file save shown by the square. After saving the file you can still revert back to changes which were made before the save.