Project Menu
The Project Menu is for adding assets (audio, video, images, other clips) to and managing various aspects of your project.
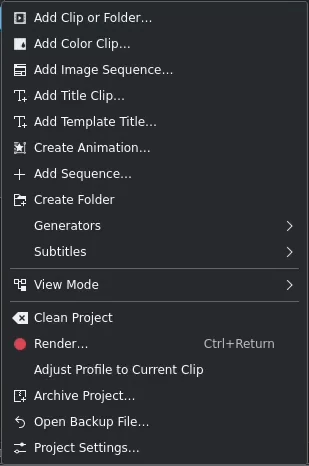
Kdenlive Project Menu
Most of the function of the Project Menu are also available from within the Project Bin widget.
Use the navigation to the left to go to the various items.
Add Clip or Folder
This function allows you to add video, audio and (single) image files from your file system. It is also available from the menu bar of the Project Bin or by right-click or double-click on empty space in the Project Bin.
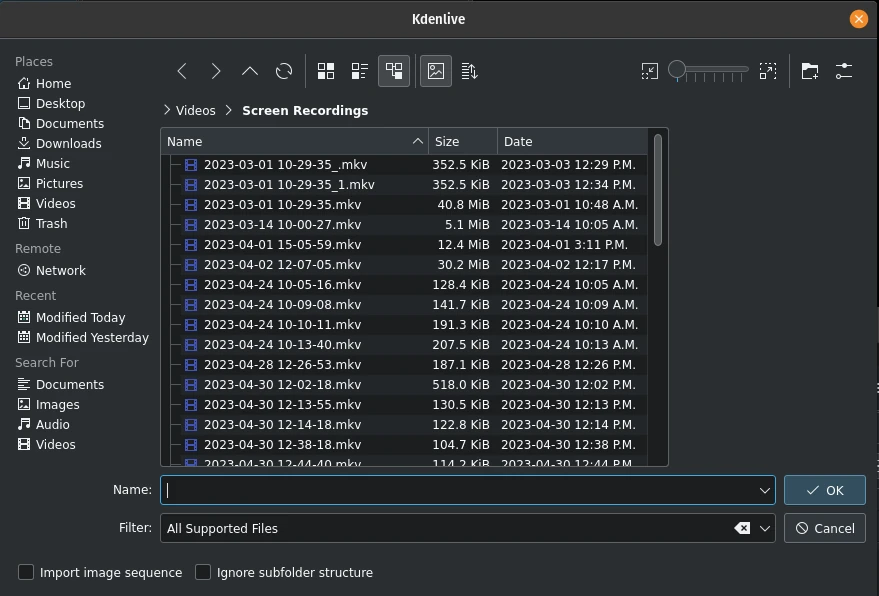
Adding a clip or entire folder
A more detailed explanation of this function is available in the clips section of this documentation.
Add Color Clip
This function allows you to create a clip with a single color.
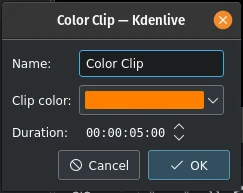
Adding a Color Clip
It is also available from the menu bar of the Project Bin and by right-clicking on empty space in the Project Bin.
For more details refer to the Color Clips section of this documentation.
Add Image Sequence
This function adds a series of still images as one clip to the Project Bin.
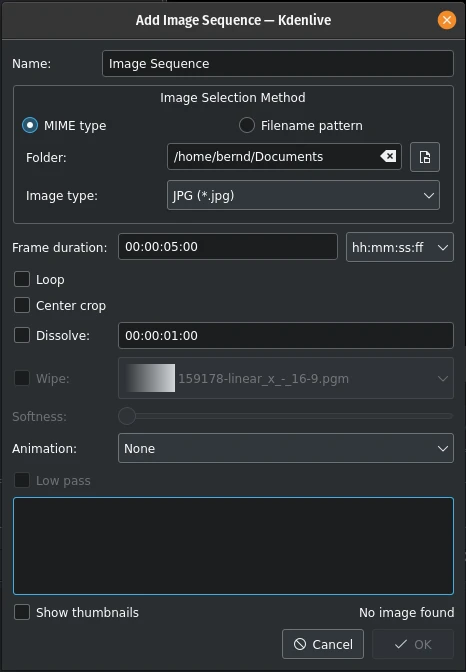
Adding an Image Sequence
It is also available from the menu bar of the Project Bin and by right-click on empty space in the Project Bin.
For more details refer to the Image Sequence section of this documentation.
Add Title Clip
This function adds a Title Clip to the Project Bin. First, it opens the title editor in a separate window where you create the Title Clip. Once saved it shows up in the Project Bin.
A more detailed documentation of the title editor is available in the Title Clips section of the documentation.
This function is also available from the menu bar of the Project Bin and by right-click on empty space in the Project Bin.
Add Template Title
This function creates a Title Clip based on a Template Title.
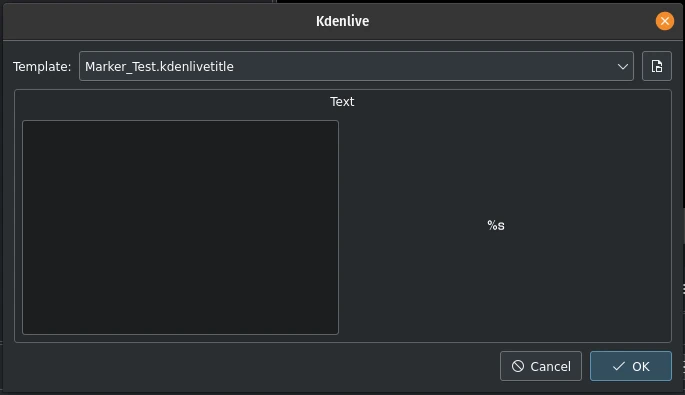
Adding a Template Title
You build the template in the Titler application like a normal Title Clip. The key is the placeholder %s. It will be replaced by the text you enter here.
This function is also available from the menu bar of the Project Bin and by right-click on empty space in the Project Bin.
Please refer to the Template Titles section of this documentation for more details about Titles and Templates.
Create Animation
This function creates an animation clip in the Project Bin and calls Glaxnimate, the application to actually create the animation.
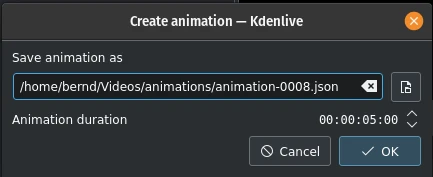
Creating an animation
Glaxnimate has to be installed on your computer and the path to it must be set in Menu ‣ Settings ‣ Configure Kdenlive ‣ Environment ‣ Default Apps.
This function is also available from the menu bar of the Project Bin and by right-click on empty space in the Project Bin.
Add Sequence
This function creates a new Sequence in the Project Bin.
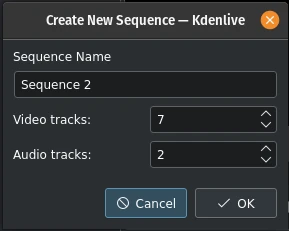
Add a new Sequence
Sequences were introduced with version 23.04 and are needed for nested timelines where you can edit clips separately and independently.
This function is also available from the menu bar of the Project Bin and by right-click on empty space in the Project Bin.
Please refer to the 序列 section of this documentation for more details.
Create Folder
This function creates a new folder in the Project Bin.
The folder is a virtual folder and very useful to keep your assets organized. You can also create separate bins from each folder (see the Multiple Bins section)
This function is also available from the menu bar of the Project Bin and by right-click on empty space in the Project Bin.
More details are available in the Create Folder section of this documentation.
小技巧
A good way to keep your Project Bin neat and tidy is to have bin folders or separate bins for your footage (main video), B-roll, audio, still images, SFX and VFX, titles and so on.
Generators
This function allows to create generated clips in your Project Bin for
Counter
Color Bars (old TV test display)
White Noise
This function is also available from the menu bar of the Project Bin and by right-click on empty space in the Project Bin. See the Clips section in this documentation for more details.
Subtitles
This function opens a flyout to switch the Subtitle Editor on or off and to offer additional options for dealing with subtitles.
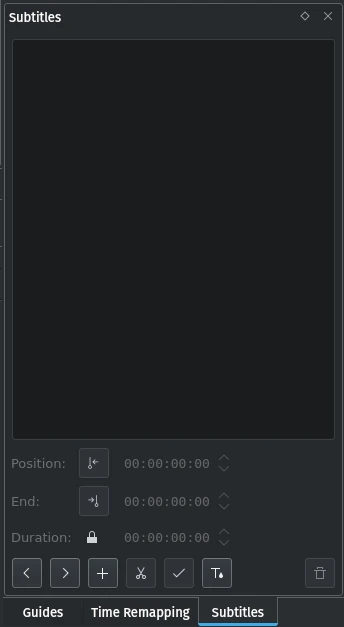
Adding subtitles
Please refer to the Subtitles section of this documentation.
View Mode
This function allows to switch between the various views available for the Project Bin:
Tree View - When enabled shows the Project Bin items as a hierarchy. Each item in the list can have several subitems (shown individually indented).
Icon View - When enabled shows the Project Bin items in a flat grid of items shown by their thumbnails with captions
Clean Project
This function can be used to remove any unused clips from the Project Bin.
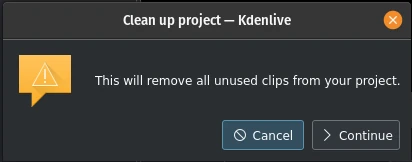
Clean up the project
You can undo this action with Menu ‣ Edit ‣ Undo, through the Undo History or with the default keyboard shortcut Ctrl+Z.
备注
This is different from the Project Settings dialog button Delete Files in the Project Files tab which deletes files not used by the project from the hard drive.
Render
This function opens the Rendering Dialog with which you can create your video clip. Please refer to the Rendering section of this documentation for more details.
Adjust Profile to Current Clip
This function offers up a suggested Project Profile that would be most suitable for the currently selected clip in the Project Bin.

Adjusting the project profile to the clip properties
Archive Project
This function allows you to copy all files required by the project to a specific folder of your choice.
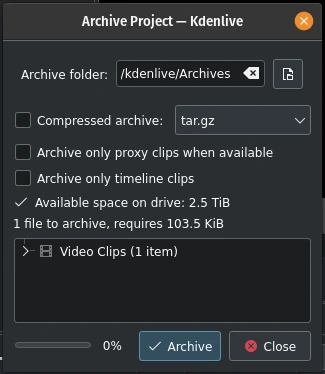
Archiving a project
Please refer to the archiving section of this documentation for more details.
Open Backup File
This function opens the list of automatic backups of the project Kdenlive creates.
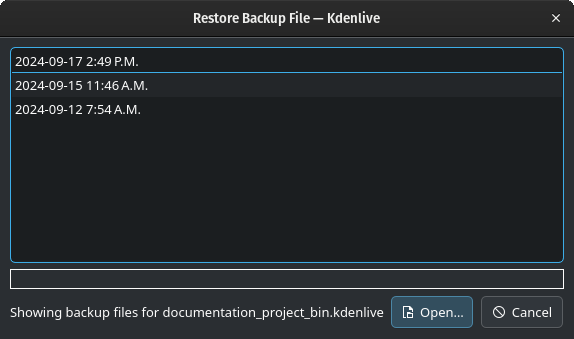
Restore a backup file
From here you can select the restore point you want to go back to. More details are available in the backup section of this documentation.
Project Settings
This function opens the Project Settings dialog where you can set all basic properties of the project.
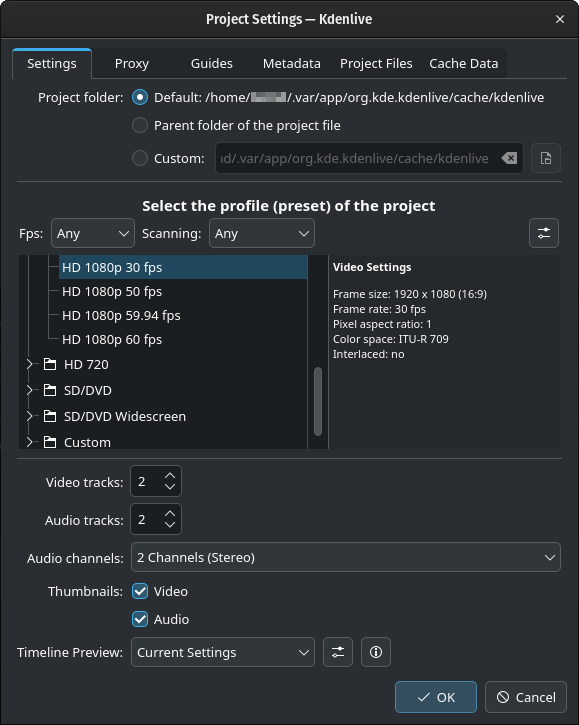
Project Settings window
More details about the various parameters and tabs are available in the Project Settings section of the documentation.
注意
Certain things cannot be changed once assets have been added to the project or put on the timeline. Changing certain properties of the project may lead to unwanted results. It is highly recommended to create a copy of the project file before changing project settings.
备注
Changing the project folder location does not work properly. In most cases the files are not moved.